
Easy Glasses Case Sewing DIY Tutorial
This pretty and useful glasses case can be made in just a couple of hours. It is the perfect DIY sewing project!
If you always seem to be rummaging around in your bag trying to find your sunglasses or reading glasses you will love this DIY project!
This project is also a really great way to use up your stash of fabric and fabric scraps and ends. All those pretty pieces of fabric that you have just laying around can not be used for a good purpose.
These cases have a fusable fabric interfacing attached to them, which means they make up into a really sturdy case that really protects your glasses in your bag, and protects them from daily wear and tear.
This post does contain affiliate links. You can view my disclosures here.
You really don’t need to be an expert in sewing to make these cases. If you are just a beginner with no experience you can easily make these.
They are a little tricky in places however to coordinate and sew, I do have to add, but I will guide you through those parts and you will do just fine!
Just follow my step by step instructions, and you will make these pretty cases in no time at all, with no problems!
What you Need to make your Glasses Case
4 pieces of fabric total:
2 pieces of the main fabric
2 pieces of the contrasting fabric
In addition you will also need:
2 pieces of fusable fabric interfacing
You only need a small amount of fabric for each case, as you are going to be cutting the fabric into fairly small rectangles. Each piece of fabric should be cut into a rectangle measuring 7.5 inches x 4.5 inches.

Directions for making the case:
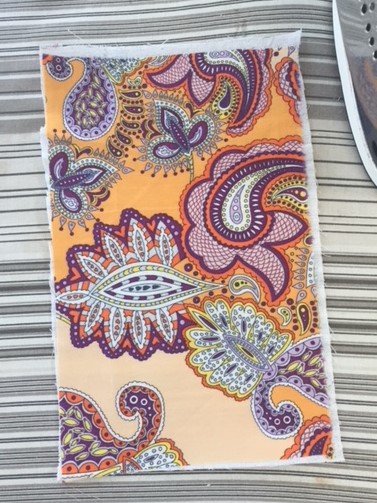
Cut out your fabric – 2 pieces of the main fabric, and 2 pieces of the contrasting fabric. Also cut out 2 pieces of the fusable fabric interfacing.
All your fabric pieces, and fusable fabric interfacing pieces, should be the same size – 7.5 x 4.5 inches.
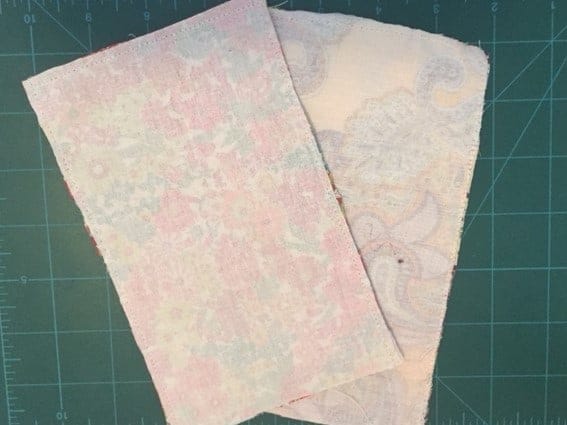
Take the 2 pieces of your main fabric, and iron on the fusable fabric interfacing – to the back (wrong side) of the fabric. Usually the part of the fusable fabric interfacing that sticks directly is the rough side.
Iron the fusable fabric interfacing on the back of these fabric pieces. You will now have 2 pieces of fabric that have been fused together.
As interfacing can be quite a confusing subject in sewing, here is a great YouTube video that really explains all about interfacing in depth. (It isn’t essential that you watch this video to understand this particular sewing project, but if you are interested in learning to sew or sewing better, this video is a really good learning process).
Take the 2 pieces of fabric that you fused together, and cut off about 1/2 inch from each one, so that they are smaller than the other contrasting pieces. Cut this off along one of the smaller shorter ends.
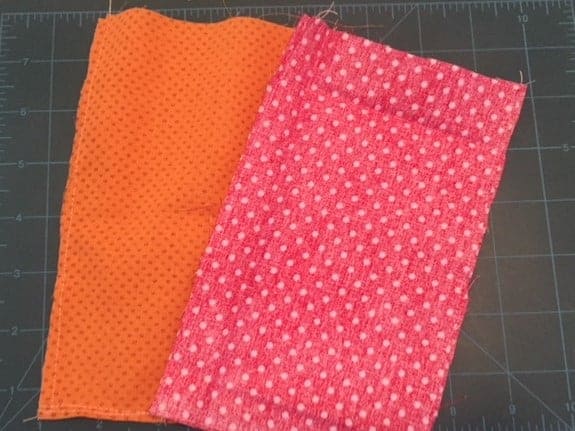
Pair reach rectangle of fabric with its matching rectangle. You should place the right sides together of each pair.
You should now have 2 pairs.
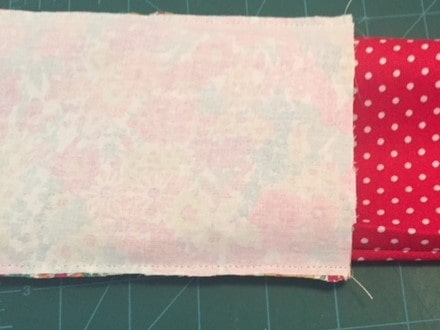
Keeping the right sides of the fabric together, sew all around the fabric, but leave one short end completely unsewn.
Taking the rectangle that you just sewed of the contrasting fabric, turn it so that the right sides of the fabric are facing out.
Now stuff that contrasting liner fabric inside the main fabric piece – which is still inside out and should be left that way for now.
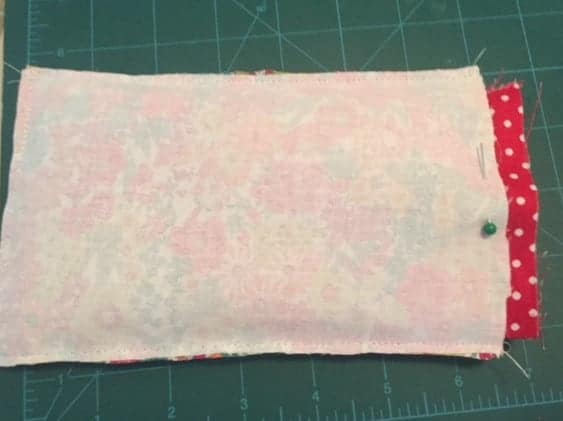
Match the top edges together, then sew very carefully around the top edge. This part is very tricky, but you just need to remember that you need to just sew through 2 pieces of fabric – so that you leave an opening gap.
If you sew around slowly, and pull the fabric slightly taut as you work it around, this shouldn’t be too difficult. Just make sure you are just sewing two pieces of fabric together.
As you sew around leave a small gap open, of around an inch or so, so that you can pull the fabric through this gap when you are finished. It might help for you to pin the fabric. Remember you must leave an opening gap – don’t sew all the pieces together completely.
Now you have sewn all around, turn the case right side outwards, by pulling through the little gap that you left.
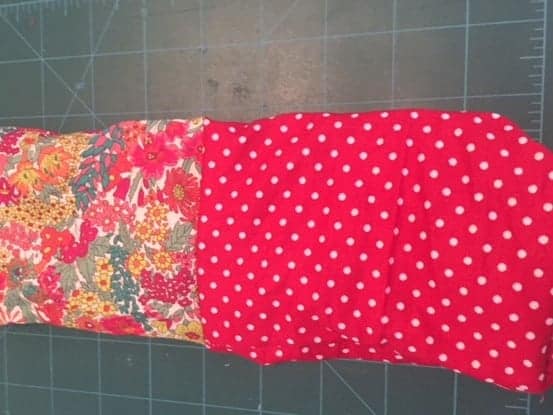
Stuff down the inner contrasting piece of fabric into the outer piece of fabric, and just leave a little edge on show at the top.
In the picture above the spotted fabric is the inner lining contrasting fabric, so this will be pushed down into the main fabric which is the floral fabric shown.
Press flat with an iron.
Now you can either stitch the edge contrasting piece into place, using the same process you did earlier by carefully sewing around so you are only sewing two pieces of fabric together.
Go slowly and carefully on this part. Or you can just leave the fabric folded over. It will however be more durable if you sew it together.
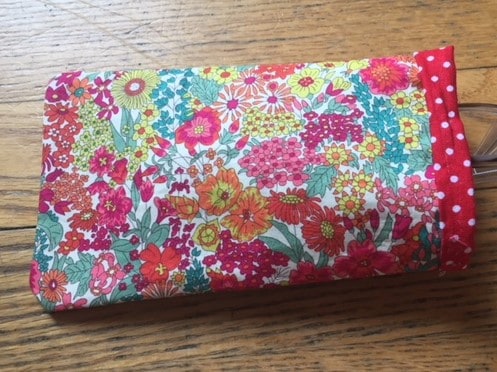
Now you have the most beautiful case for your glasses that will be easy to find in your bag or wherever you leave it, that is so pretty to use and look at!


You may also love these DIY projects:
15 organizing projects using washi tape
One Comment