
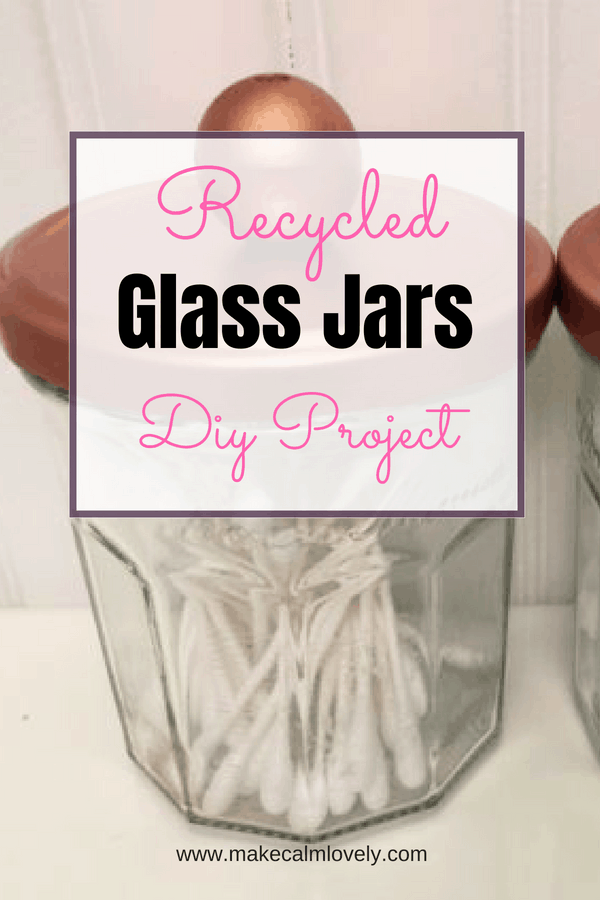
Recycled Glass Storage Jars DIY project
Jelly or Jam jars are one of those items in our homes that are just recycled or thrown away after we have consumed the contents, but some of them are really pretty glass jars with a lovely design, and it seems a shame not to use them for something.
Recycling is great, but up-cycling something is even better – you are turning something that you once considered junk and trash into something pretty and useful for your home.
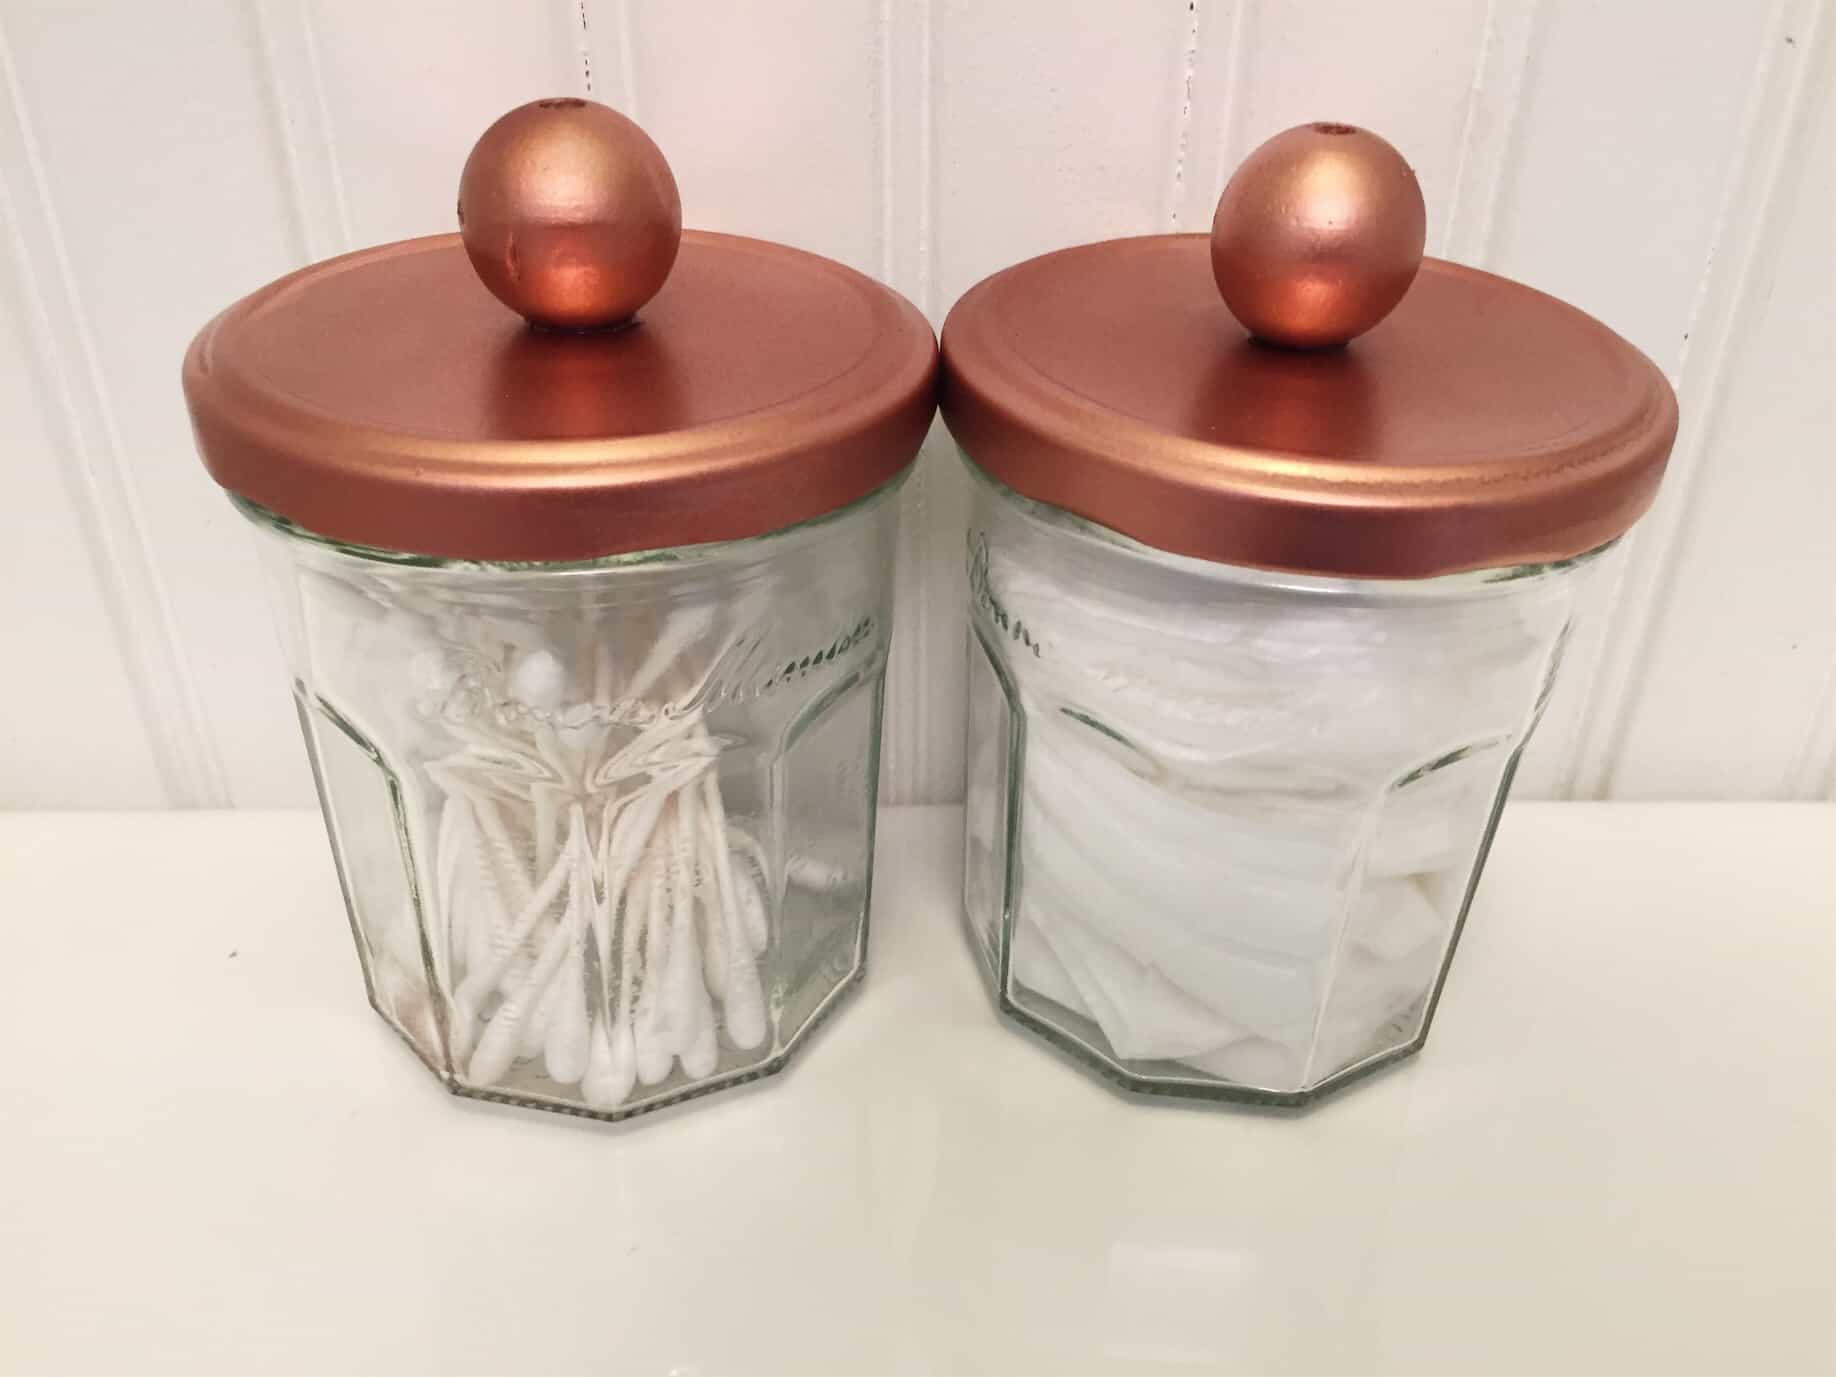
These recycled glass storage jars look really lovely and are really useful for storing just about anything around your home. In the bathroom they can be used to store cotton buds and cotton wool (as I have shown), or they can be used in your office to store paperclips and other office supplies.
They can be used in the kitchen to store food products, such as sugar, salt, spices etc, or they could even be used in your craft room to store sewing supplies, buttons etc. They can be used anywhere in your home in fact, for just about anything!
This DIY up-cycling project using recycled glass jars will take you less than half a day to make, and you will love the results!
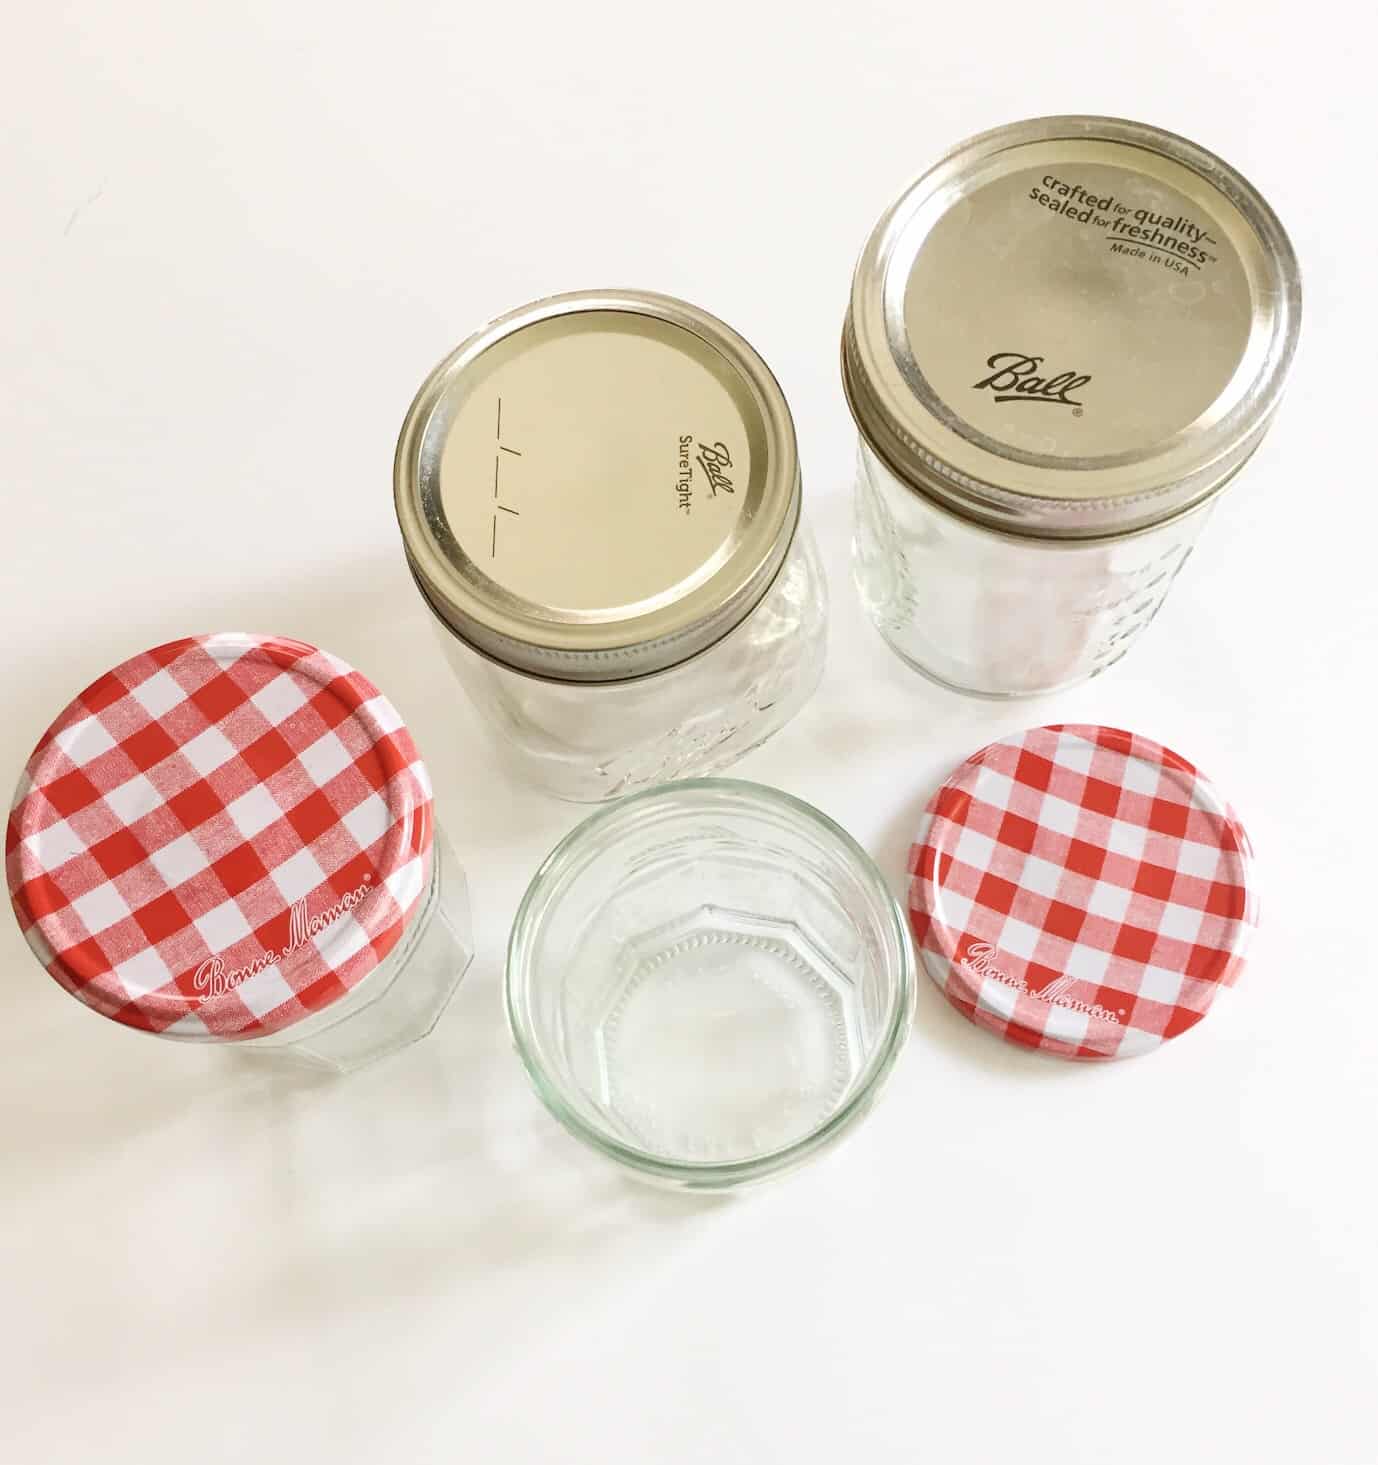
I used Bonne Maman glass jars. I absolutely love the look of Bonne Maman jars (not to mention the great taste of their jams and jellies!). They are so beautiful to look at, and the lids are also really great, if you don’t want to spray them or change them in any way.
But really any glass jars can be used. In fact you will be quite amazed by how you can take quite a boring looking glass jar and turn it into something quite spectacular!
This post contains affiliate links.
Supplies needed:
Assorted glass jars and lids (use old jam/jelly jars, or any glass jars)
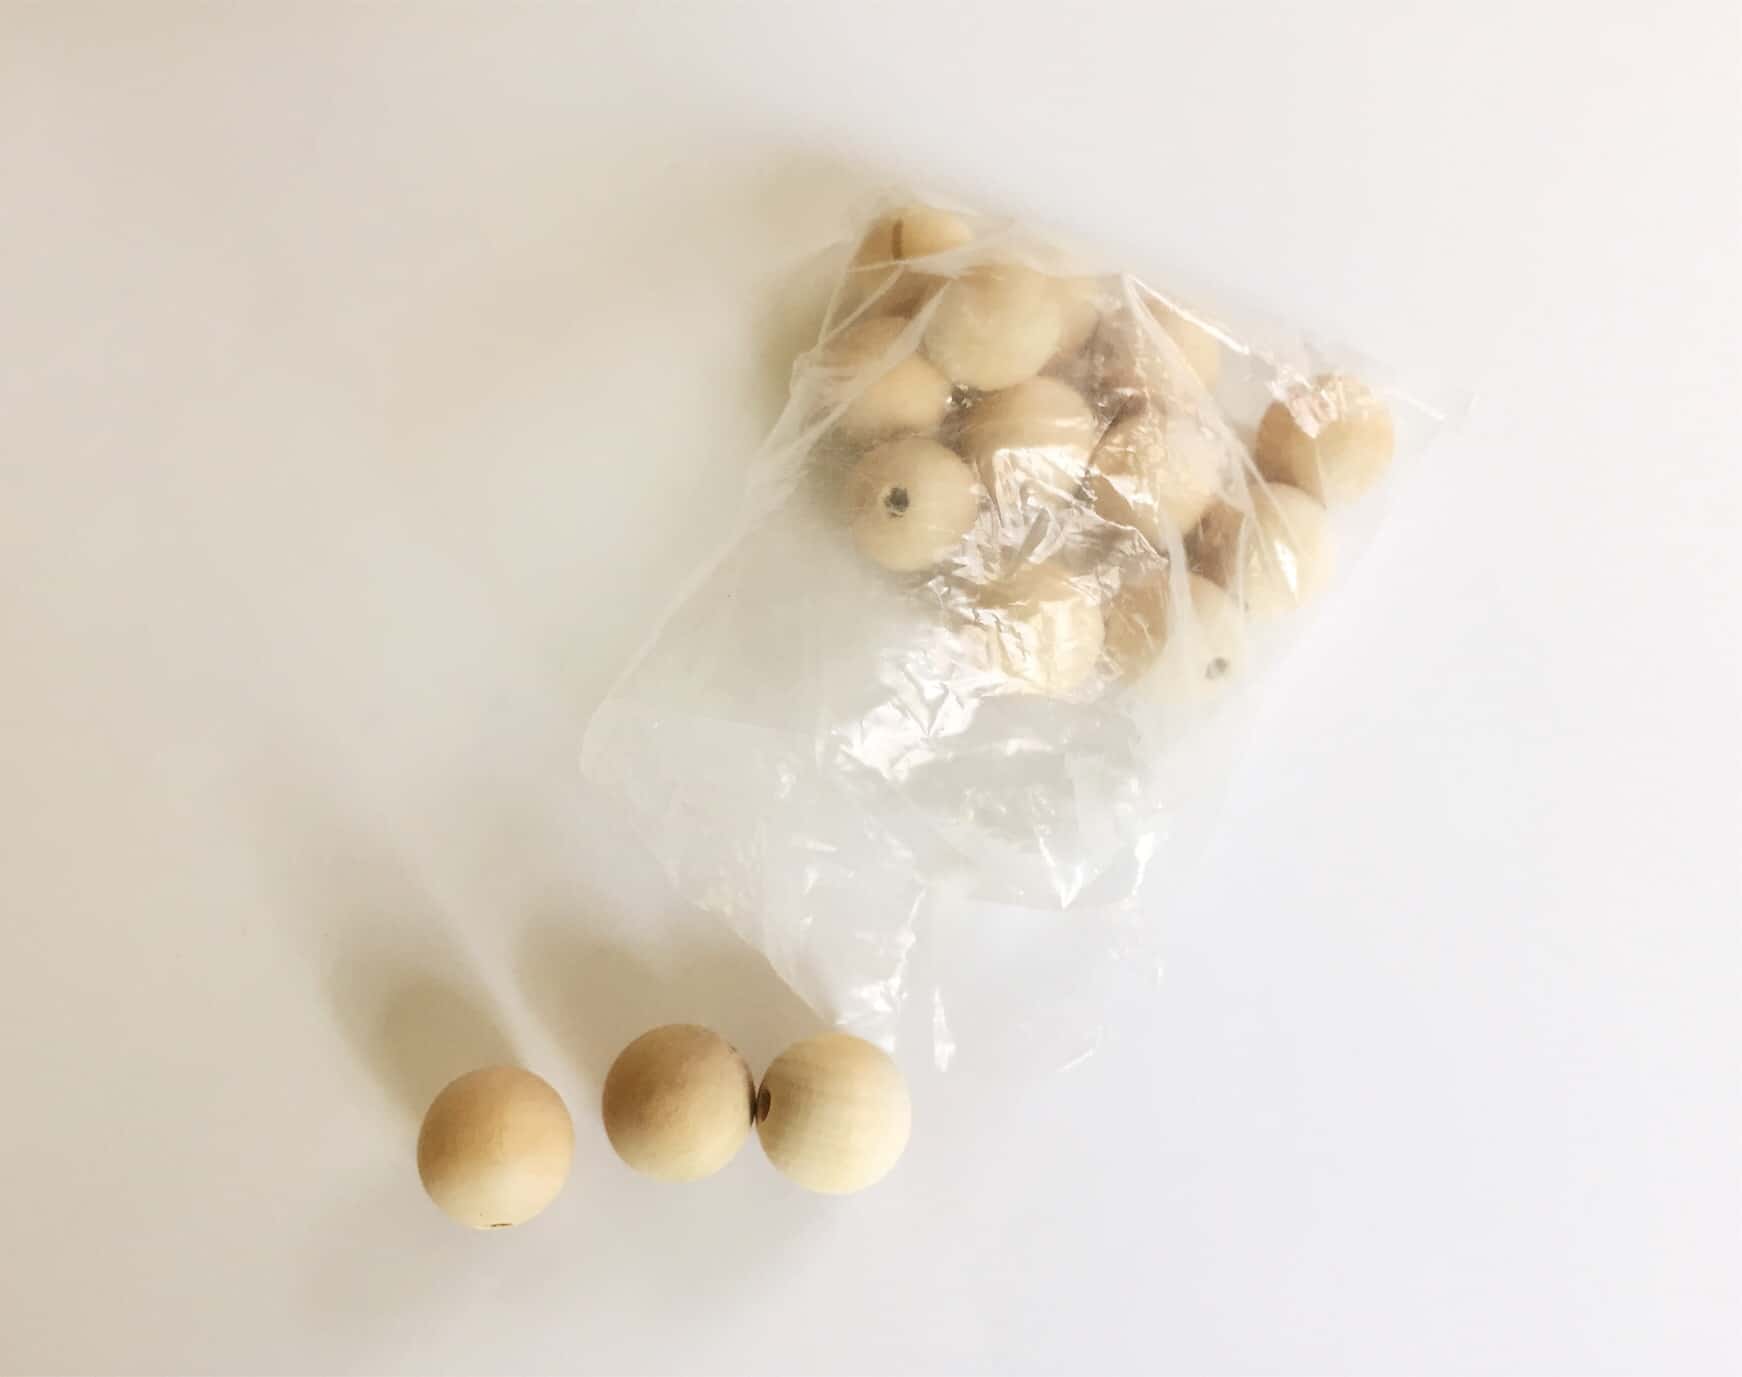
Wooden beads
Spray metallic paint in a color of your choice
Directions:
First of all, assemble all the glass jars and lids that you have accumulated (raid your recycling bin if necessary!).
If you want to do this project, but you don’t have old jars to hand, you could also purchase mason jars or other glass jars at homeware and craft stores, or even on Amazon (or you could run out and buy lots of jelly/jam jars, eat it all fast, and then use the jars! – just saying!).
Remove all the labels from the glass jars as best you can, and wash the glass jars and lids really well in warm soapy water.
Washing the jars will also remove some of the stubborn parts of labels that won’t come off.
Dry each jar completely, or leave them to dry for a while top down on a cloth or draining board. There is no need to sterilize these jars unless you will be using them for food storage. If so, you may want to sterilize them or give them a good hot wash in the dishwasher first.
You will also need wooden beads for this project, which can be purchased in any craft store (or from Amazon). The wooden beads are being used as a mock-handle on the lids.
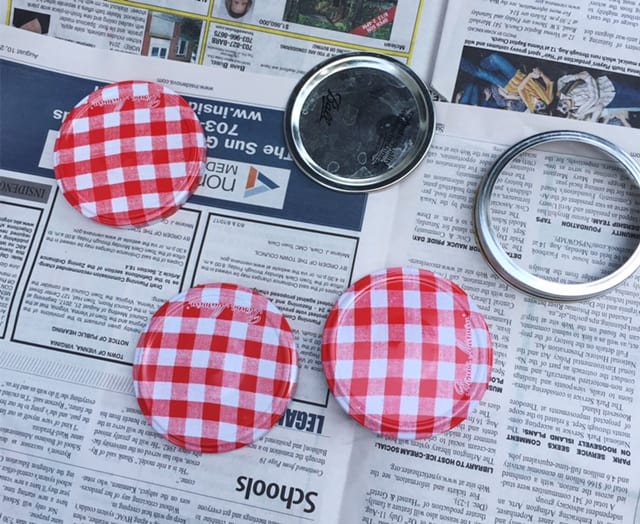
Once the jar lids are completely dry, spread them out on old newspaper or a cloth outside. It is better to do this project outside as the spray paint and glue are pretty smelly and full of fumes, and will therefore need plenty of ventilation.
Also lay out the wooden beads, ready to be sprayed. Spread them apart as much as possible, so that you can direct the spray to them all evenly.
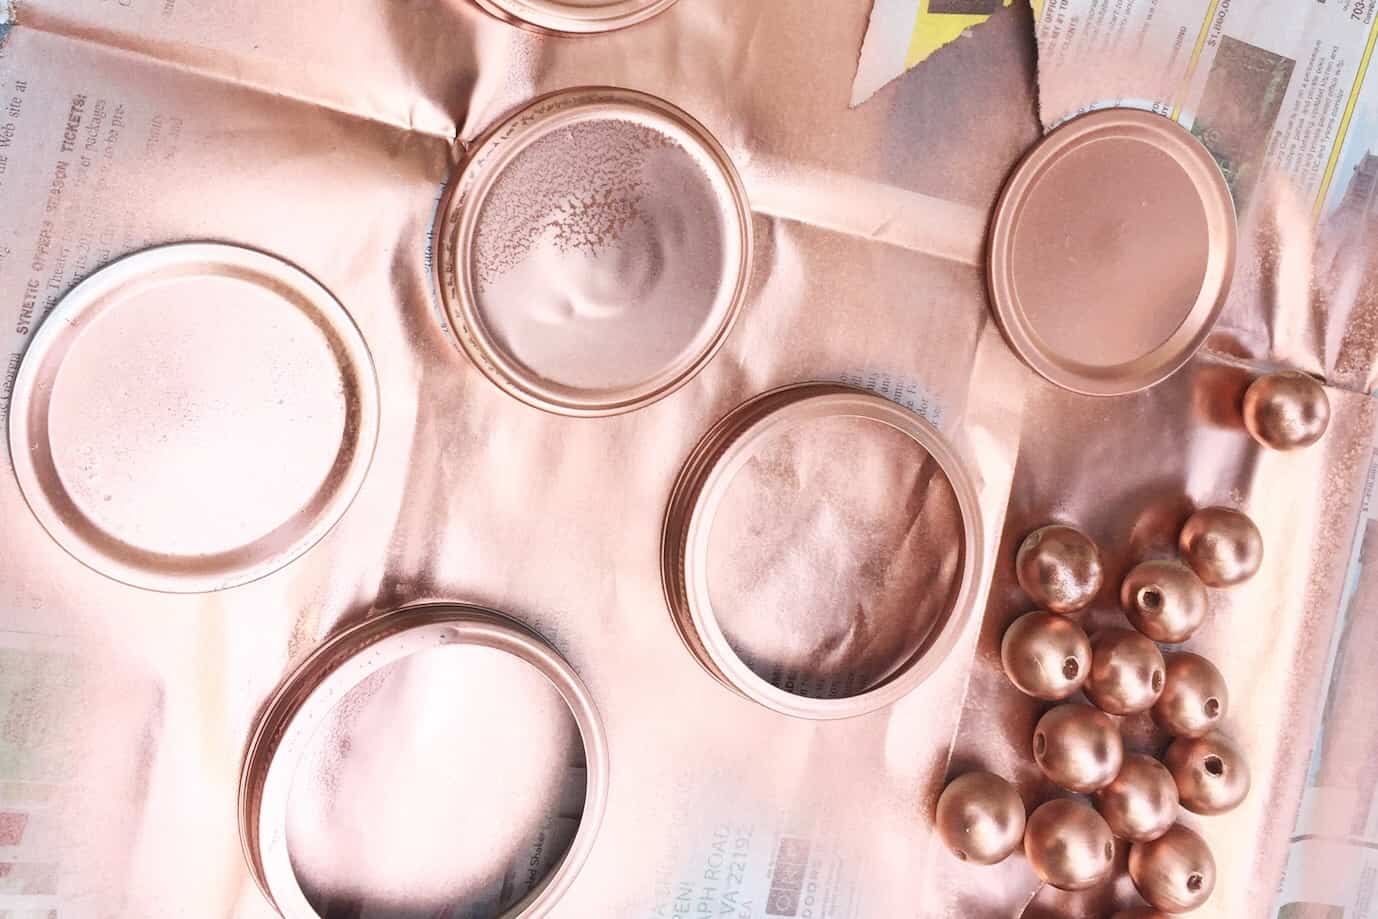
Spray the jar lids and beads with your spray paint. Try to hold the spray a minimum of 6 inches away, so that the paint doesn’t pool and gather in certain parts on what you are spraying. If you are using Mason jar lids, separate the disk from the outer part of the lid and spray both parts.
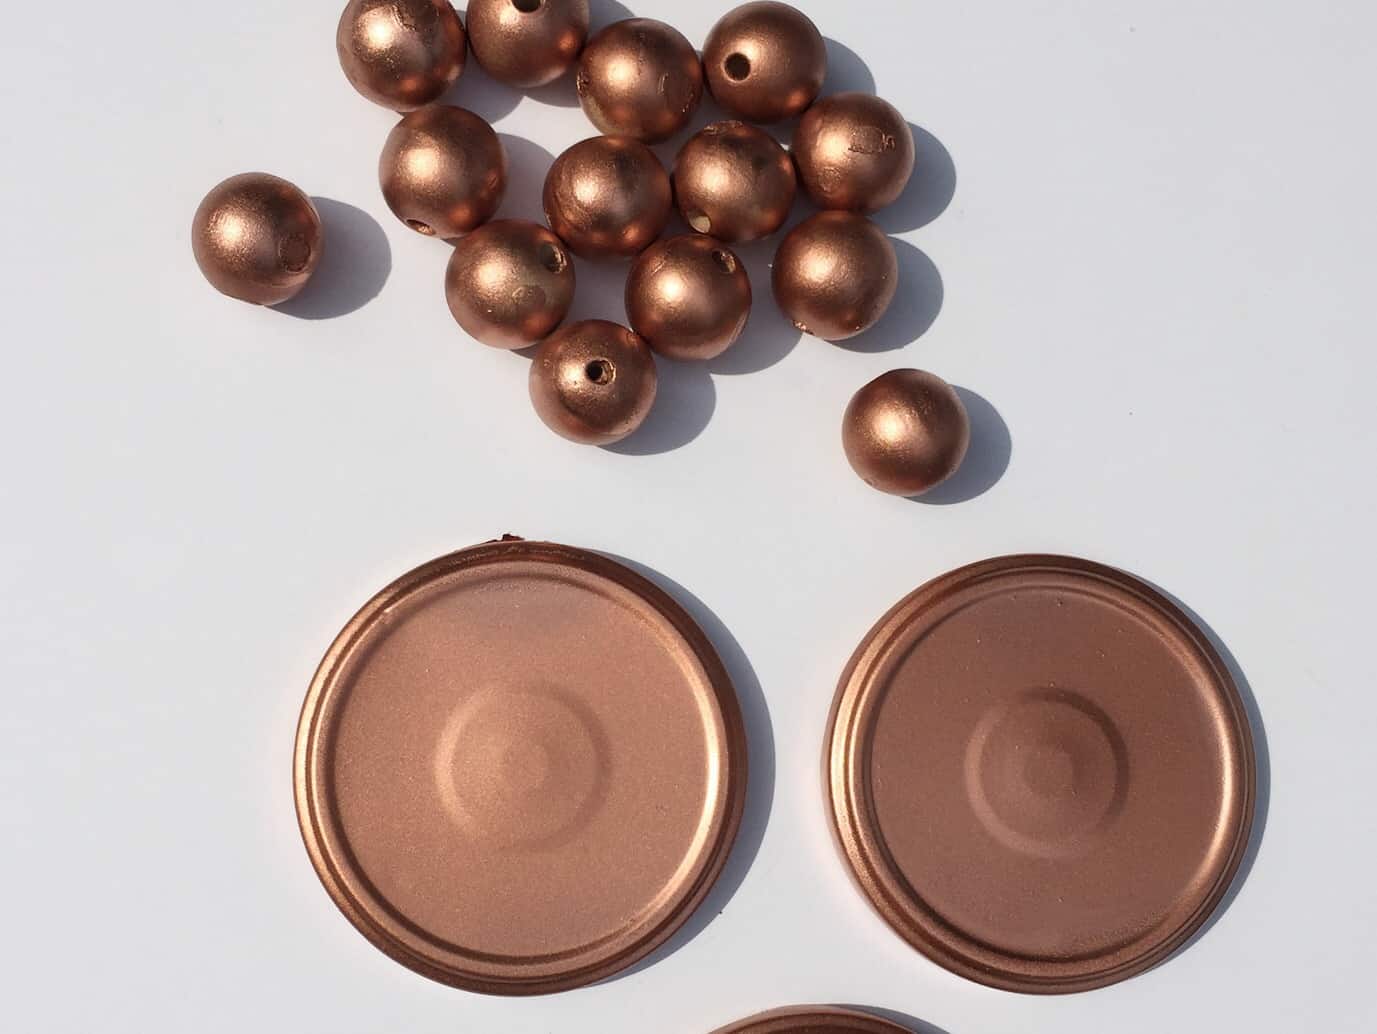
Leave the wooden beads to dry, then once they are all dry, spray them again, being careful to touch up any parts that may have been missed the first time you sprayed them.
You may need to constantly turn the beads all around on different sides to make sure they are fully covered.
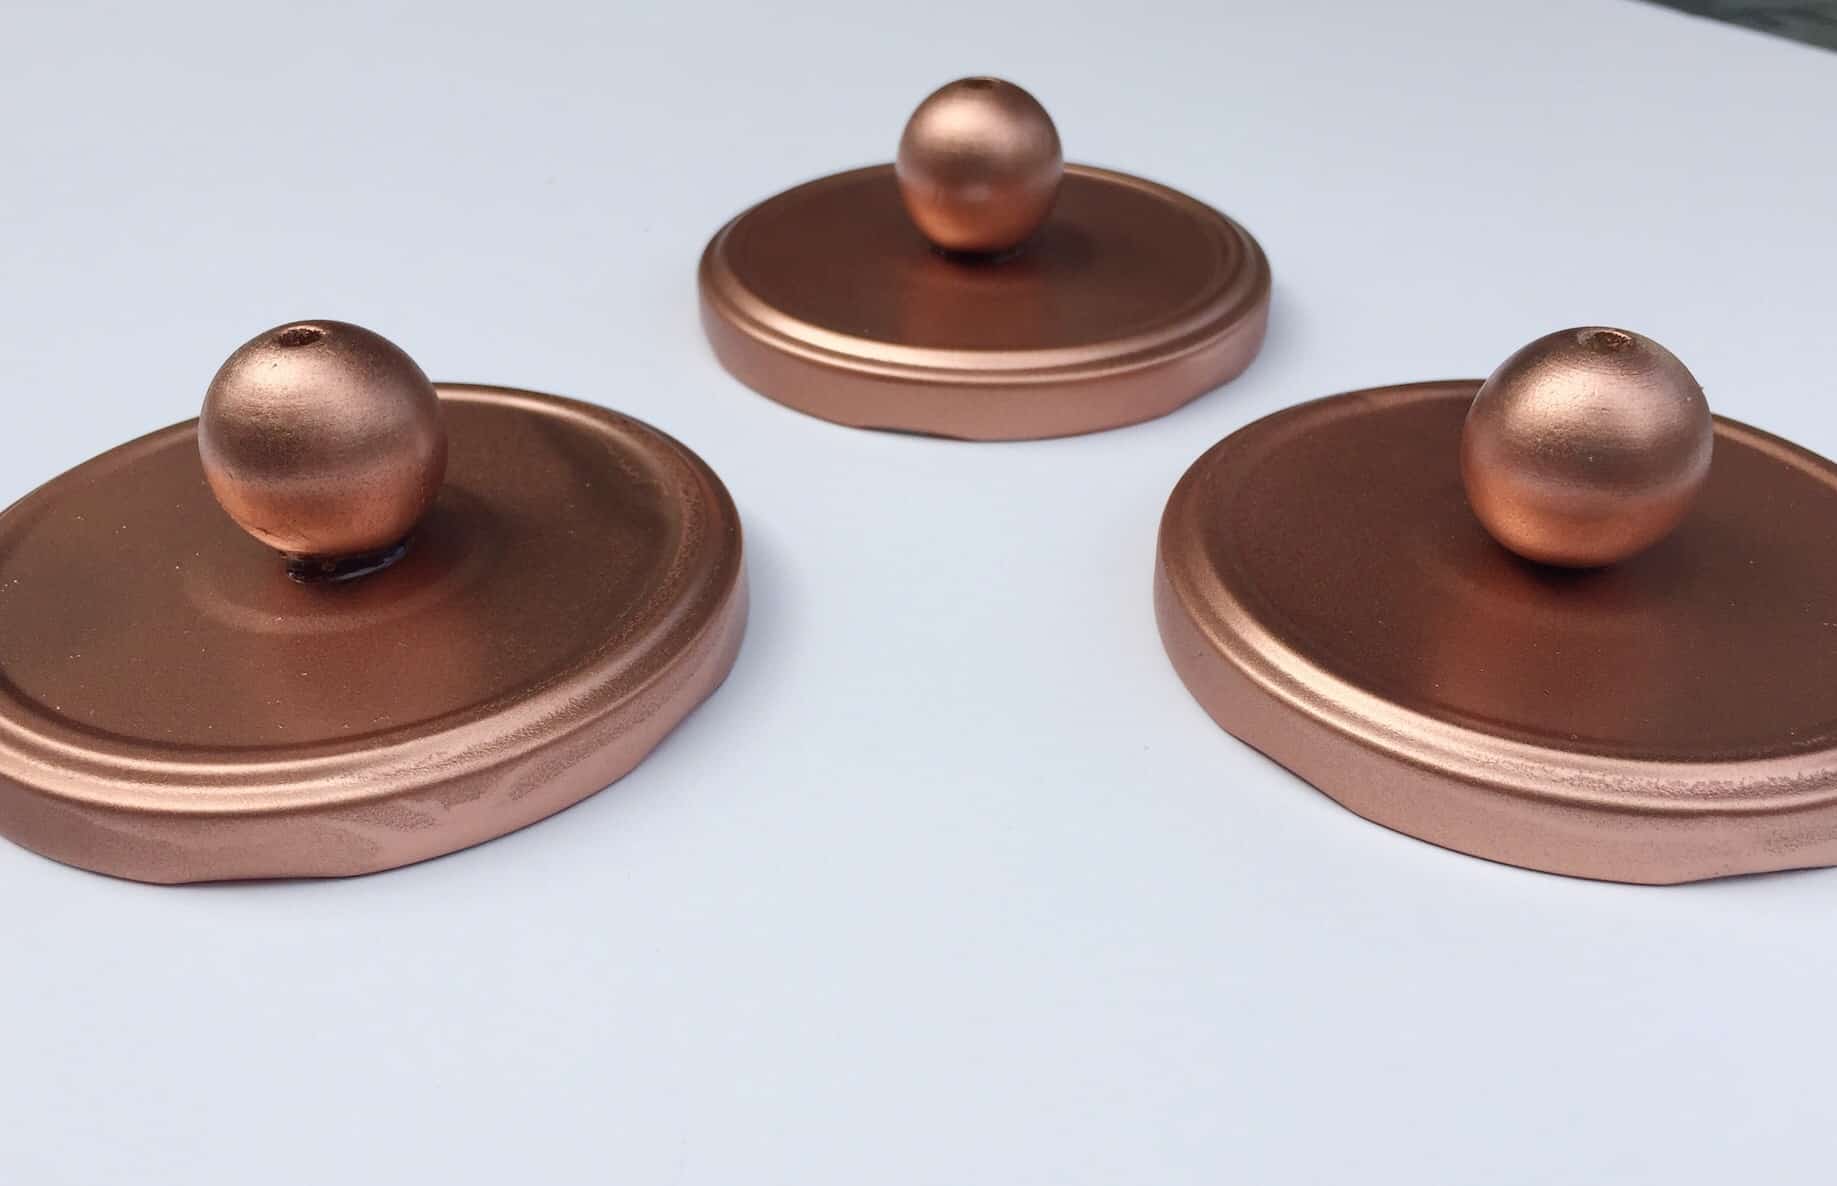
Once the sprayed beads and lids are dry, take the painted wooden beads and place a dollop of glue on one end of the bead.
Once the glue is placed, place the bead on top of the jar lid as centrally as possible. Press down several times so that the glue takes hold. Leave to dry.
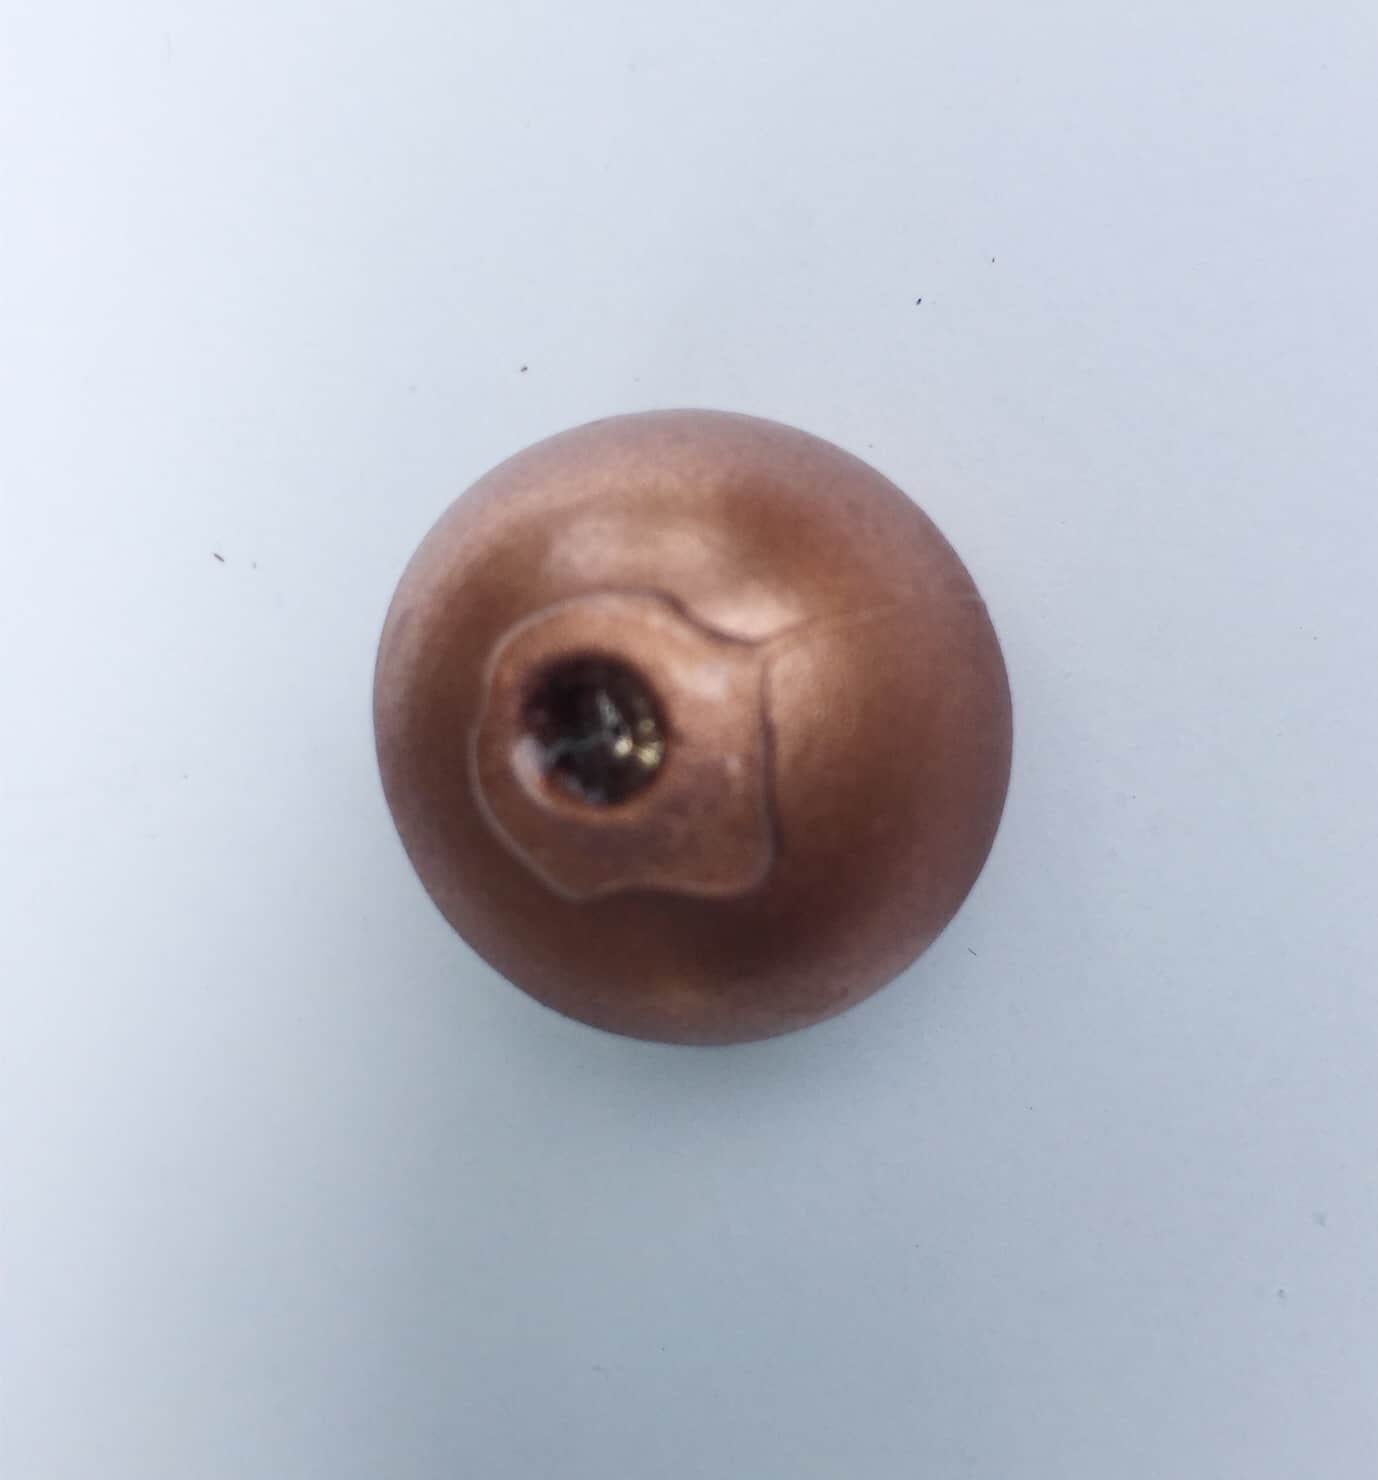
You should now have some perfect looking jar lids! (A note here – I left the hole showing at the top of the wooden bead. You may want to hide this by placing a tiny piece of wood patching substance into the hole and slightly around it, then sanding it down to make it neater and patch painting or spraying over the top of it. I personally think the hole left in the bead looks just fine).
Screw the lids onto your jars. They are now all ready to use and you have now have some lovely-looking recycled glass storage jars!
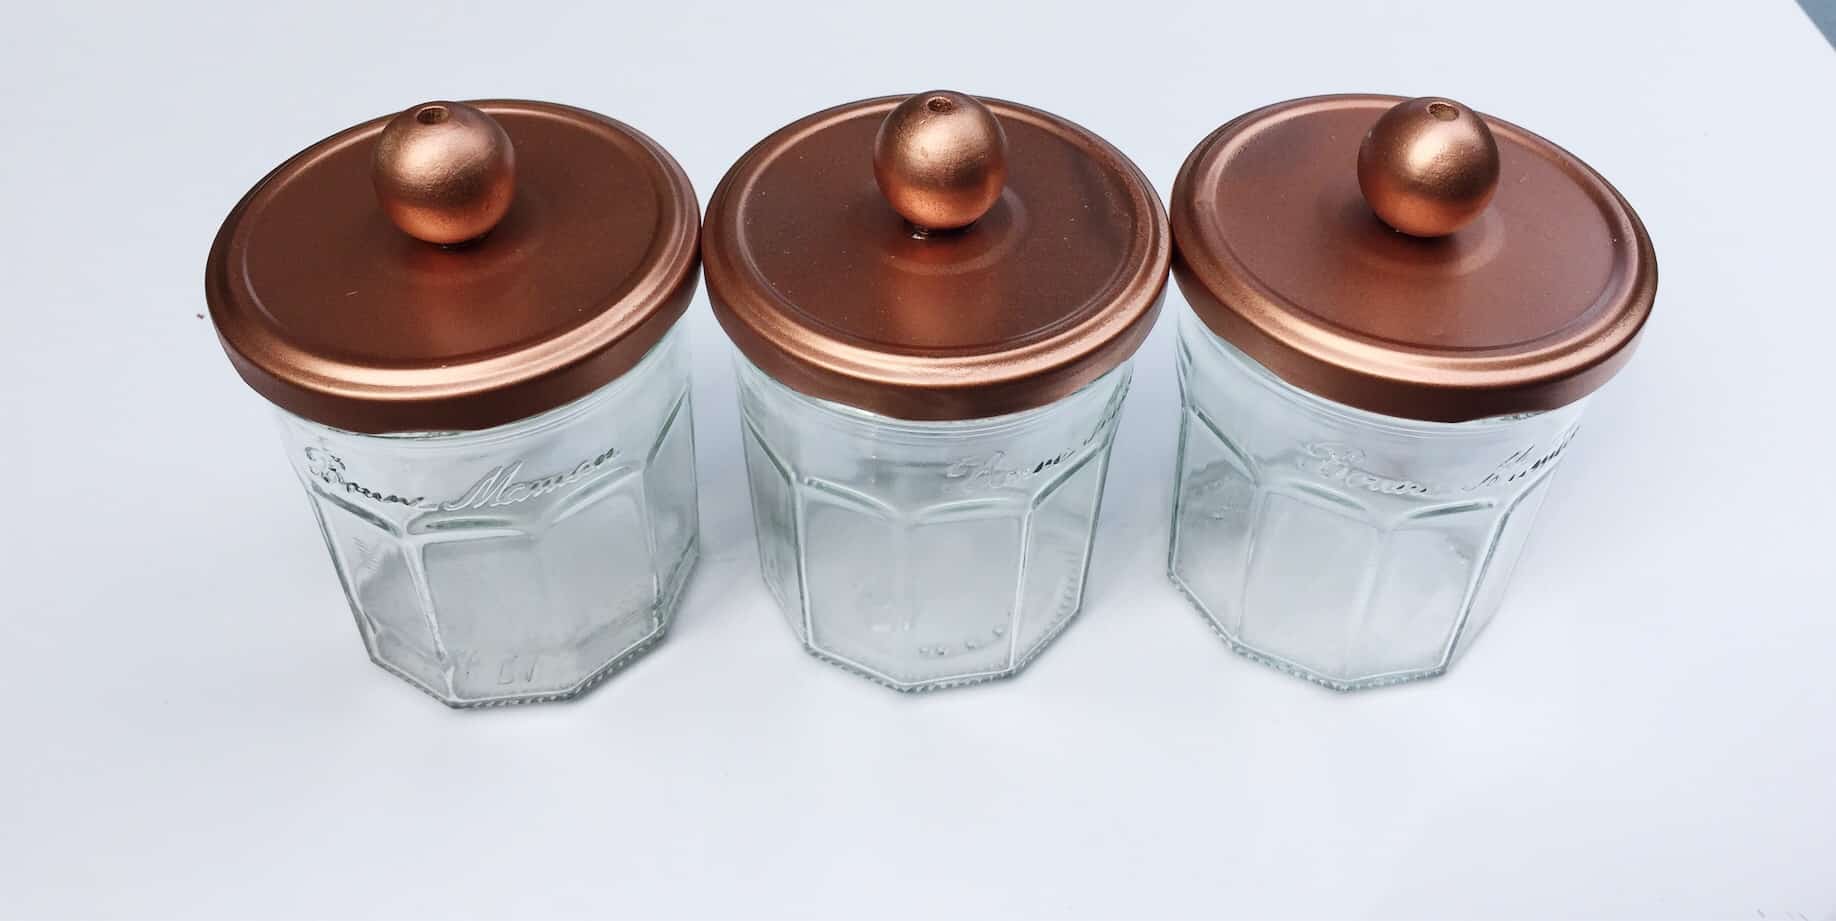
The end result! Beautiful recycled glass storage jars!
Hope you love your new recycled glass storage jars!
Want more DIY projects? Check out these posts: