
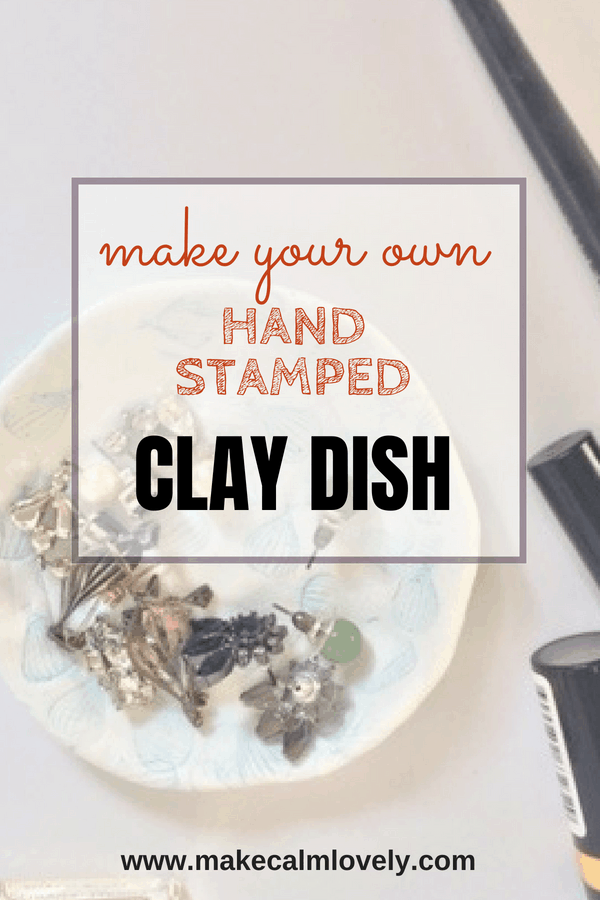
DIY Hand Stamped Clay Dish
Make this pretty hand stamped clay dish for your home
This pretty hand stamped clay dish can be used to store absolutely anything. It would make a great jewelry holder, or can be used on your office desk to store paper clips and other supplies.
It also makes a great ring holder placed next to the sink for the next time you are washing dishes and need somewhere to safely store your rings. It is made using easily available Fimo modeling clay, which is super easy to use, and this dish makes up in no time at all.
This DIY project is a great way to get absorbed in a project, with a great product at the end! It is fun to model and mold using modelling clay.
This post contains affiliate links. This means that if you click on a link in this post and make a purchase via that link I may receive a small commission, at absolutely no additional cost to you.
Fimo modelling clay is so versatile. and can be used to make so many things. It really makes into little dishes and bowls so well. This dish looks very delicate, but it is quite sturdy to hold small pieces of jewelry.
This project is so simple that you can easily make it in any size or shape very easily. The trick is to stamp your clay first, so that the pattern is then adhered to the clay that you will be molding and shaping.
But make sure you let it dry after stamping, as you don’t want smudged ink.
Supplies you need for this Project:
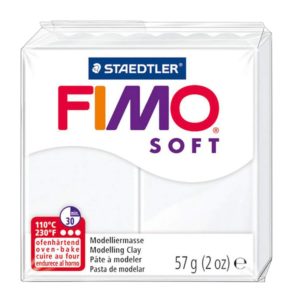
Fimo modelling clay (color of your choice, I used white)
Rolling pin
Chopping Board or kitchen mat
Rubber stamp
Ink pad
Small bowl (used as a mold)

Start by rolling out the modelling clay, a little larger than the bowl that you will use as a mold for your bowl. I roll my Fimo out on a cutting board, as I find it is then easier to pick up afterwards (some surfaces can cause the Fimo to stick, and that can ruin your work).
Using your rubber stamp and ink pad, stamp the design all over the piece of rolled Fimo. The spacing of the design does not have to be perfect, just stamp all over covering as much blank space as possible.
Once you have stamped your clay let it dry for a little while, to make sure it won’t smudge or smear. The last thing you need is a smudged design on your perfect bowl!
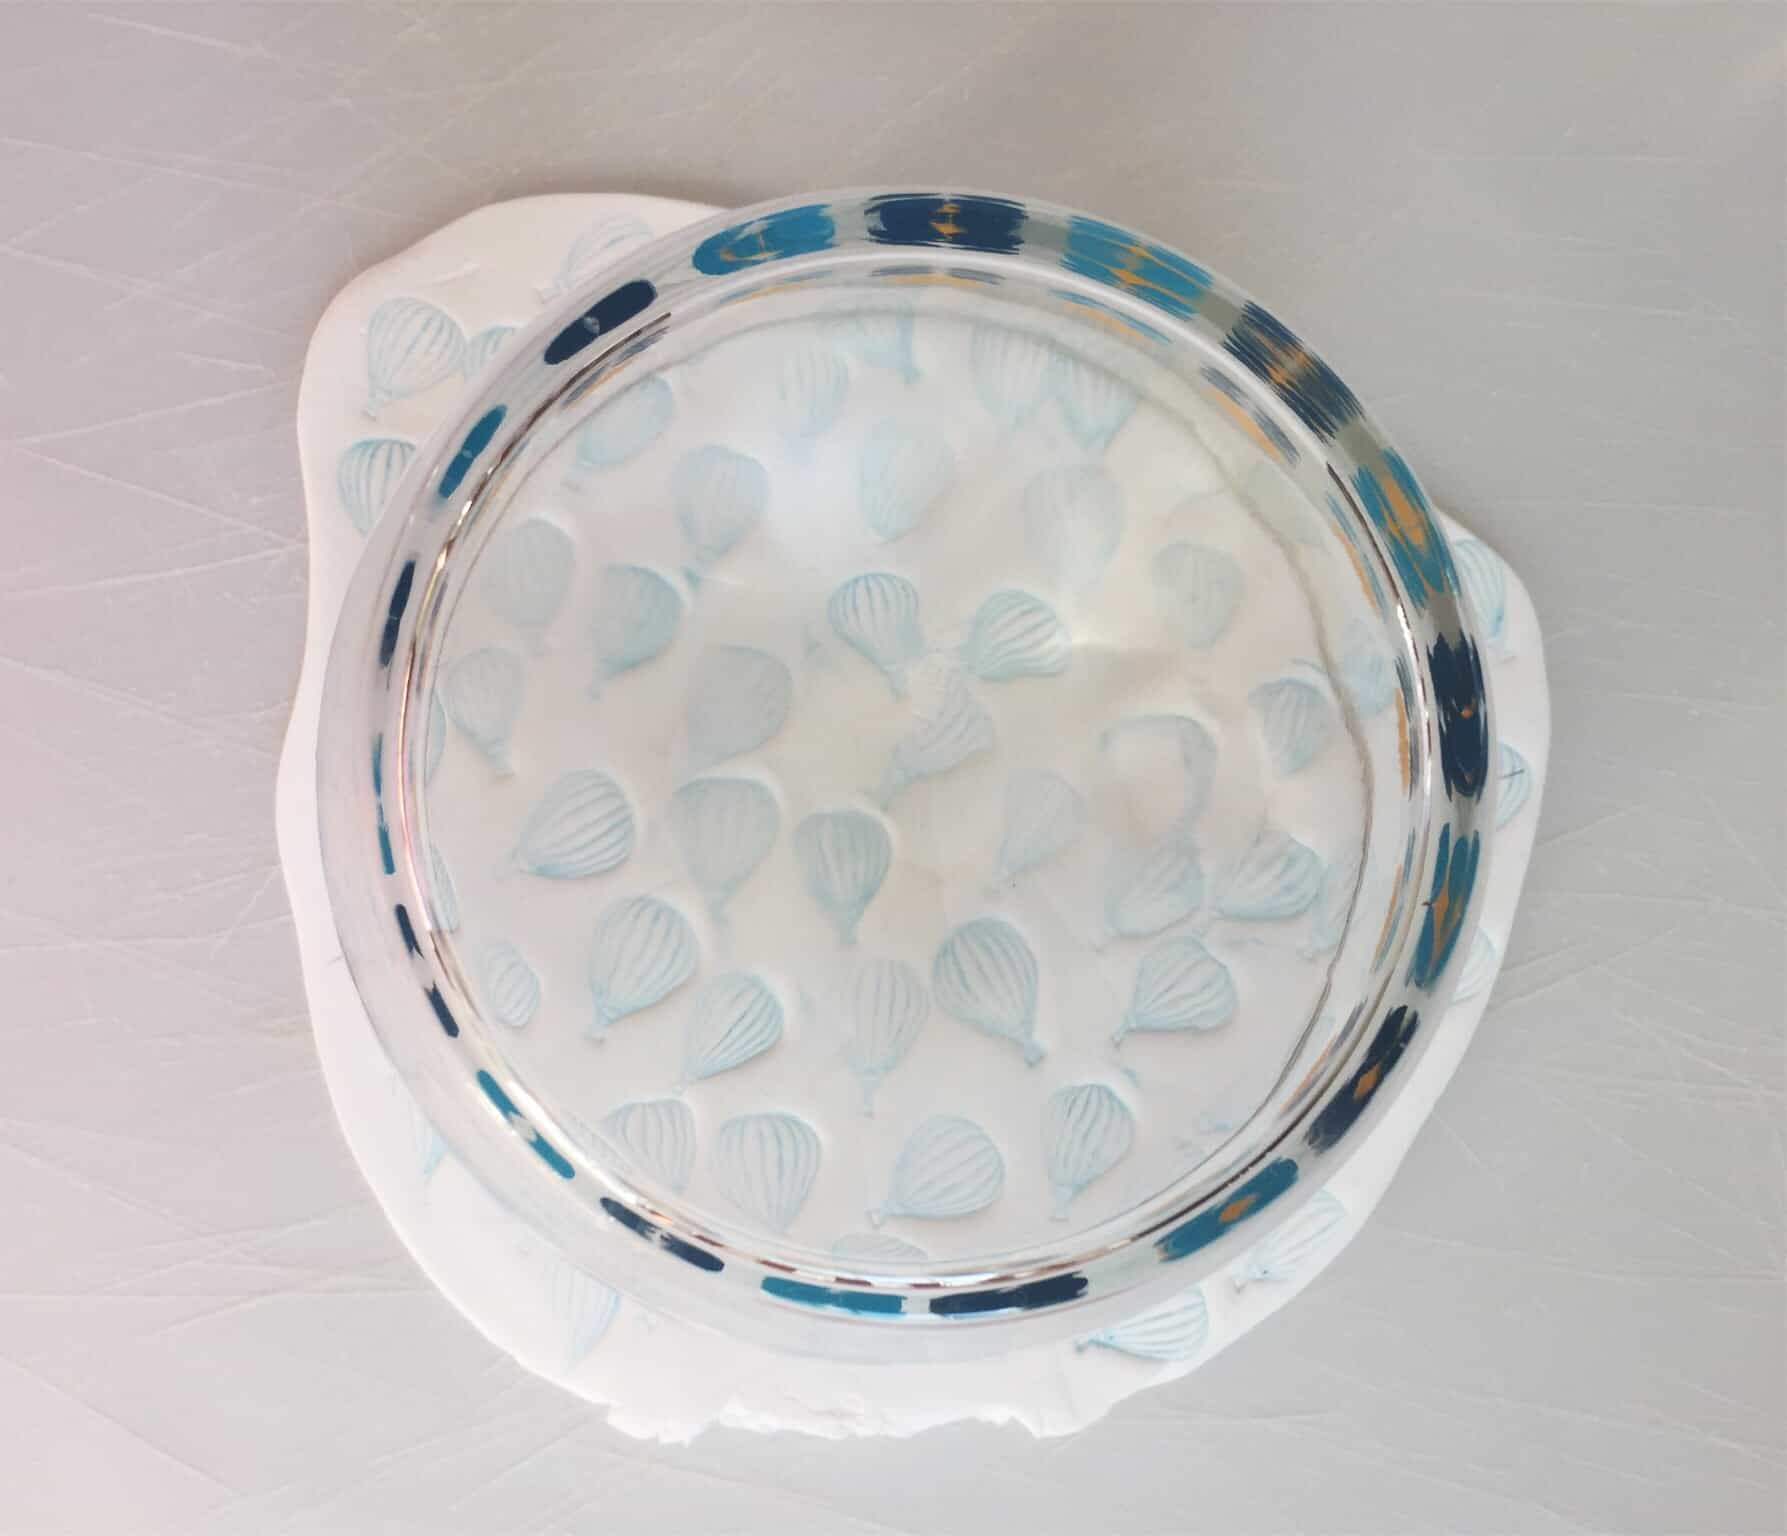
Place the bowl you are using to shape/mold your bowl on top of the rolled out Fimo. Press down as hard as possible, taking care not to move the bowl as you press down, so that you get a perfect cut out shape.
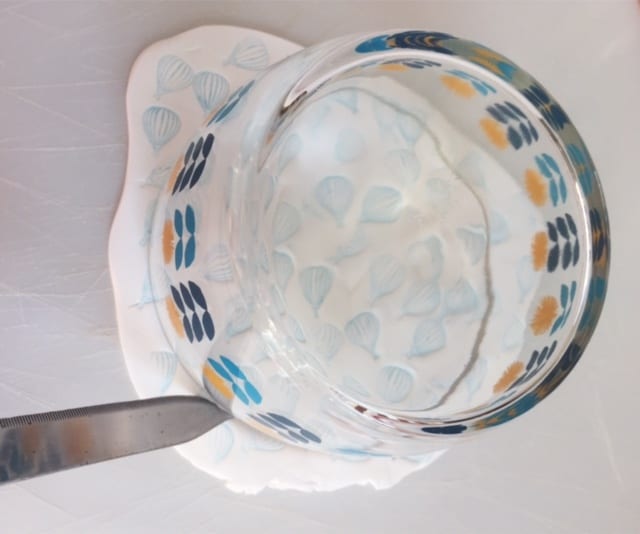
Cut around the bowl outside, cutting off the excess Fimo not covered by the bowl. Do this carefully to keep the edges as neat as possible.
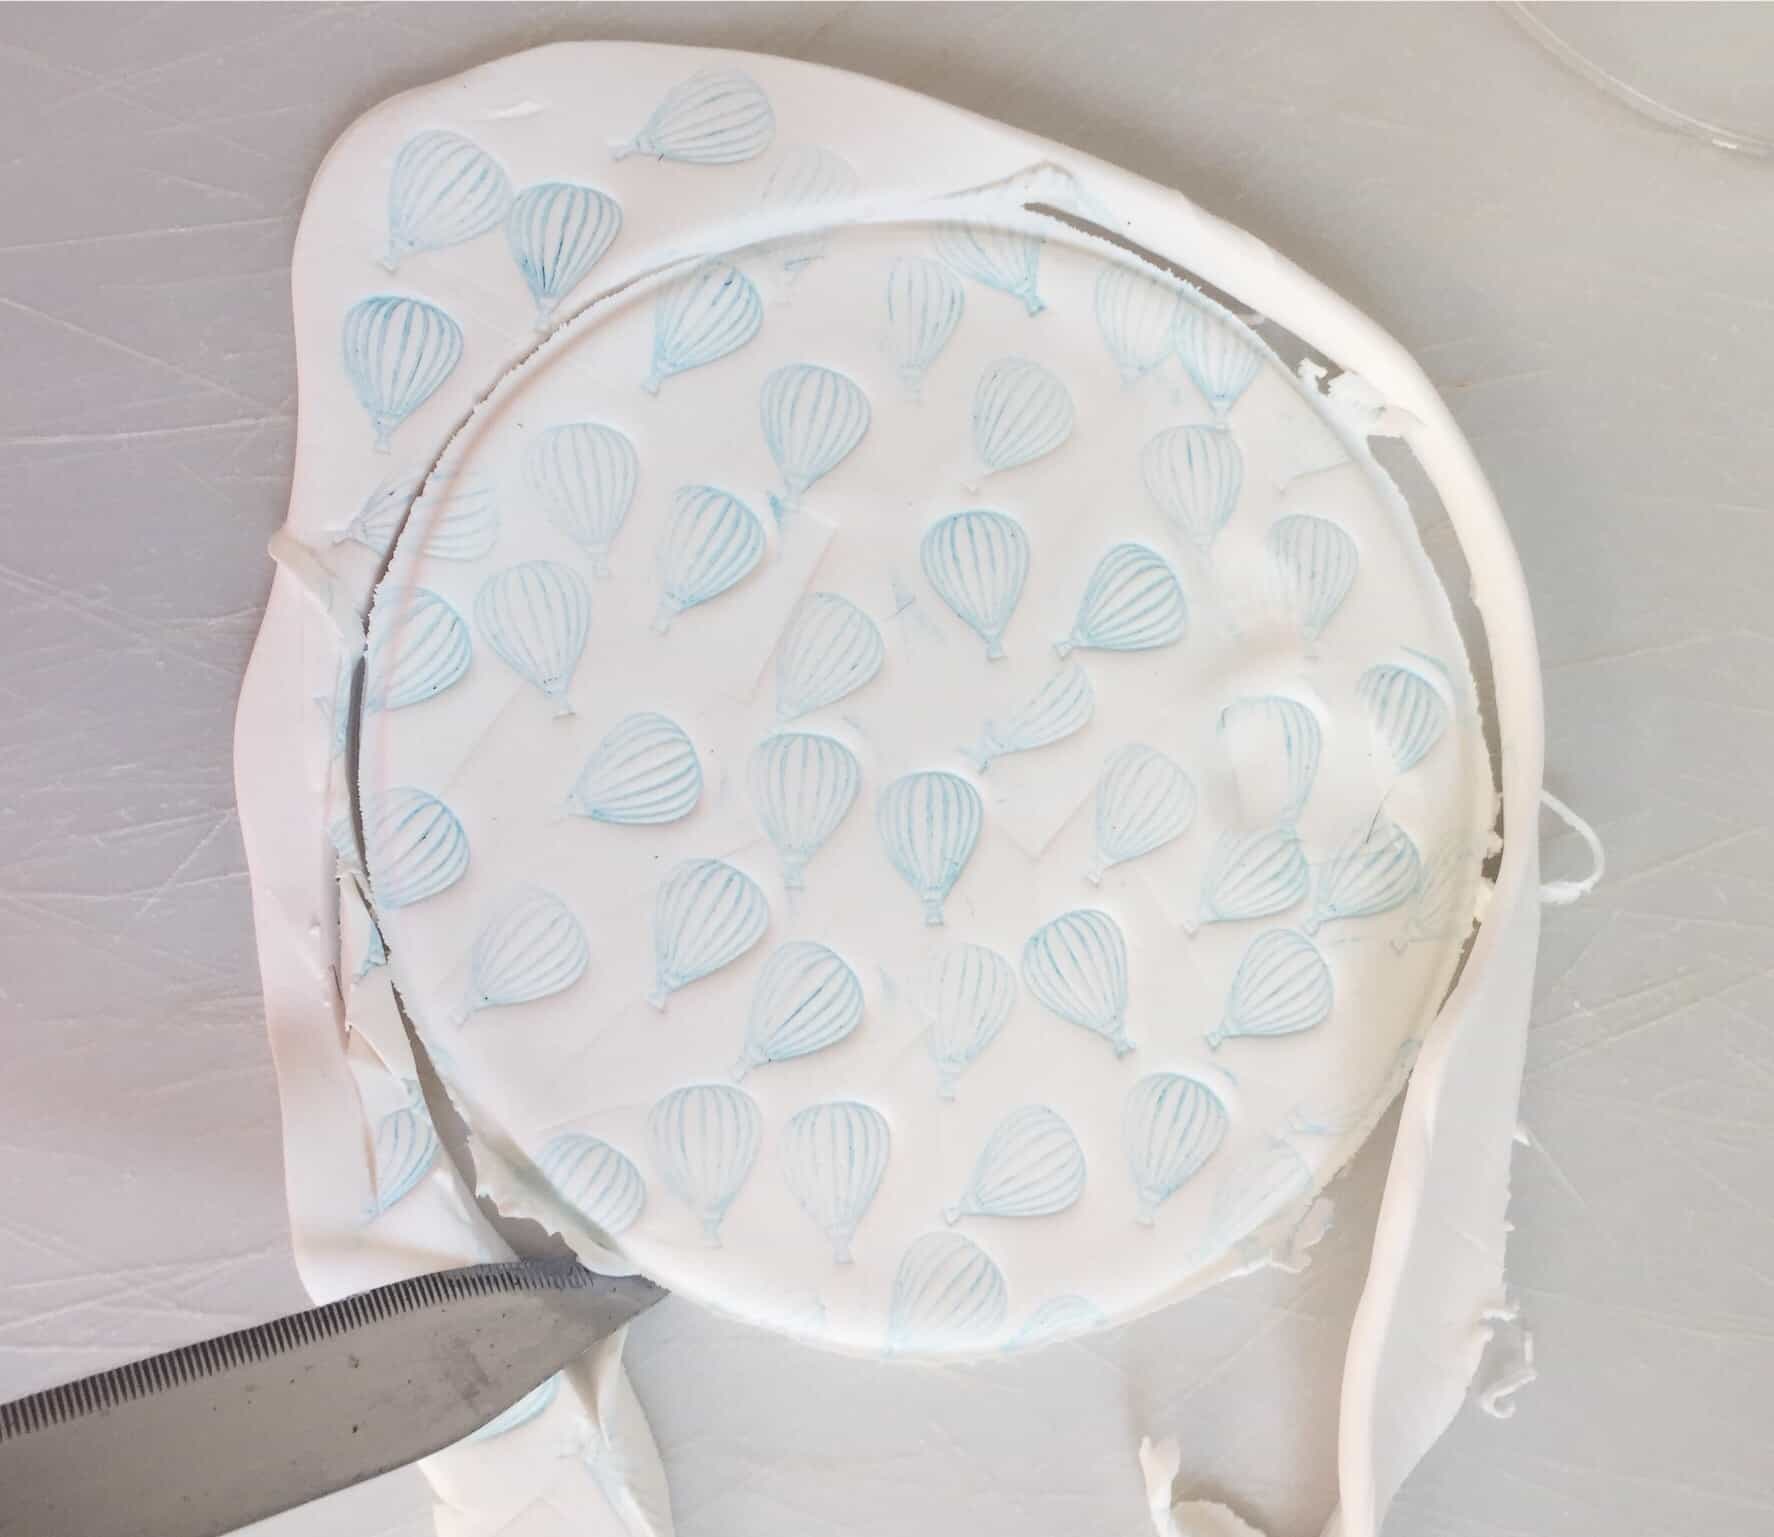
Remove the bowl and trim around the outside of the cut shape, removing the excess Fimo (this excess can be thrown away, or you can reuse it). Once again, do this as neatly as possible.
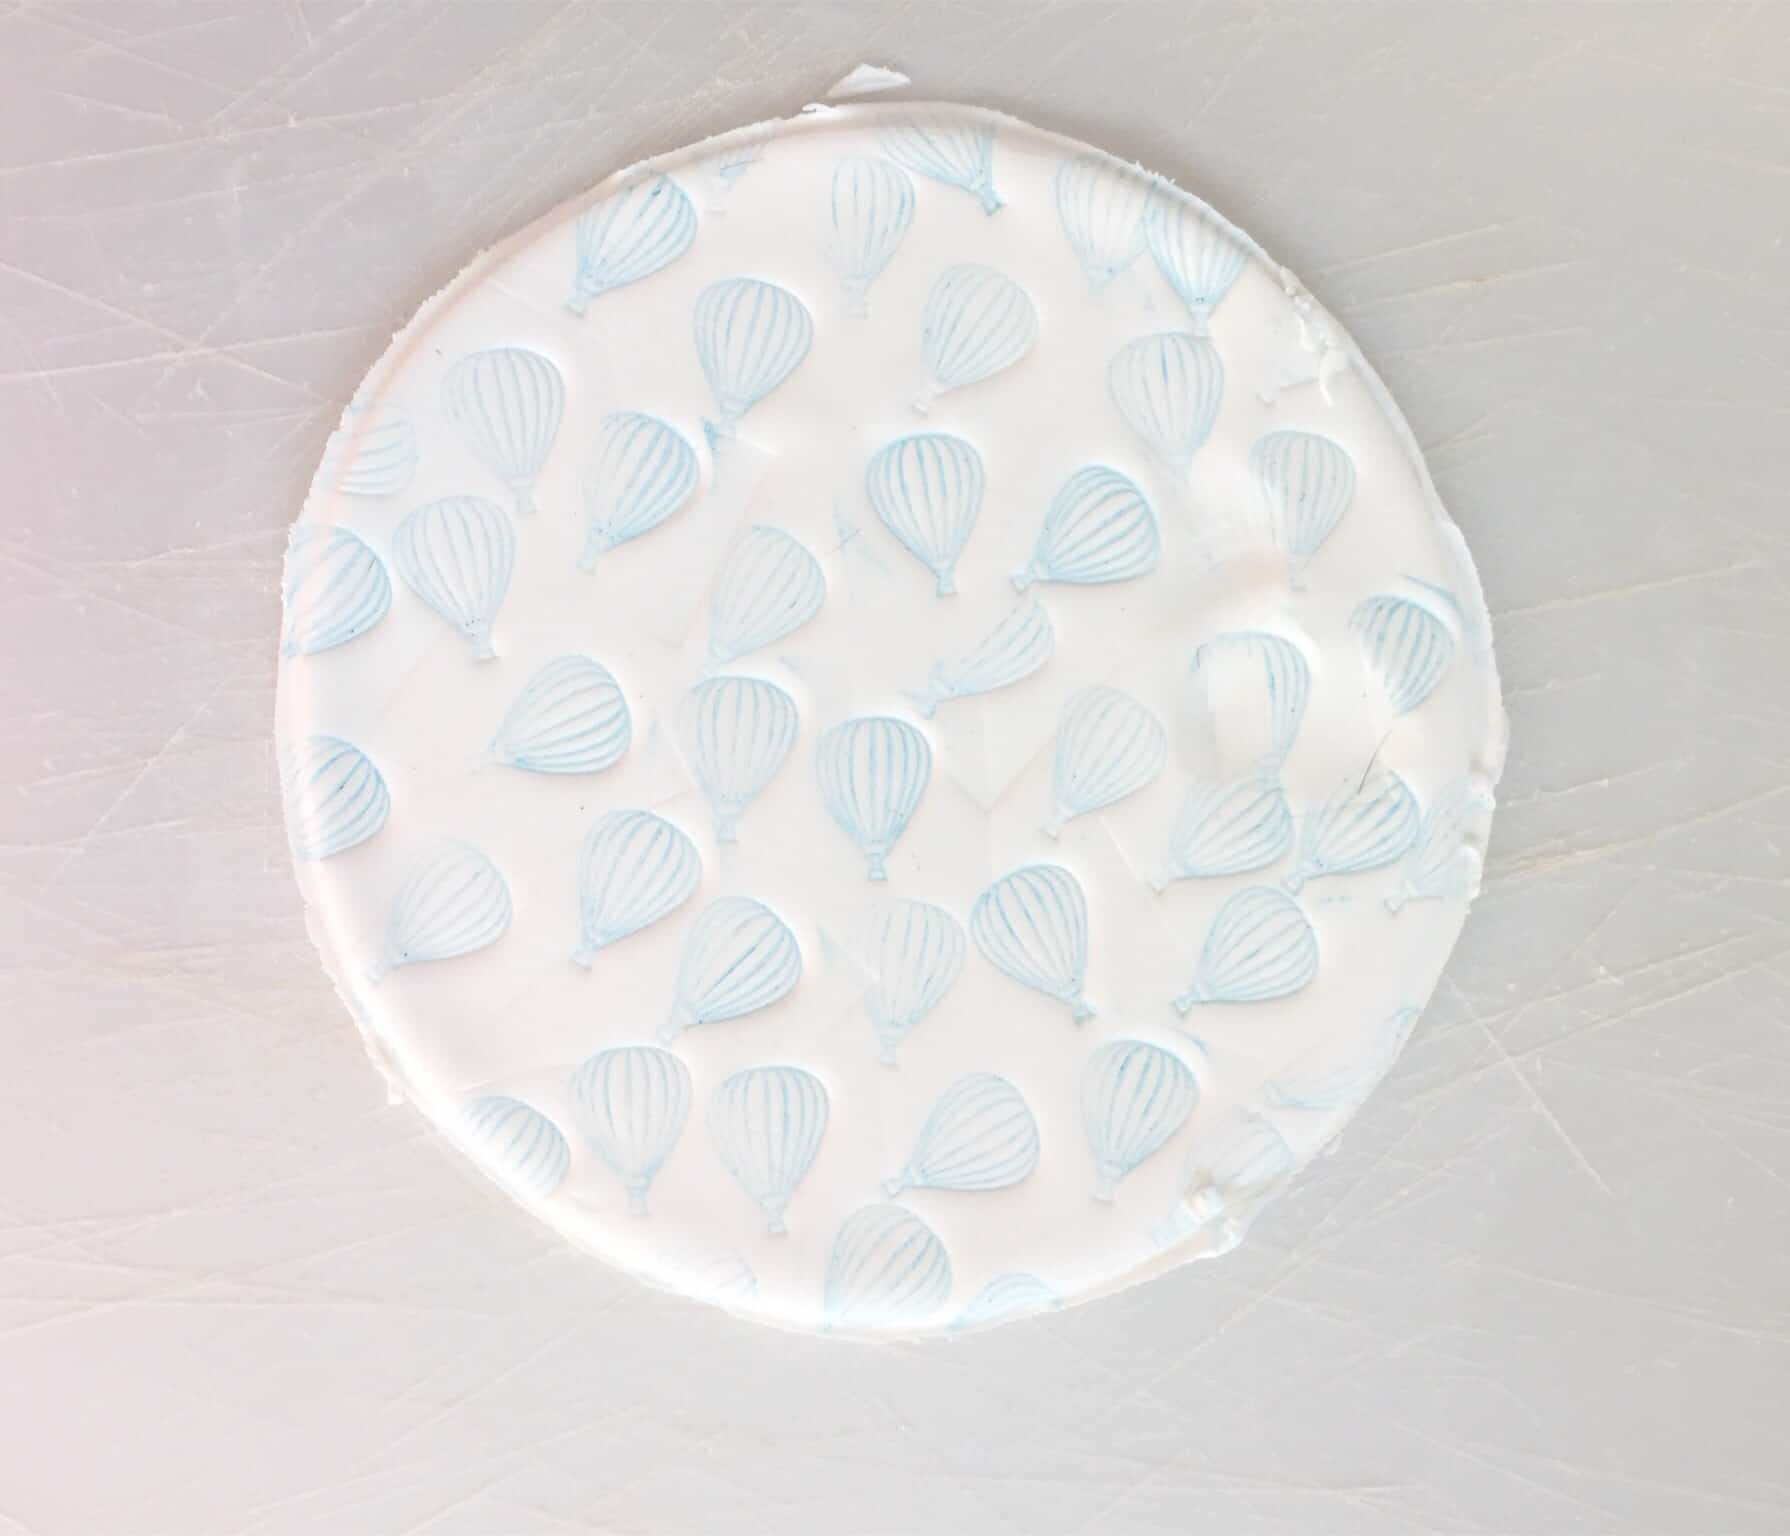
You will now be left with a stamped circle of Fimo clay. Go around the outsides and tidy up any loose pieces of clay that may be sticking out and hanging off.
Drape the circle of clay over the bottom of the bowl to push it into a bowl shape (the underside of the bowl is facing upwards).
Remove the Fimo circle from the outside of the bowl, and placing the circle in one hand, with the other hand push and pinch the bowl into a dish shape. Continue doing this until the dish is the shape you want it to be.
Sometimes the stamping can get a little faded with all the pinching and pulling manipulation you are doing to shape it.
If this happens, just take the stamp and ink and re-stamp onto the bowl, taking care to stamp over existing stamped images as neatly and accurately as possible. Once again, make sure the stamping ink is dry being touching the clay again.
Place the Fimo bowl onto either a sheet of aluminium foil or a baking sheet. Place in the oven at 230 degrees F (110 degrees C) for up to 30 minutes. Please note, these directions for baking are Fimo’s own. I ‘baked’ my bowl for slightly less than that time.
If you overbake it it can turn brown and scorched, so check on it constantly in the oven (I made this mistake the hard way when I first used Fimo!).
The bowl will not completely harden until it has cooled down, therefore when you remove it from the oven, place it on a surface to cool down well. Do not use until it is completely cool and hard.
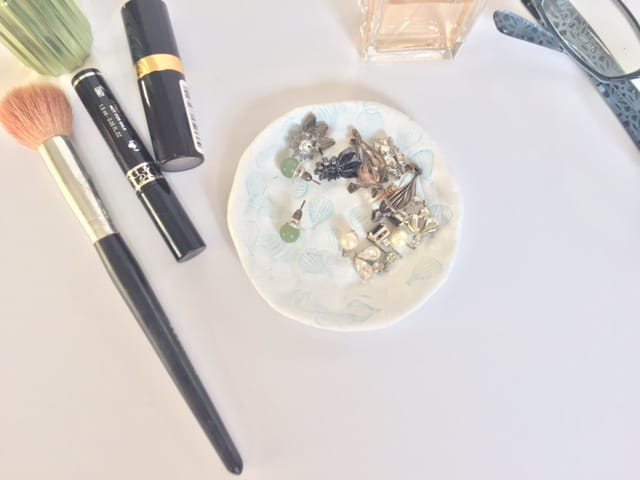
As you can see, this makes up a lovely little versatile dish that can be used for just about anything in your home or office. It is so easy to make, and you can really go to town with all different stamps, patterns, and colors.
Experiment with all different types, sizes and shapes of bowl/dish! This is such a fun DIY project to do. I think you will quickly get hooked on Fimo clay modelling!
You may also like these DIYs: