
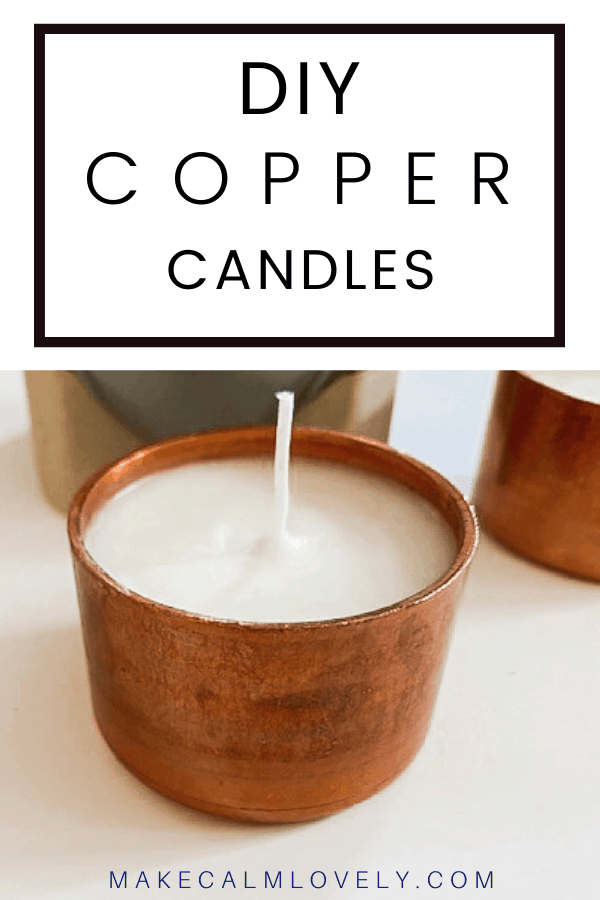
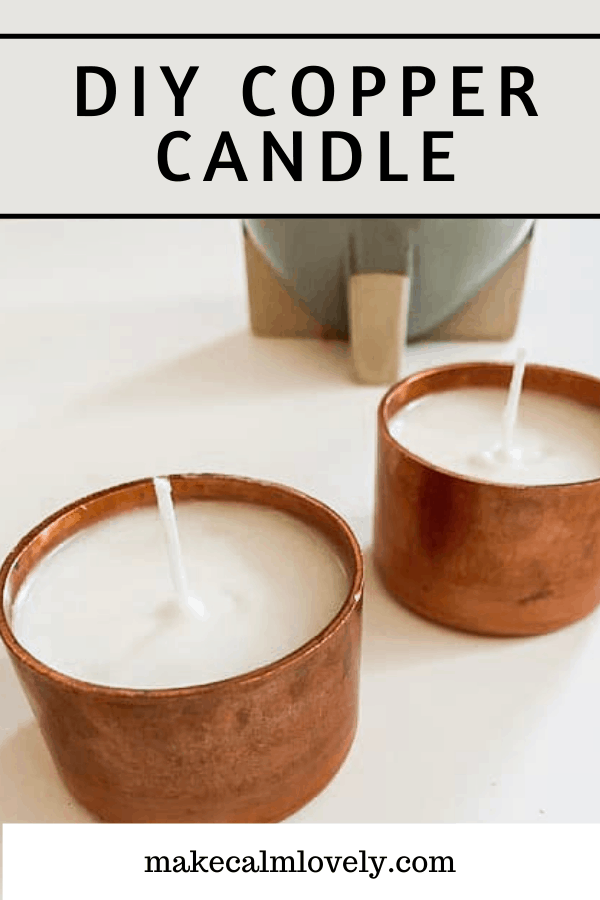
Copper Candle DIY
These copper candles are a simple, fast and easy DIY made with copper caps. Make some gorgeous copper pieces for your home, or to give as gifts to others
Am I the only one who enjoys perusing the aisles of hardware stores?! I love it because as a lover of all things DIY, there are abundant opportunities for great DIY projects in hardware store aisles!
Sometimes I just want to wander around and look at all the stuff they have! But those shop assistants always come up to me and ask if they can help me, and then I feel bad about just wandering around! I mean I’m pretty happy and content just doing that!
So, it was actually on one of my many hardware trips that I ‘discovered’ this DIY project. I cut through the plumbing section to get to another section of the store, and my eye was caught by all the copper plumbing that glittered at me as I went by!
Stopping to look at all those copper plumbing pieces, I immediately spotted a great DIY idea using copper caps.
Those copper caps are used all the time by plumbers for securing the ends of copper piping. But looking at them sitting on the shelf I just saw potential beautiful copper candle holders!
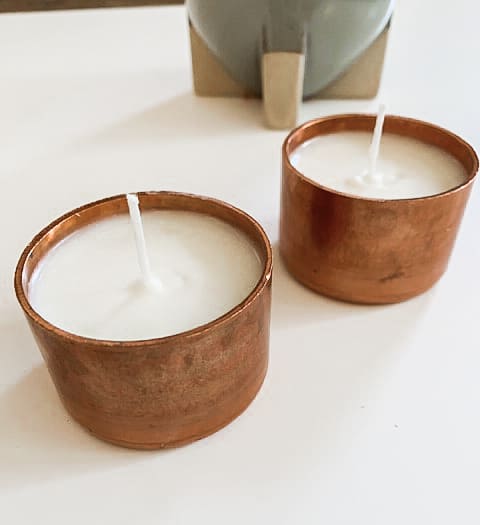
So I came up with this really fast and easy DIY – it makes such beautiful copper candles, with you hardly having to do anything at all. Just melt the wax, insert into the holders, let it dry, and you have such beautiful copper candles for your home!
These copper candles are so sturdy, and you can just re-use them time and time again once they burn down. Just keep refiling with melted wax!
These copper candles would make such unique and special gifts for others too. They look exactly like something you purchased especially on Etsy!
This post contains affiliate links. This means that if you click on a link in this post and make a purchase via that link I may receive a small commission, at absolutely no additional cost to you. You can view my disclosures here.

Supplies Needed to make the Copper Candles
Copper Caps. I used the2 inch size caps.
Metal jug or bowl
You might actually want to buy a complete candle making kit, that comes with the wax flakes, metal jug, candle wicks, stickers and wick centering devices. This set also comes with the soy wax flakes and all the equipment you need.
Copper caps actually come in many different sizes. The size I am using for this project is the 2 inch size copper caps. The sizing actually ranges from 1/8″ right through to 2 inches and above. I feel that the 2 inch size that I used for this is the absolute ideal size for a candle.
You can get the copper caps in most hardware stores. They are usually found in the plumbing supplies aisle. You can also get them on Amazon.
Related:Beautiful DIY Copper Pipe Creations for your Home
How to Make the Copper Candles
Making these candles is just so easy!
First of all, you need to place a wick inside the copper cap. If you buy a special candle making set a lot of the time these come with double sided sticky patches to help with this.
Or you can just glue down the metal part of the wick at the very bottom. Glue it to the center of the bottom of the copper cap, so that your wick is nice and centered in the middle of the candle.
Heat a pan of water and place the metal bowl or metal jug inside the pan of water. Put the wax inside the bowl or jug, and let it heat up and gradually melt. You can stir it as it melts if you need to.
If you want to add fragrance to your candle, you can add it as the candle wax is melting. There are special candle fragrances that can be used for this. You can also use a few drops of your chosen essential oil to the mixture for fragrance.
Once the wax has melted, turn off the pan of water. Be very careful how you lift out the bowl or jug with the melted wax inside, as it will be really hot, and you can easily burn yourself on that and also the melted wax. I would suggest using something like oven gloves.
Pour the melted candle wax inside the copper cap, until it reaches almost to the top of the cap. The wick should already be centered where you placed it, but to make sure that the candle wax sets with the wick centered well, either attach a piece of masking tape to the wick to keep it in place, or you can use a special wick centering device (most of these comes in kits).
Allow the candle wax to set. This should take a few hours, depending on the type of wax that you are using. Once the candle wax has completely set you can remove the tape or wick centering device.
Cut and trim the wick to the length/height that you need it to be. Don’t do this until the candle wax has completely set, so you won’t wiggle it around too much as you cut it and mess up the wax.
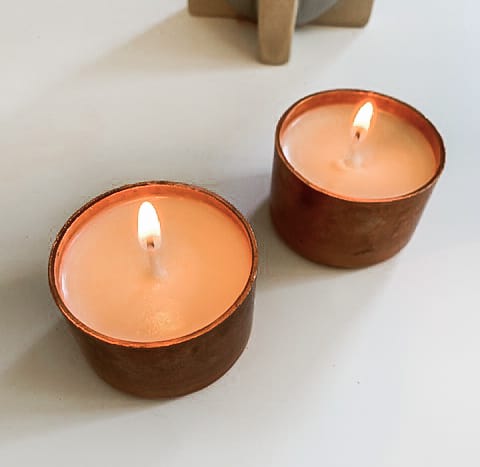
Enjoy your beautiful copper candles! The copper adds a bright modern warm look to wherever you place it in your home. These would also make the most beautiful gifts to give to your friends and family for the holidays.
Related: DIY Painted Salad Servers
Related: DIY Macrame Ring Wall Hanging
These copper candles are a simple, fast and easy DIY made with copper caps. Make some gorgeous copper pieces for your home, or to give as gifts to others