
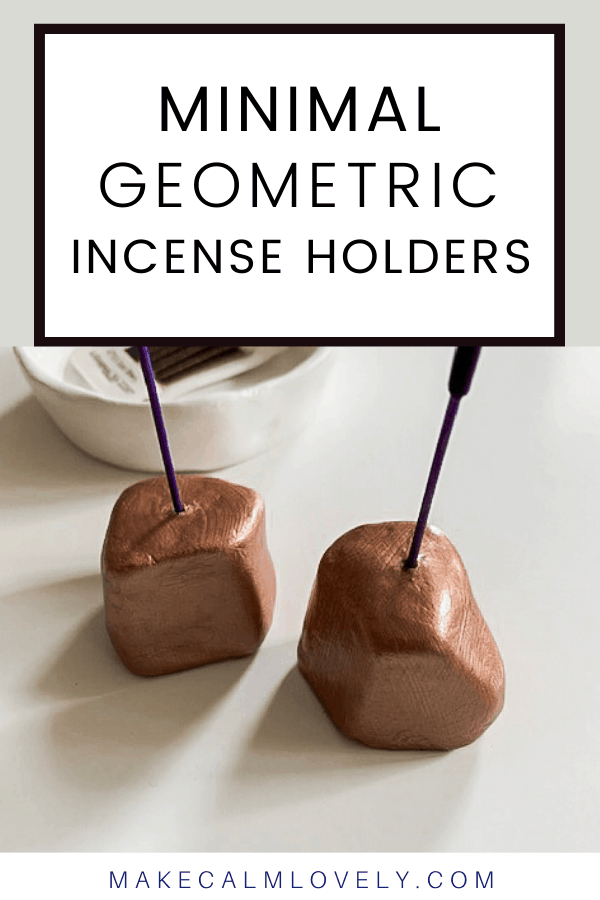
Minimal Geometric Incense Holders DIY
Make these pretty minimal geometric incense holders for your home, or as a special gift for others. These incense holders are easy to make, and will hold your incense sticks sturdily and beautifully.
I love to burn incense while I am doing yoga! It’s just one of those things that seem to go hand in hand. The smell of the incense really calms me and helps me unwind.
It can be hard to find simple modern incense holders that just do their job, discreetly and prettily. All I want is a small basic incense holder, but it has to look modern and pretty sitting on my table or shelf.
Clay seems to be the perfect material for making so many things, including incense holders. It works well for this because it is so easy to make the hole needed for the incense stick in the clay, and you can really manipulate the clay into any shape that you want.
I played around with clay (it is so much fun!) and eventually came up with the shapes I have for these incense holders. The geometric shapes seemed the most modern and interesting.
To me these incense holders are interesting and unique, yet minimal and no fuss, which is all that I wanted.
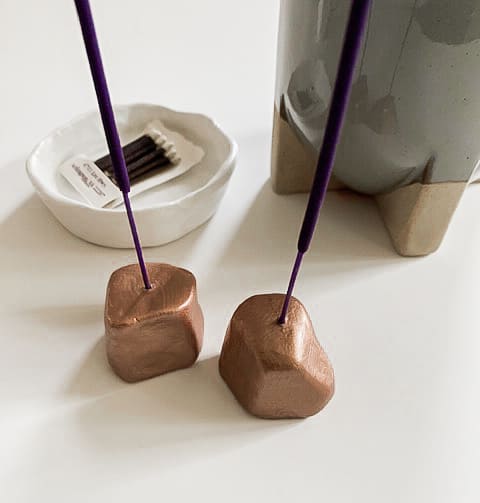
I painted some of them white, and some of them with copper metallic paint. Each holder has a different look and style. The copper painted ones look just like you are using a lump of copper for your incense, which I think has a certain charm.
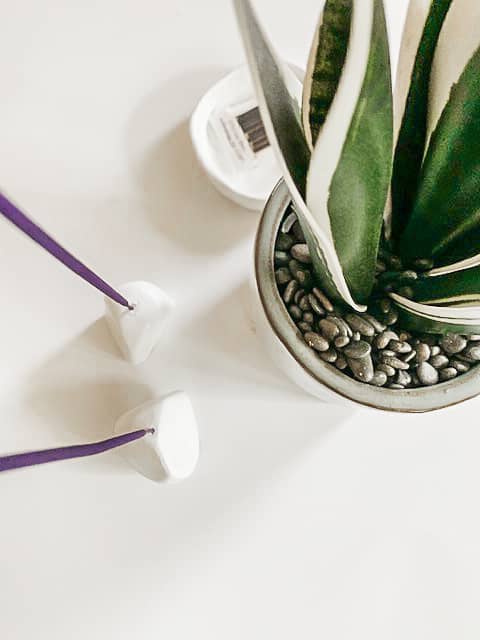
The white incense holders are minimal and simple. They are basic and stylish incense holders that are modern and pretty.


This post contains affiliate links. This means that if you click on a link in this post and make a purchase via that link I may receive a small commission, at absolutely no additional cost to you. You can view my disclosures here.
Supplies Needed for the Incense Holders
Sharp knife or craft knife
Sandpaper
Craft paint in Metallic Copper
I used air dry clay for these incense holders. There are clays such as Fimo that could be used instead. But to be honest I really liked the fact that air dry clay doesn’t need to be put in the oven and baked to set.
Air dry clay is exactly the same to work with as Fimo clay, but it does take longer to set and dry. I think these incense holders took about 3 days or so to completely dry. I moved them around every now and again to make sure that all the sides had ‘air time.’
How to make the Clay Incense Holders
Air dry clay can be a little messy to work with. It is a little more powdery to work with than Fimo clay. I always use damp hands to work the air dry clay with, as it seems to eliminate some of the mess and make the clay easier to work with and manipulate.
Pull off a piece of the air dry clay, and roll it into a ball. Depending on the size of the holder that you want to make, make a ball in the size that you will need for your holder. Bear in mind that you will be trimming off parts of the clay, that will reduce it in size.
Once you have your ball formed, start to cut off pieces and shape it with the knife. To get the geometric shape you need to cut it at different angles, slicing off bits of clay here and there.
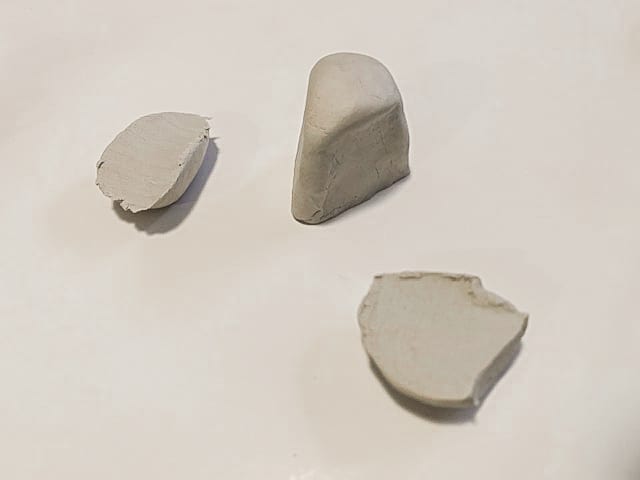
Once you have the shape that you want, smooth out the edges of the piece with your fingers. It may help to wet your fingers a little to do this. Make sure that all sides are smoothed out. You will also be sanding them once they are dry to get them even smoother.

Poke a hole in the top of the holder with an incense stick. That way you can make sure the hole is just the right size and form it now. I air dried my incense holders with the incense stick still inserted, to make sure that the hole stayed open during the drying process.
Leave the holders to air dry for several days. You may want to turn them every now and again to make sure that each side gets air to it to dry faster. I also removed and re-inserted the incense sticks every now and again to make sure they didn’t stick too permanently into the clay while it was drying.
Once the incense holders are dry on all sides, buff them gently with sandpaper. You want to make sure that there are no uneven ridges in the sides, and that all the sides are smooth. Note: This can be a little messy with clay dust, so cover and protect your surfaces when doing this.
Once all the sides of your incense holders are smoothed out, you can paint them in the color of your choice with the acrylic craft paint. I found that they needed two coats of the paint (allowing each coat to fully dry in between).
Once the two coats of paint are completely dry, brush on the Mod Podge. This will seal the holders and prevent them from cracking, and also add a nice sheen to them.
These pretty incense holders would also make a great gift for somebody too. Gift them together with a pack of incense sticks!
You may also like these DIY posts:
DIY Jewelry Projects that are really unique and pretty

Make these pretty minimal geometric incense holders for your home, or as a special gift for others. These incense holders are easy to make, and will hold your incense sticks sturdily and beautifully.