

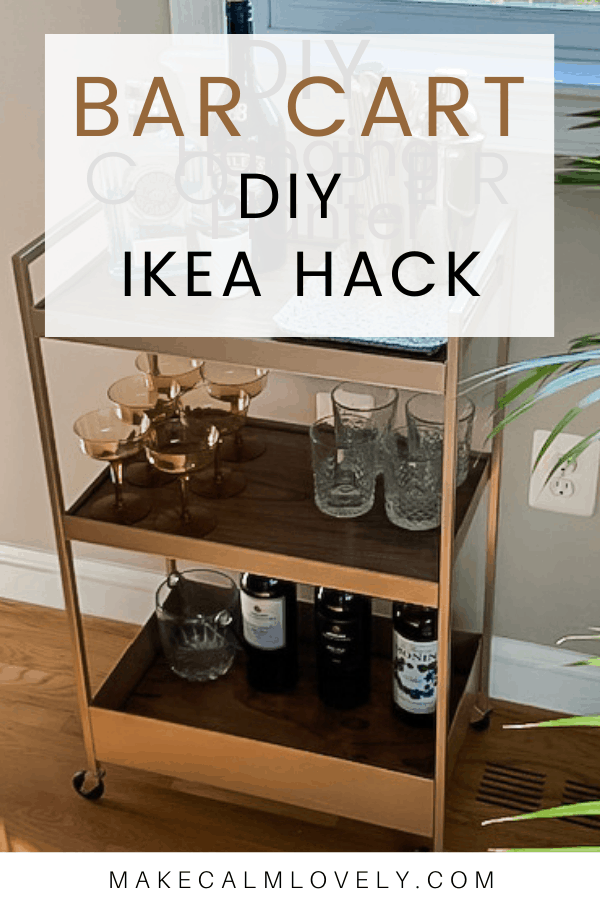
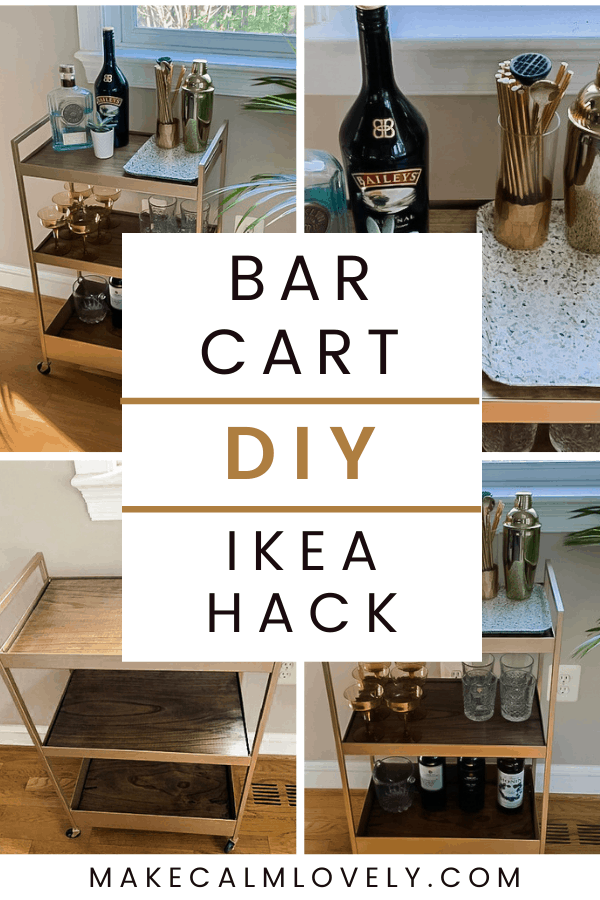
Bar Cart DIY IKEA Hack
This DIY turns the IKEA Nissafors utility cart into a beautiful and functional bar cart for your home. This is an easy DIY project that will create something you will treasure for many years
I have been looking for the ideal bar cart for our living room for a few years. All the ones I loved are either way too expensive, or are just not exactly what I want and need.
I love the gold color of a bar cart, but they can sometimes be a little “too flashy” in color. I wanted something pretty, yet subtle and stylish.
As I have many pieces of wood furniture in my living room – including a wood coffee table, I wanted to try to have something that matched with that if possible, or at least complemented it.
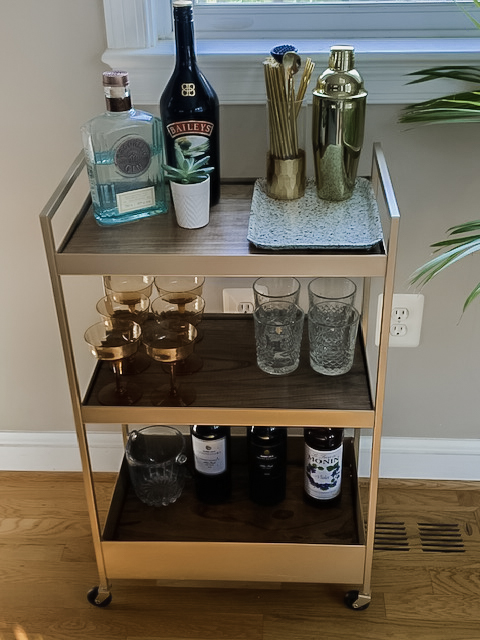
I decided on wood shelves for this bar cart. They match up with my existing furniture, and they add a much more stylish and more professional look to the cart.
I could have gone with just the gold spray-painted shelves, but I really felt that it needed something more to add more substance to the cart.
I am so glad I went with the wooden shelves. I absolutely love this bar cart! It takes pride of place in my living room, and everyone comments on it and asks where I got it from!
Bar carts are such awesome pieces of home decor. They can really turn an unloved corner of your room into something more special. They are useful as well as stylish.
Even if you don’t drink alcohol you can use a bar cart for Mocktail supplies. You could also use this cart for something other than a bar cart, if you don’t need a bar cart especially.
This is such a pretty cart that it could be used for so many things in your home.
This post contains affiliate links. This means that if you click on a link in this post and purchase something via that link I may receive a small commission, at absolutely no additional cost to you. You can view my disclosures here.
Supplies Needed for the IKEA Bar Cart Hack
I used this gold spray paint for my bar cart. I am so glad that I chose this particular color. I wanted a gold look to my cart, but I didn’t want a gold that was too flashy or too shiny looking.
This color (warm gold) is a beautiful champagne colored gold, that really looks great on the cart and is really tasteful and stylish.
The color of the wood stain that you use will be quite a personal choice. I used this dark walnut wood stain on my shelves.
This was chosen because it matched more accurately the wood color of my existing coffee table in the room. I do think that with this shade of gold paint, a darker wood shelf color/shade is much nicer.
The polyutherane goes on the wood shelving as the final coats.
I used this clear satin finish fast drying polyutherane.
Related: IKEA Moppe Apothecary Chest Hack
Instructions for Hacking the IKEA Bar Cart
Step One: Assemble the Cart
Start by assembling the Nissafors cart entirely. I am recommending that you assemble the cart first because you will get a much better finish on the cart that way, and the project will be so much easier to do.
When you first get the Nissafors cart it comes in many pieces and needs to be assembled. Because it came unassembled straight from IKEA I thought that spray painting each piece first and then assembling it would be the ideal way to do this DIY. I was wrong!
I spray painted all the parts of the cart first, which took a long time – to do one coat, let it dry, then another coat etc. I had to keep turning over pieces of metal, and try to get the paint even. Then I assembled the cart after everything was sprayed and was dry.
But once you assemble the cart you will quickly see many things that means it makes more sense to assemble the cart first, then to spray paint it.
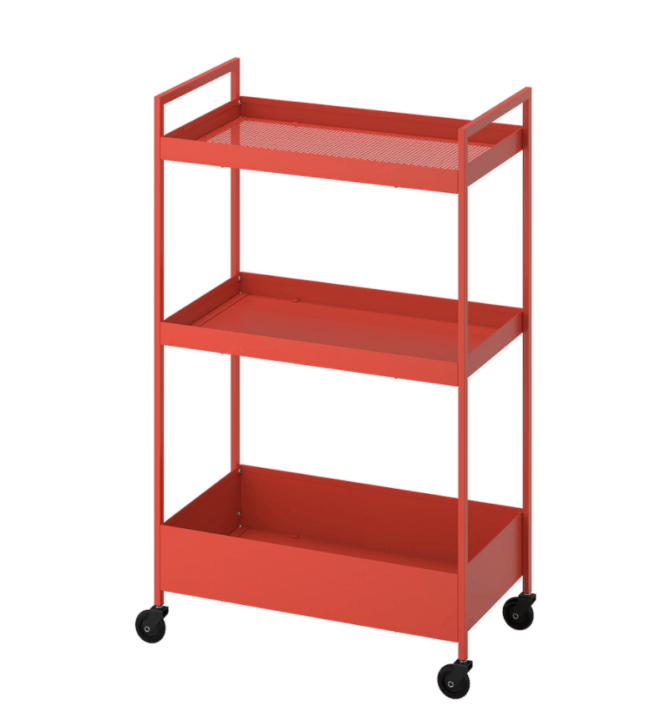
There are little plastic pin type pieces that keep the cart pieces in place. They come in the color of the cart itself (I started out with an orangey red Nissafors cart – so mine were that bright color!).
I had to completely re-spray the cart once it was assembled, so I could cover the colored plastic pieces too, and give the overall cart a much better spray and look. So assemble the cart first, and save yourself time and stress!
So all in all, my ultimate recommendation about doing this DIY is to assemble the cart first, then to spray paint it a couple of times. Two coats should do it.
Make sure you buy at least 2 cans of the spray paint you are using, so you don’t run out mid-project (I did! and I had to drive an hour to the only store that had the particular paint color I needed….)
** Please see Step Two below about the wheels before you fully assemble the cart
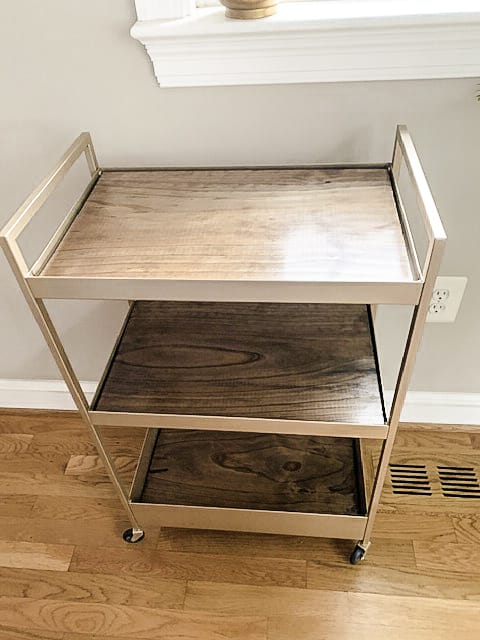
This is how the Nissafors cart looks once assembled before you hack it:
Step Two: Prepare the Cart for Spray Painting
Once the cart is completely assembled you are going to be spray painting the entire cart.
However, I removed the wheels from the cart (you can of course not place the wheels when you assemble the cart to save having to remove them again).
You could spray paint the entire cart and just cover up the wheels. But I wanted the metal part of the wheel unit itself to be the same gold color as the rest of the cart, which I just think looks so much better.
The wheels themselves have black ‘tires’ and they have black metal surrounding the wheel part. You could of course cover them up and spray the cart and leave them entirely black. But I wanted them to match.
I removed all the wheels and covered the wheel/tire part up with tape. I then spray painted the wheels separately. It took about two coats of paint on each side of each wheel.
Spray paint the cart itself with at least two coats of the spray paint. The paint is quite fast drying, but I would advise doing this on the nicest day possible.
Allow each coat to completely dry before spraying the next coat.
Spray the cart from about 12 inches or so away, to prevent paint pooling in certain areas of the cart. Try to spray as evenly as possible to get the best finish on your cart.
Please also note – only do this in a well ventilated space – preferably outside. The paint has a very strong odor, so don’t use it indoors if possible.
Also make sure to do it away from other things as much as possible, as the spray paint does tend to get carried in the air and can quickly land on other things nearby.
Related: DIY Fabric Linen Cocktail Napkins
Step Three: Make the Wooden Shelves
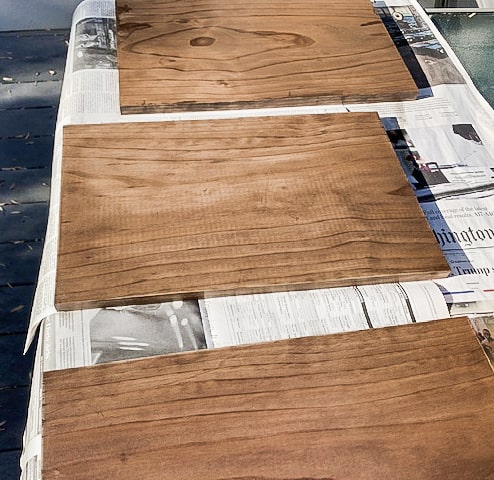
I went to my local Home Depot store and purchased a 1×12 plank of wood. I then had them cut the piece into 3 pieces, all the same size.
I had a little 4th piece left over at the end after it was cut, and I am just saving that for something I might need it for!
The size of each shelf – and you will have 3 shelves for the cart – is 18.5 x 11 inches each (note: it is just a tad over 11 inches on that measurement).
You can cut them yourself, but if you don’t have the tools, or just prefer to have someone else do it, most stores like Home Depot will cut it free of charge for you.
Sand down each wooden shelf, back and front with very fine sandpaper. Once each shelf is sanded, wipe down to make sure there is no dust remaining on the wood.
The cut ends of each piece of wood will need more sanding, as they can be quite rough.
Stain each wooden shelf with the wood stain. I found that I needed two coats of the wood stain for the best coverage. Allow each coat to completely dry before placing the next coat.
The wood stain I used needed around 2 hours or so between each coat drying time.
Once the shelves are completely dry (I left them overnight to completely dry), apply a coat of polyutherane to the side of the shelf that will be on display on the cart.
You could of course put polyutherane on each side of the shelf if you are likely to turn the shelves over at any point, but I just placed it on the top part.
Once the polyutherane was dry – again I left it out to dry overnight. I sanded down the shelves again to get an even smoother finish, then I applied another coat of polyutherane, and allowed that to also dry overnight.
Once again please make sure that you stain the wood shelves in a well ventilated place, preferably outside. Choose a nice day where they will dry as fast as possible.
Once the shelves are completely dry you can then place them onto the cart. With the measurements I gave they should insert really easily onto the metal shelves.
There will be a little gap between the wooden shelf and the metal shelf, which is normal and ok.
Note: I did not place anything at all on the wooden shelves until about a week after they were first stained. This allowed the stain and polyutherane to completely set and dry.
I didn’t want anything on top of it affecting the finish before it was completely ‘cured’.
LOVE THIS IKEA HACK? PIN IT FOR LATER!
Follow MAKE CALM LOVELY on Pinterest!
Related: IKEA’s Secret DIY Website: Full of Amazing Ideas!
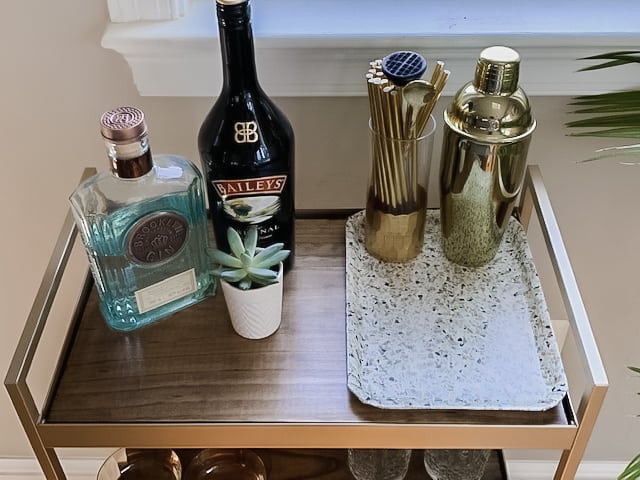
Once the wooden shelves are completely dried and ready, start styling your bar cart (you can see my tips here on styling a bar cart!).
I absolutely love my new bar cart! It is exactly what I wanted, and I was able to make it for so much less money than I would have paid for the ideal one from a store.
What can I use Instead of the IKEA Nissafors Cart?
I think the IKEA Nissafors cart makes a beautiful bar cart. But if you can’t get hold of a Nissafors cart, or you want to use another cart, IKEA sells many more carts that can be turned into beautiful bar carts.
Those carts include the Raskog cart, Hornavan, Bror, Sunnersta, Draggan and many more!
You could also find a cart in vintage shops or flea markets, and turn it into a bar cart.

This DIY turns the IKEA Nissafors utility cart into a beautiful and functional bar cart for your home. This is an easy DIY project that will create something you will treasure for many years

About Make Calm Lovely
Make Calm Lovely is a lifestyle blog specializing in IKEA DIY hacks, DIY & craft projects, home decor and so much more! Check out all the amazing things you can do and create to make your life calmier and lovelier at Makecalmlovely.com!
Not sure what you mean by a plank of wood ‘ 1 x 12 ‘ ?
A 12 inch plank of wood