
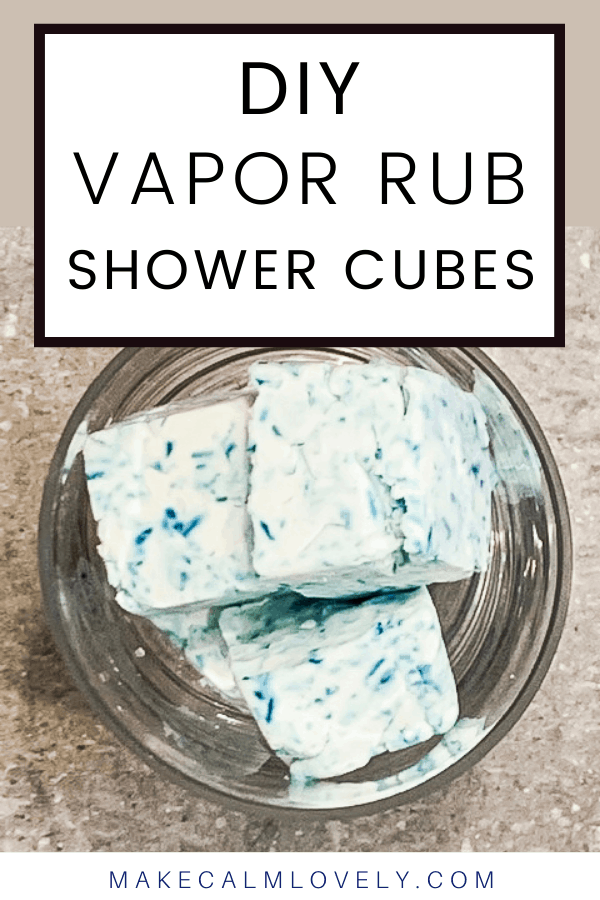
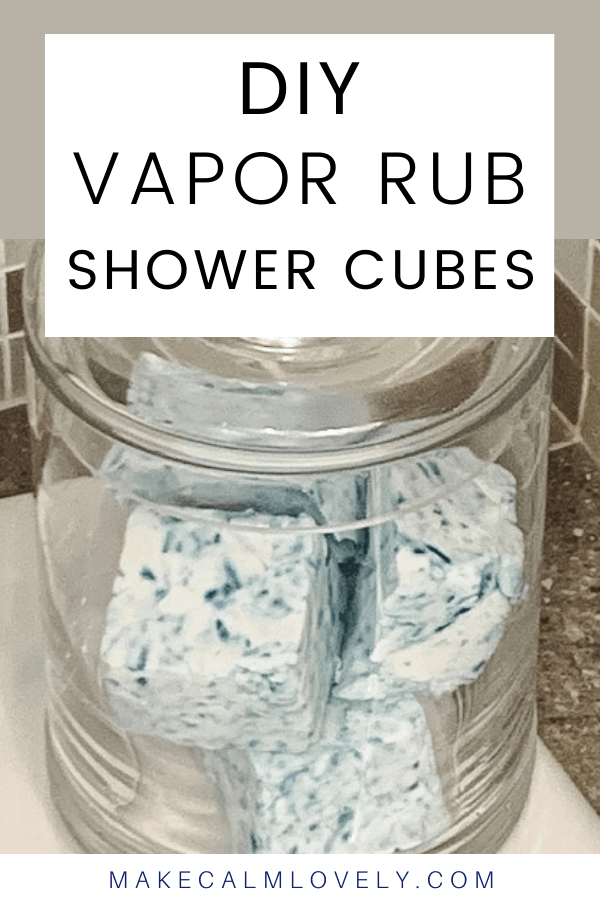
Vapor Rub Shower Cubes DIY
These Vapor Rub Shower Cubes are the perfect thing to clear your sinuses and head during allergy and cold seasons. These are easy and make up in less than 20 minutes.
I love the Autumn, (or Fall as they call in my adopted country of the USA!). I don’t particularly like the colder weather, but I do love the fact that I can now wear leggings and sweaters, and really snuggle up.
Once summer turns into Fall our garden is full of leaves, as we are surrounded by trees. The changing tree colors and all those colorful leaves look so pretty. But unfortunately they really mess up my sinuses. I get such terrible allergy headaches when the leaves are all tumbling down.
This year I even tried raking leaves in a mask. But it didn’t do much good. The next day I had a terrible allergy headache that just persisted and persisted.
I get allergies in the spring and autumn/fall, so I have had many years of trying to come up with the best remedies for the runny nose and headaches that I get.
Vapor rub is one of the things that can really help me when my allergies are really bad. I sniff it as much as I can, and it really does help. It clears your nose and opens up your sinuses much more.
Another thing that really helps allergy and sinus headaches is steam. A hot steamy shower is fantastic for opening up your sinuses.
So in order to make the most of Vapor Rub, as well as hot steam, I created these Vapor Rub Shower Cubes. They are easy and fast to make, and you can place them in your hot shower and both the steam and the Vapor Rub will waft up and really help to clear your sinuses and head.
Whether you are suffering from allergies, or it is cold and flu season, these Vapor Rub shower cubes will really give you some relief.
This post contains affiliate links. This means that if you click on a link in this post and purchase something via a link I may receive a small commission, at absolutely no additional cost to you. You can view my disclosures here.
Tips for using Vapor Rub Shower Cubes
As the cubes melt in your shower they can get a little gunky. Therefore I would recommend either placing them on a small sheet of foil or plastic, or in a small dish. Or you can place them as close to the drain as possible.
Place the foil/plastic or dish containing the shower cube near to the drain in your shower. That way they can run off as they melt down into the drain, with less mess all over your shower floor.
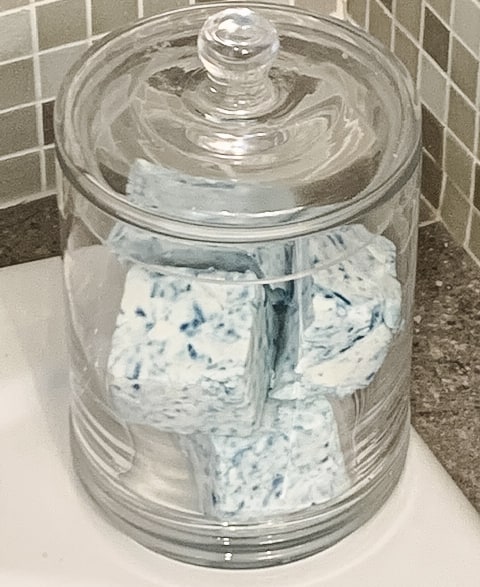
You should be able to use the shower cubes more than once (unless you have a particularly long shower!). Just move the dish to the side until the next time, or wrap the cube up in foil ready for the next use.

Supplies Needed for Vapor Rub Shower Cubes
Cornflour/Cornstarch
Blue food coloring
Ice Cube Tray
5 tablespoons water
Vicks makes a Vapor Rub that I used in this shower cube recipe. But you can also get an Amazon own brand Vapor Rub – Solimo Chest Rub.
You are going to use 4 tablespoons of the Vapor Rub, so bear that in mind when purchasing. This for me was about 2 of the smaller Vapor Rub tubs.
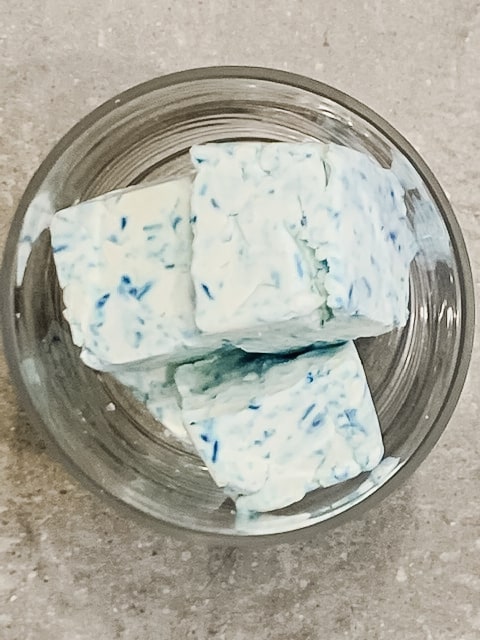
The food coloring is optional, but it does add a nice color hue to the cubes. With this recipe they will not be a bright blue, more of a speckled blue color.
You can use an existing ice cube tray that you have to make these, but because they are full of menthol that smells very powerful, I would recommend buying a special ice cube tray just to use for these cubes. I like to use a larger ice cube tray, such as this one, as I like the bigger sized cubes.
Related: DIY Relaxing and Refreshing Lavender Lemon Bath Salts
How to Make Vapor Rub Shower Cubes
Measure out 1.5 cups of the cornstarch, and place in a bowl.
Scoop out 4 tablespoons of the Vapor Rub, and place into the bowl with the cornstarch.
Mix the cornstarch and Vapor Rub together. This will take a little bit of time to get it all combined. As the Vapor Rub heats up it will mix together easier. Keep mixing until you have a paste, and no powder left in the bowl.
Add the water to the mixture one tablespoon at a time. You don’t want the mixture to get too watery – it needs to be a paste still. By mixing in the water tablespoon by tablespoon you will have a better grasp on how runny your mixture may be getting.
Add a few drops of blue food coloring to the mixture. I added a few drops and stirred, then a few more. As I mentioned previously these shower cubes won’t be bright blue, they are more of a speckled blue color.
Take the paste and press it into each square of your ice cube tray. Press down and pack the square as tightly as possible with the paste. Make sure that the paste is fitting into all the corners.
Smooth the paste off inside the ice cube tray with your fingers lightly, to ensure it is level and packed tightly.
Place the ice cube tray full of Vapor Rub paste into your freezer for at least two hours, so that it sets really well.
When you are ready to use them, just pop out a cube from the ice cube tray, set it on the floor of your shower (see tips for using above) and let the hot water run in the shower. As you shower the hot water will loosen the cube ingredients, and the methol will waft up to clear your nose and sinuses.
Note: Obviously don’t make the shower water too hot to bear, make sure it is comfortable and not dangerously hot.
To store the cubes, either keep them in the freezer, or store in an airtight container at room temperature.
Related: Cozy Coffee Candle DIY

These Vapor Rub Shower Cubes are the perfect thing to clear your sinuses and head during allergy and cold seasons. These are easy and make up in less than 20 minutes.