
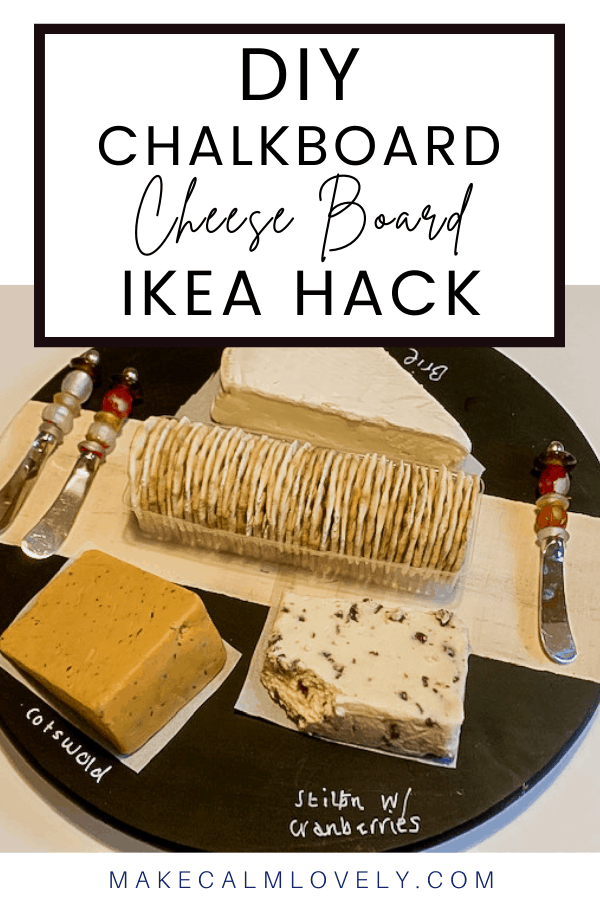
Cheeseboard Chalkboard Lazy Susan DIY IKEA Hack
The IKEA Snudda Lazy Susan is just begging to be hacked and personalized! In this DIY hack I turn it into an incredibly useful and stylish chalkboard cheeseboard. See the full DIY tutorial here!
IKEA’s Snudda Lazy Susan is an incredibly useful piece of equipment for your kitchen and home. It comes as it is in a light wood that matches pretty much any home decor.
But as pretty as it is in its simplicity and Scandi style, Snudda is just begging to be hacked and changed.
Just in case you are not aware of exactly what a lazy susan is – it is an amazing piece of simple engineering! It is basically a top platter that rests on top of a base that allows the top to spin around. That means you can turn it to access whatever is on the top platter from all angles.
A lazy susan has so many helpful uses around your home. It can of course go into your cupboards or refrigerator to make reaching and finding things easier. It can go in the center of your table to make an easy place to store condiments and dishes, and so many more uses.
I purchased the Snudda lazy susan during one of my IKEA shopping trips, thinking it was bound to be useful in my home.
When I got it home and tried to figure out the best use for it, I just felt that it deserved to be prominently displayed in some way – but it needed something special done to it for that to happen.
Whenever we have people over and we are entertaining we always put out a cheese board. Everyone loves cheese, and you can get so creative with all the different cheeses available.
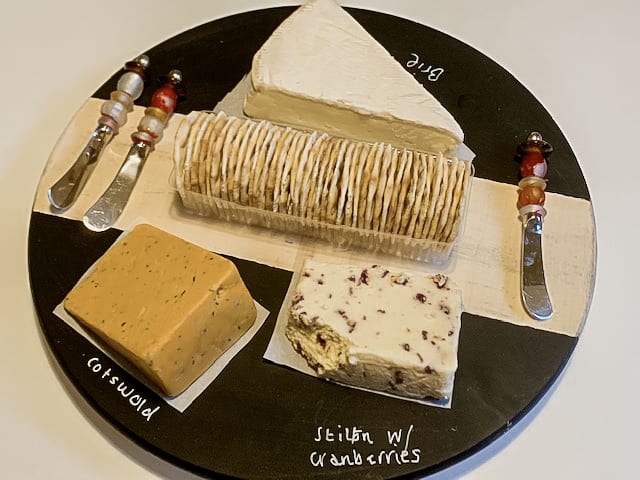
So creating a cheese board from the Snudda was an immediate idea that I had. But not just any cheeseboard! I really love the chalkboard cheeseboards, because I love the way you can write out the names of the cheeses on the board.
Everyone is always asking what the particular cheese is that they are trying, and it is hard to label your cheeses on a regular cheese board. But with a chalkboard cheeseboard you can write out the names, then erase them when you are done, ready for the next time.
So I created this chalkboard cheeseboard out of Snudda! It works ideally with the Snudda lazy susan because a cheeseboard that also rotates is a great idea. That means that instead of reaching over you can turn the board to locate the cheese that you want.
Having a handy stripe marked out in the middle of the board also means it is a useful place to put crackers, bread and whatever else you want to provide with your cheeses.
This really isn’t a difficult DIY at all. I did it in just a few hours.
This post contains affiliate links. This means that if you click on a link in this post and purchase something via that link I may receive a small commission, at absolutely no additional cost to you. You can view my disclosures here.
Supplies Needed for the Chalkboard Cheeseboard
IKEA Snudda Lazy Susan. Available from all IKEA stores. You can also purchase it online here.
White chalk markers or white chalk. I use these erasable white chalk markers.
Note: If you do not have an IKEA Snudda lazy susan, you could also use other lazy susans for this DIY project too. I really love the IKEA lazy susan because it is inexpensive and so easy to work with. But here are some others that I also like and recommend also:
How to Make the Cheeseboard Chalkboard Lazy Susan
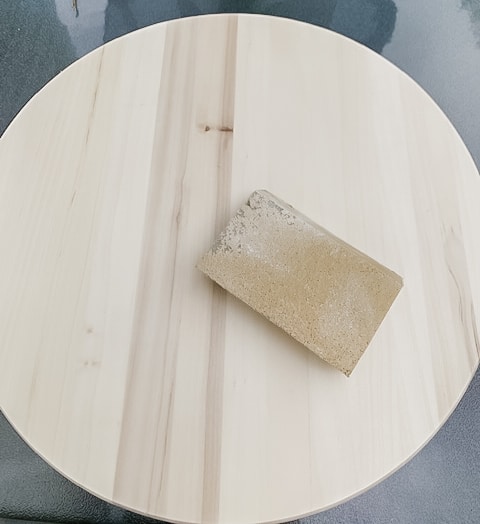
1. Using sandpaper, sand down the surface of the lazy susan board. This is to make the paint easier to adhere to the board. For the natural wood stripe in the middle you do not need to sand down as much or at all. You can tape off where your stripe will be now (see #2 below) to know where the stripe will be.
2. Using painter’s tape, masking tape, or washi tape, map out on the board where you want to have your natural wood stripe for crackers and bread. I made mine in the middle of the board, but you could place the stripe wherever you want it to be.
3. Using the spray chalkboard paint, cover over with newspaper where you will have your natural wood stripe, and spray the rest of the board that will be the chalkboard cheeseboard part.
You may need to do 2/3 coats or so of the paint. Allow each coat to dry completely in between coats. Take the paint down on the sides of the lazy susan also.
4. Once the paint is dry, remove all the tape.
5. Touch up the edges of the painted parts if needed. If any paint has bled too much you can lightly sandpaper it off, or use a razor blade.
Related: IKEA Bekvam Spice Rack Wall Shelf Hack
Safety of using a Chalkboard for a Cheeseboard
While I was researching for this DIY I had questions about the safety of using chalk paint for a cheeseboard, and it seems that many others do too.
Obviously there are many chalkboard cheeseboards available for purchase, so they are widely used.
I personally chose to use a piece of parchment paper under each piece of cheese on my board, just in case for food safety. If you are in any way concerned this will give a layer of protection to your food. It also keeps your board a little cleaner too.
Related: 12 Small IKEA Hack DIYs
Care of the Chalkboard Cheeseboard
The cheeseboard has to have some special care. It isn’t dishwasher safe, and I would not immerse it in water.
To clean, just wipe over with a damp cloth. That should be all you need to do.
You may also like these IKEA Hacks!
16 Bright and Colorful IKEA Hacks
IKEA Moppe Hacks that are pretty Amazing
The IKEA Snudda Lazy Susan is just begging to be hacked and personalized! In this DIY hack I turn it into an incredibly useful and stylish chalkboard cheeseboard. See the full DIY tutorial here!

About Make Calm Lovely
Make Calm Lovely is a lifestyle blog specializing in IKEA DIY hacks, DIY & craft projects, home decor and so much more! Check out all the amazing things you can do and create to make your life calmier and lovelier at Makecalmlovely.com!