
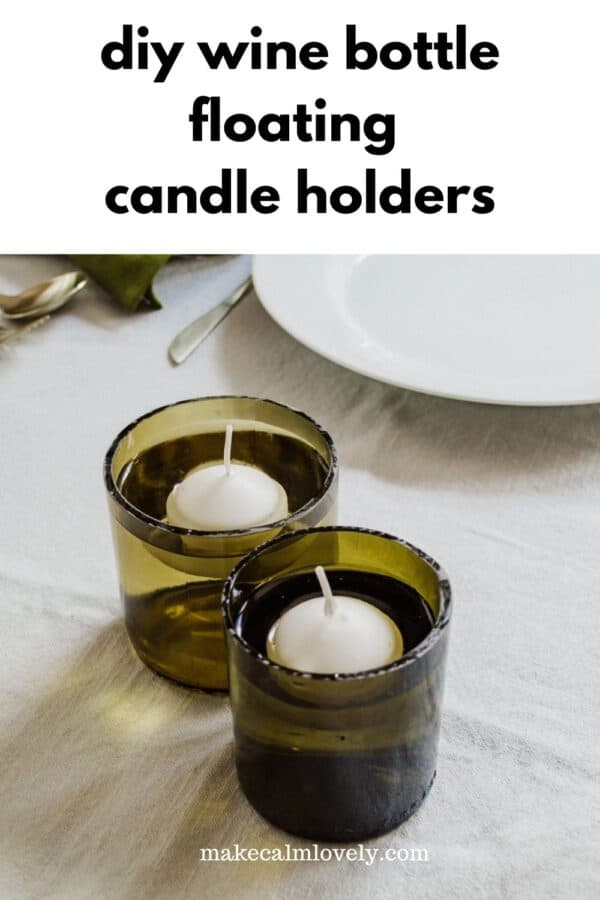
Wine Bottle Floating Candle DIY
These pretty glass floating candle holders are made by cutting glass wine bottles! You can do this DIY quickly and easily and create something lovely for your home.
I always feel guilty with all the waste that we create nowadays, especially with plastic and glass. This is why I love this DIY – because it takes something that would otherwise just be thrown out and turns it into something not just useful, but lovely too.
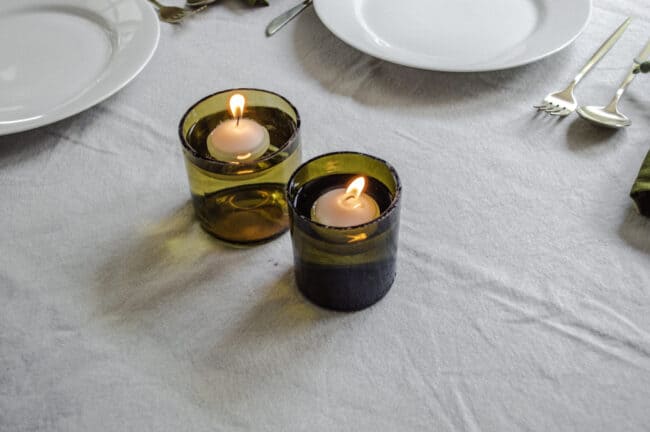
These wine bottle floating candles are made by cutting out the base of wine bottles.
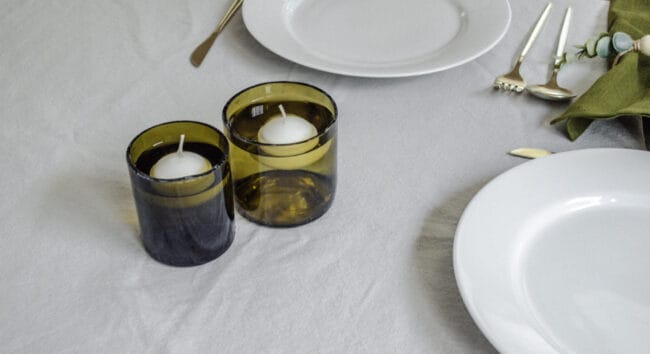
What you get once they are all cut and sanded is pretty floating candle holders. They are the perfect look to any dinner table – they look modern, as well as slightly rustic and unique.
You can also place them anywhere you want some pretty floating candles. They also work well outside as well as inside.
This post contains affiliate links. This means that if you click on a link in this post and make a purchase via that link I may receive a small commission, at absolutely no additional cost to you. You can view my disclosures here.
Supplies you Need to Make Wine Bottle Floating Candles
Empty wine bottles
Sandpaper (the glass bottle cutter above also comes with sandpaper)
Pliers (optional)
How to make Wine Bottle Floating Candles
Make sure the wine bottles are thoroughly empty, and clean them out well. I filled them with hot water and a little dish detergent and shook them well, before rinsing thoroughly.
Next remove all the labels. You should be able to peel them off to a certain extent, but there is bound to be some sticky glue residue left behind on the bottle itself. This was actually the hardest part of this DIY!
I tried various techniques to remove the sticky label glue residue from the bottles after the labels were removed. Nothing worked well until I found a You Tube tutorial about the best way to do this!
That way is to use some vegetable oil (I used canola oil) and placed it on a piece of paper towel. Then rub away at the residue with the oiled paper towel.
You will need to rub this quite thoroughly to complete remove the residue. Once that is done, put a little dishwashing detergent on a scrubbing sponge and scrub at and remove anything else that is left. Then rinse and dry the bottles well.
Related: DIY Copper Cap Candle

How to Cut the Wine Bottles using the Glass Bottle Cutter
This part of the DIY project took a little while to master I have to admit. I also had to use numerous bottles for this, as some cuts were too jagged and rough, or the glass cracked where it shouldn’t.
So be prepared to use numerous bottles until you get the hang of this!
Using the glass bottle cutter machine, adjust the rollers and cutter accordingly on the machine. The machine does come with a little hex key to help you do this. You can also use pliers (that don’t come with the machine) if needs be.
Place the glass bottle onto the rollers, with the cutter positioned against the glass bottle, and rotate the bottle slowly, while gently applying pressure.
You want to score an even line all around the glass bottle. But don’t do this more than once – just create one line with one rotation. If you end up doing this more than once the bottle will not cut as well, and you will have cracked and jagged edges.
The trick to then successfully cutting the glass wine bottles one they are scored with the bottle cutter machine is to pour hot boiling and then cold water onto the score line constantly.
Boil a kettle or saucepan full of water, and use that boiling water to help cut the now scored glass of the wine bottle.
Pour the boiling water while rotating the bottle onto the score mark of the wine bottle. Do this for around 10-15 seconds.
Next hold the bottle under running cold water for the same amount of time.
Next go back to pouring the boiling water over the scored mark on the glass wine bottle, while rotating it.
Keep doing this in succession until you notice the cut mark deepening. It is hard to describe this happening, but as you are doing this and you do a successful cut you will realize what I mean by this. You will visibly see the cut widen and darken.
As you are rotating the bottle around in the cold and the boiling water, hold the bottom of the bottle close to the bottom of the sink, so that when it does break off it won’t fall far and therefore break apart.
Once the glass comes loose it will literally just fall off. You will be left with two bottle halves – the bottom half which you will be using, and the top half which can just be recycled.
Obviously be very careful doing this, as you will be faced with two freshly cut bottle halves. The top half of the cut bottle should just be able to be recycled as you usually do with your glass. The bottom half is the part you are using for this DIY.
I would say that when I did these steps, it probably took around 3-5 rotations of the boiling water and cold water to make this work. It may take you more or less than that. It took a little while for me to get the hang of doing this.
Once your bottle halves are all cut, using the sandpaper, sand down all the edges of the cut bottom half of the bottle thoroughly, so that there is no dangerous glass edge.
Related: Make these Tin Can Candles
How to use the Glass Wine Bottle Candle Holders
You can really use your new glass candle holders in several ways. My favorite way, and the focus of this DIY is to fill them with water and to place a floating candle on the top. This jazzes up a dining table so wonderfully.
You can also fill the glass with melted candle wax and create glass candles. Use a wax such as soy wax for this.
Another great idea is to use the glasses as drinking glasses. But if you are going to do this you must really make sure that the top of the cut glass is sanded really really well, as you don’t want any cut lips.

These pretty glass floating candle holders are made by cutting glass wine bottles! You do this DIY quickly and easily and create something lovely for your home.