
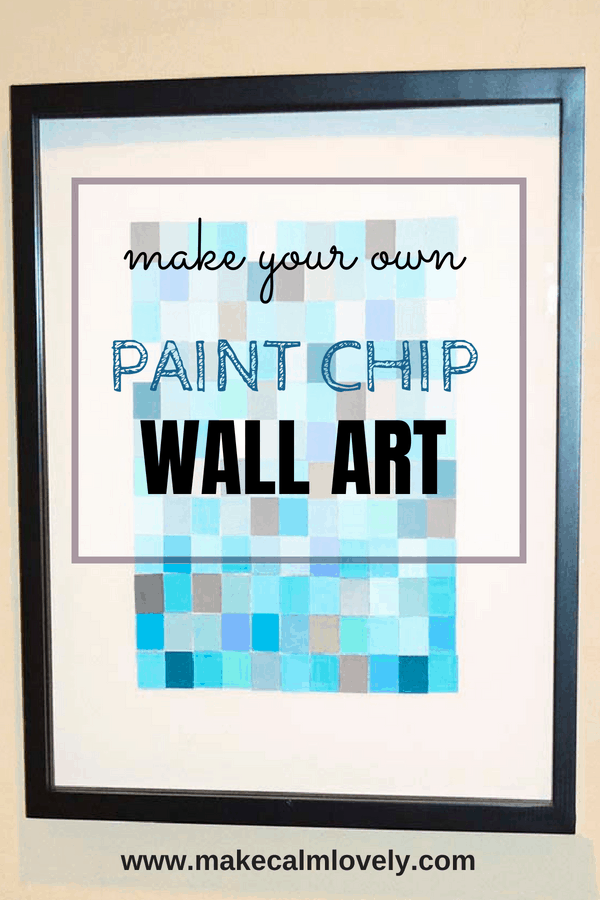
Create a beautiful piece of wall art – using paint chips!
Paint chip wall art is a great way to use up all those paint sample cards that you might have hanging around your home.
If you have recently been re-decorating you will know how many of those paint sample cards you can have laying around.
Most of them end up in the trash, but this is a great way to recycle them and create really interesting looking wall art.
If you don’t have any hanging around just head to your nearest paint store/hardware store and grab some paint chip sample cards.
This post contains affiliate links. You can read my disclosures here.
Supplies needed:
Paint chip cards (from hardware or paint stores)
Picture frame
Craft glue
Paper cutter or scissors
Ruler
Pencil
My office is blue (for serenity and calm!) so I chose to use all blue shades of paint chips. You can get really creative here – match the color chips to your room color scheme, or create something really colorful with a lot of different colors. The possibilities are endless.
This is such an easy project. The most time consuming part is just cutting out the shapes in the paint chips. I used a paper cutter to cut out my square shapes as it gives a more accurate shape than cutting with scissors, but if you are careful you could do it with scissors.
Step One:
Decide on your color scheme. Choose a color scheme to fit your room decor, or make it very colorful. Really the possibilities here are endless.
Step two:
Cut out your squares into your desired size. For my project I used small squares. You can really experiment with different sizes, all the same size etc.
The easiest way to cut out your squares is to use a paper cutter – like this one. Using a paper cutter means you can measure them completely to size and it is easier to cut out the squares.
But you could also do it with just a ruler and a pair of scissors.
Step Three:
Once you have all the squares cut out, prepare your picture base. You can use any piece of cardboard or paper for your base.
To prep the picture base I just measured the entire area of the base, and then worked out how much of the base I wanted the squares to cover for my finished picture.
I marked off lightly with a ruler and pencil the area that the chips would be pasted into, marking off a box that the chips would fit inside.
Step Four:
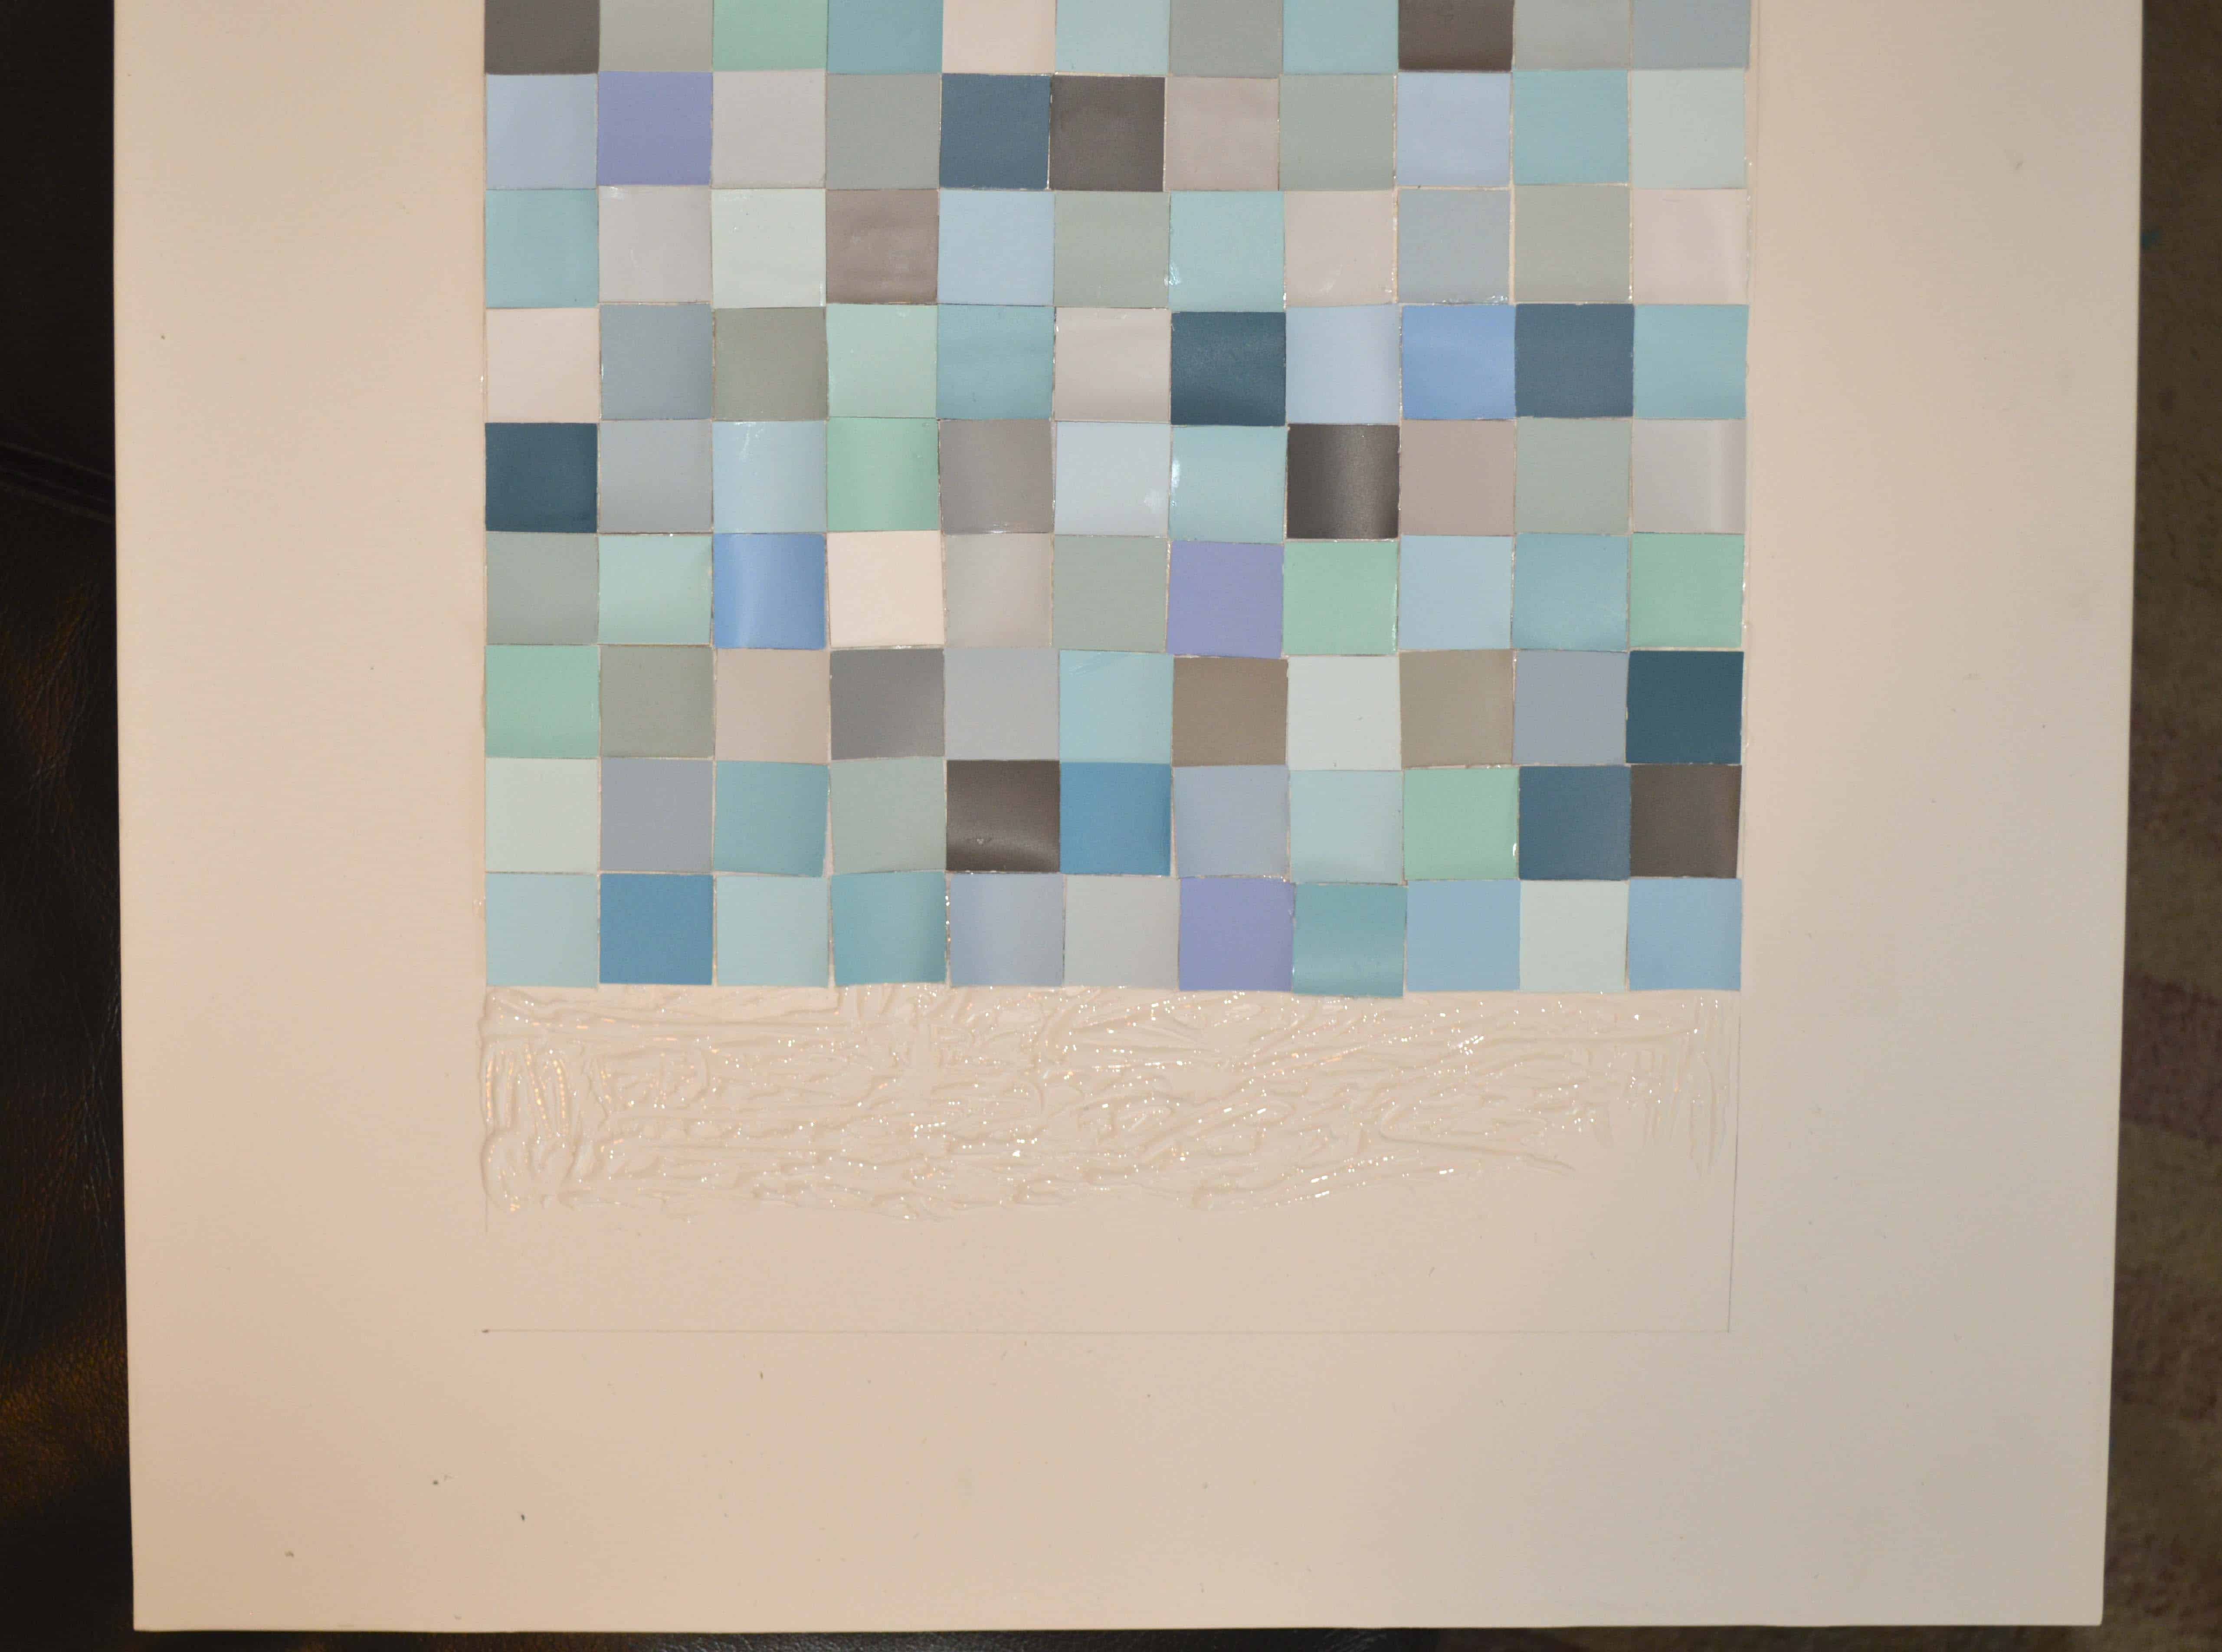
Once the base is ready and your area is marked up, take the glue and put a light layer of glue on the base.
I did this in sections, as if you glue the whole thing at once a lot of it will be dry and will need to be re-glued to paste down the later chips that you place.
With your finger wiggle the chips slightly as you place them to line them up next to one another.
I formed my color pattern as I went along. I didn’t want two colors that were the exact same next to each other, and I tried to mix up all the different shades of blue.
Once all the chips are placed, lightly go over the base with a cloth or paper towel to make sure there are no stray splatters of glue or marks.
Leave the picture to dry completing before putting it inside the frame.
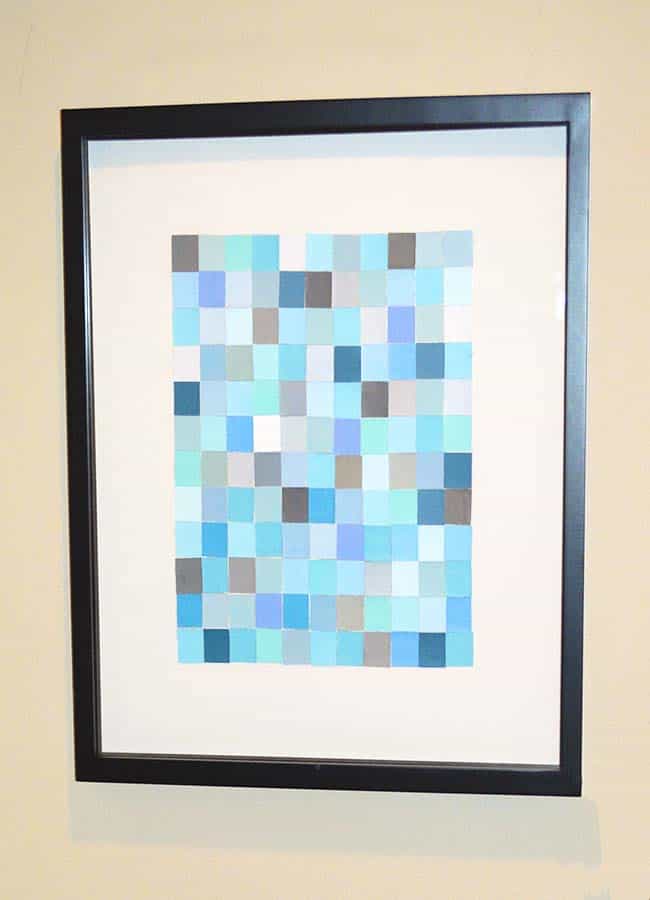
Hang it up and enjoy!
Make a great piece of wall art for your home using paint chips!
You may also like these DIY projects: