
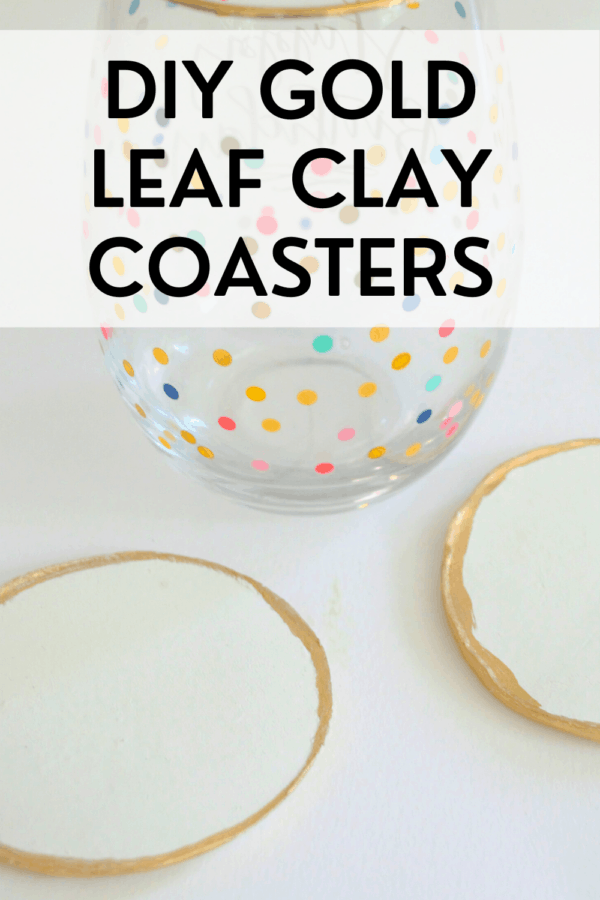
Gold Leaf Clay Coasters
These pretty gold leaf coasters are made with air dry clay, and are so fast and easy to make! This DIY tutorial will show you how to make these for your home, or as a special gift for somebody!
Coasters are something that you always need around your home. They also make great and special gifts for others too!
These pretty gold leaf coasters are incredibly easy and fun to make. Air dry clay is so much fun to craft with. It’s like play dough for adults after all! It is actually very calming and fun to cut out shapes from the clay!
The part of this DIY that takes the longest time is actually letting the clay air dry. The rest of the DIY is incredibly fast and easy to do.
This post contains affiliate links. This means that if you click on a link and purchase something via that link I may make a small commission, at absolutely no additional cost to you. You can view my full disclosures right here.
Supplies Needed for Gold Leaf Clay Coasters
You only need two items for this DIY – the air dry clay and the gold leaf paint:
White Air Dry Clay
Gold Leaf Paint (I actually used this Gold Leaf Marker pen)
How to Make the Gold Leaf Clay Coasters
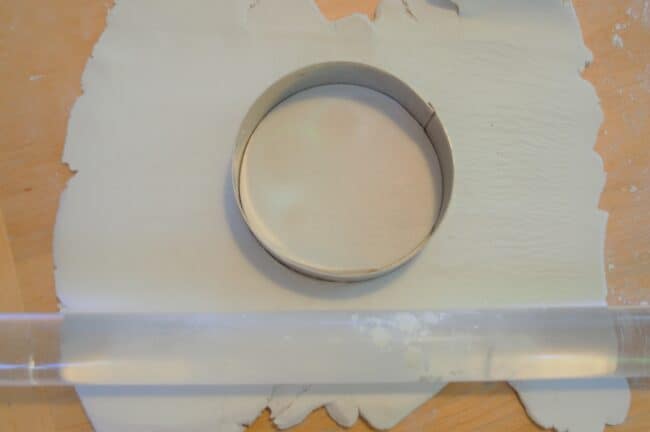
First, take the air dry clay out of the packaging and roll it out flat with a rolling pin. Your coasters need to be around a quarter to half an inch of thickness or so. But really there is no exact thickness that they need to be. They just need to be sturdy enough to hold a glass or mug easily.
Once the clay is rolled out to your desired thickness, you are ready to cut out your coaster shapes.
You could actually make any shape coaster that you want to. I chose to make circular coasters for this DIY tutorial, but you could certainly make square, hexagon, or whatever shape coasters that you want to instead.
For round shaped coasters you can either use a round cookie cutter if you have one, or you could just draw around the rim of a glass. Place a glass rim-side down onto the clay. Then draw round the glass onto the clay with a lightweight marker or pencil (remember you don’t want this to show on your clay). Or the easiest way is to score it around the glass with a knife as you go.
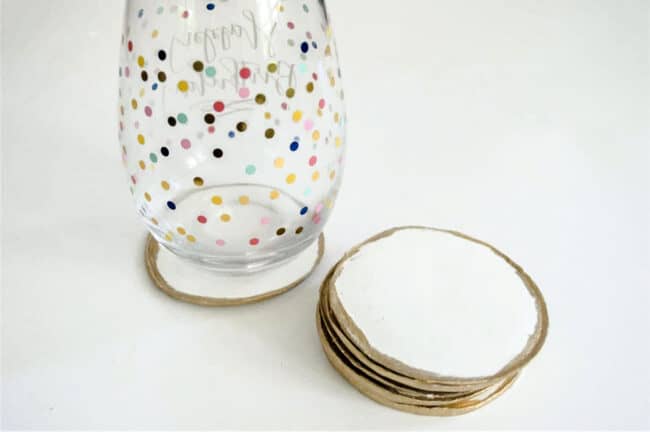
It is up to you how many coasters you make. I like to make at least 6, as it covers coasters for several people if you have guests. It also allows for breakages, which inevitably happen over time. Although these clay coasters are pretty sturdy I should add!
Once you have your coaster shapes cut out you can tidy them up if needs be around the edges, by just going around the edges with a knife. The great thing abut these particular gold leaf coasters is that if the edges are not perfect it doesn’t matter, as it actually looks really great with the gold leaf around the edges and looks more rustic. So you really don’t need to do this, unless your edges are really bad where you cut the shapes out.
Place the coasters to air dry somewhere safe, and on a non sticky surface. I left mine for about 2 days, to make sure they were thoroughly air dried. But the air dry clay recommended in the supplies list above should air dry in about 24 hours. You may want to turn each coaster over at least once during their drying time, so that each side is exposed to the air to dry more thoroughly.
Painting the Coasters
Now we get to another fun bit! Once the clay is completely dry on the coasters they are ready to be painted.
You can either use gold leaf paint for this or liquid gold leaf. I actually used this great gold leaf marker pen. It was so easy to paint the edges of the coasters with this, and you don’t need to keep dipping a brush into paint each time.
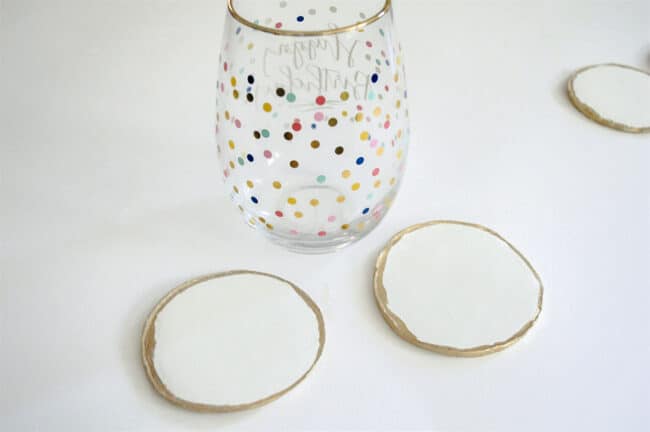
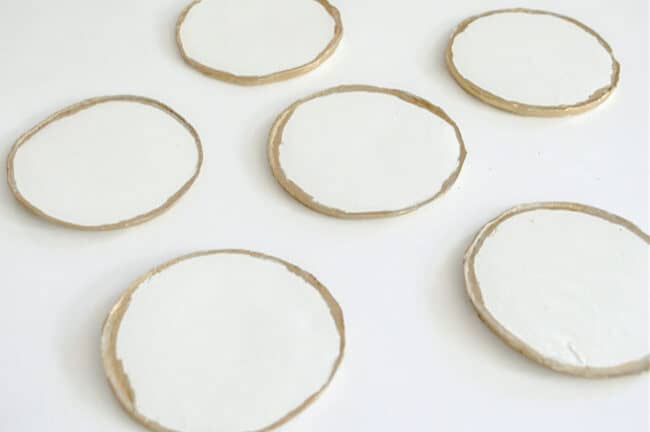
Using your gold leaf paint/marker, go around the edges of each coaster – the outer edges all around – and paint them with the gold leaf.
Once all the edges are painted, go along the top of the coaster, close to the edge of each coaster, and paint the gold leaf along the outer edges of the top surface.
You don’t want to overdo the gold leafing on the top of the coaster. Just place enough along the edges of the top, so that it blends in with the gold leafed rims/edges that you already did.
You can make the gold leaf edges of the coaster on the top of the coaster as thick or as thin as you want. But I think the thinner it is the better it looks. The paint doesn’t have to be the same thickness all over, and in fact some variation looks better.
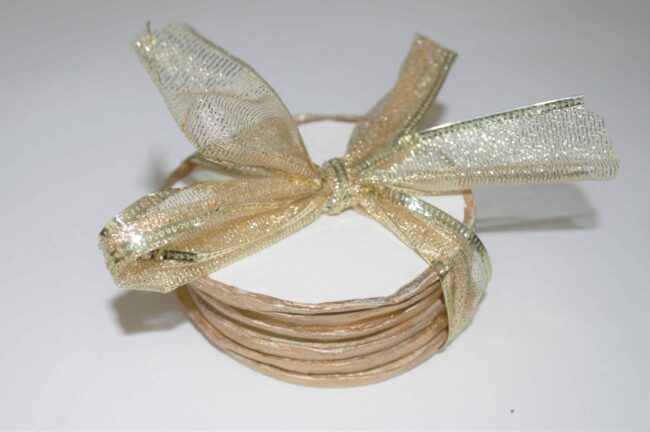
Just tie them with a ribbon to present as a special gift to somebody!
Have fun using these really pretty gold leafed coasters! They will brighten up any coffee table!
These pretty gold leaf coasters are made with air dry clay, and are so fast and easy to make! This DIY tutorial will show you how to make these for your home, or as a special gift!