
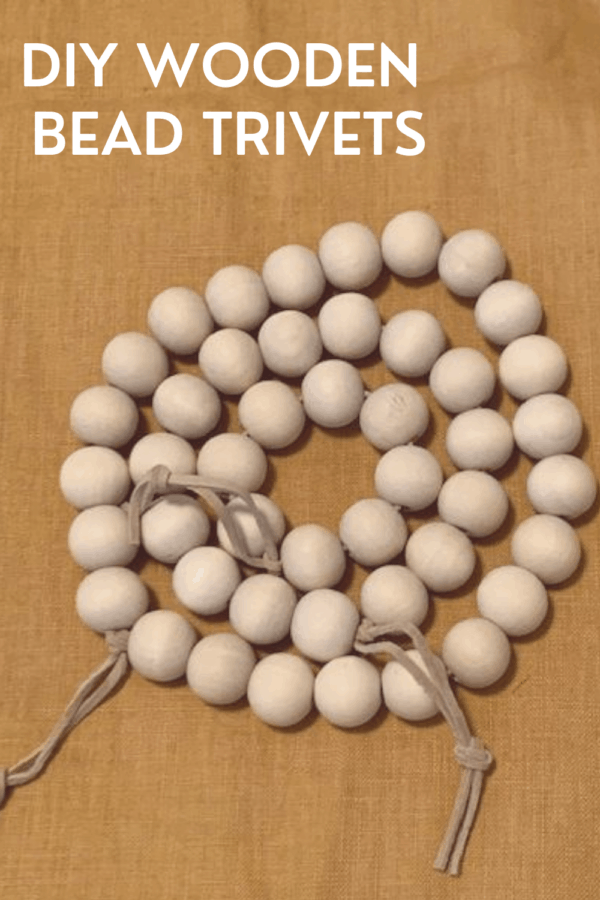
DIY Wooden Bead Trivets
These wooden bead trivets are a fast and fun DIY project! Make these beautiful, and so useful, bead trivets, to keep at hand in your kitchen at all times!
This is one the easiest DIY projects you will ever do! These trivets can be made in just minutes! What’s more, not only is this fast and easy, it makes an incredibly useful, and stylish necessary tool for your kitchen and dining room!
If you’ve ever walked through a Crate & Barrel, or West Elm store, and seen all the lovely (but expensive!) Scandi-style kitchen equipment, here is your chance to make your own!
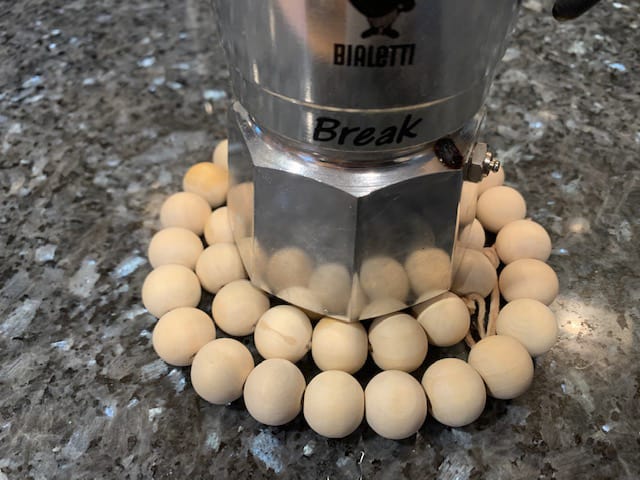
How many times are you making something hot, and you need a trivet or mat to stand it on! These wooden bead trivets are the perfect trivets! They can be hung for easy access and reach, and they can also be placed in your drawer, ready and accessible at any time.
They are also so stylish. They have a wonderful modern Scandi style to them, which will work for any style of kitchen and home decor. These could also make a special gift for somebody too!
This post has all the instructions you need to make these lovely wooden bead trivets.
This post contains affiliate links. This means that if you click on a link in this post, and make a purchase via that link, I may receive a small commission, at no additional cost to you. You can read my disclosures here.
Supplies you need for the wooden bead trivets
1″ or larger wooden beads, with a center hole (such as these ones)
Leather cord
Scissors
How to make the wooden bead trivets
You can choose to make your trivets whatever size you want. This DIY project will show you how to make 3 different sizes of trivet, so that they can all interlace together, and be used together or separately. All 3 trivets should fit inside each other.
These are the sizes I made with the trivets:
Trivet # 1 – I used 23 wooden beads
Trivet # 2 – I used 15 wooden beads
Trivet # 3 – I used 8 wooden beads
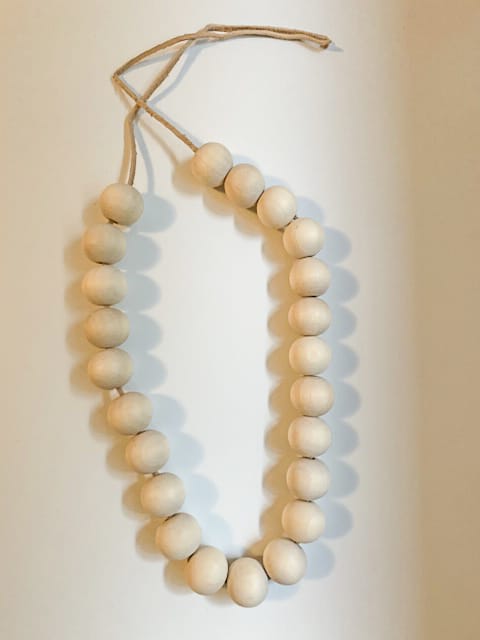
Taking a piece of leather cord, thread the the wooden beads on, one by one. It is a good idea to thread these onto the very end of the cord, without cutting it to size first. That way you can see how much cord you will actually need.
Thread each bead until. you have the required amount of beads on the cord.
The bead ring needs to be tight. All the beads need to be fitted up against each other, so that when you tie the cord, they will stay together tightly and securely. You do not want to leave gaps in between the wooden beads.
Make the larger ring first, then the middle ring, then the inner ring. Make sure that each ring fits inside the one the size larger as you make them. All 3 rings should fit together well, inside each other.
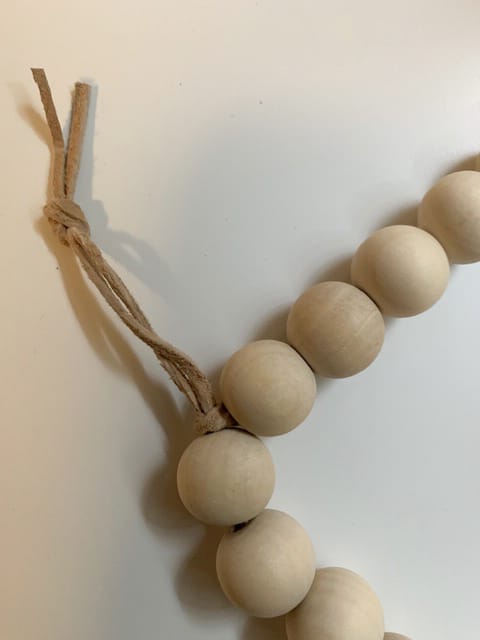
Twist your trivet into a circle, and match up the cord ends. You can now cut the cord, knowing the exact length that you need.
Leave enough cord to tie off the trivet, and to also make a hanging loop. Tie the cord together close to the beads at the end, and then leave enough for a loop, and tie off again at the top of the loop. See the picture below.
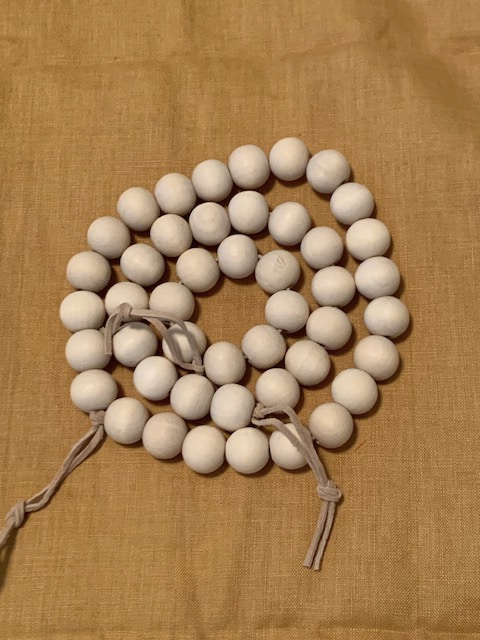
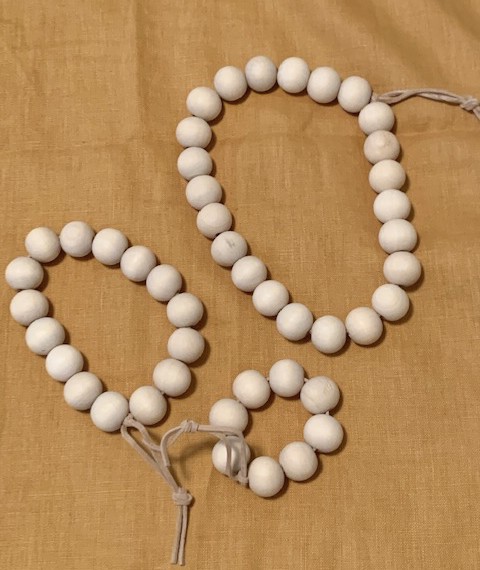
All 3 beaded trivets can be used one by one, on their own, or fitted all together to be used as one larger trivet.
If you want to give a different hue to some of the beads, or to a particular trivet, you can rub some oil on the wooden beads. Olive oil would work well for this, as well as any vegetable oil. Just rub in the oil lightly.

These wooden bead trivets are a fast and fun DIY project! Make these beautiful, and so useful, bead trivets, to keep at hand in your kitchen at all times!