
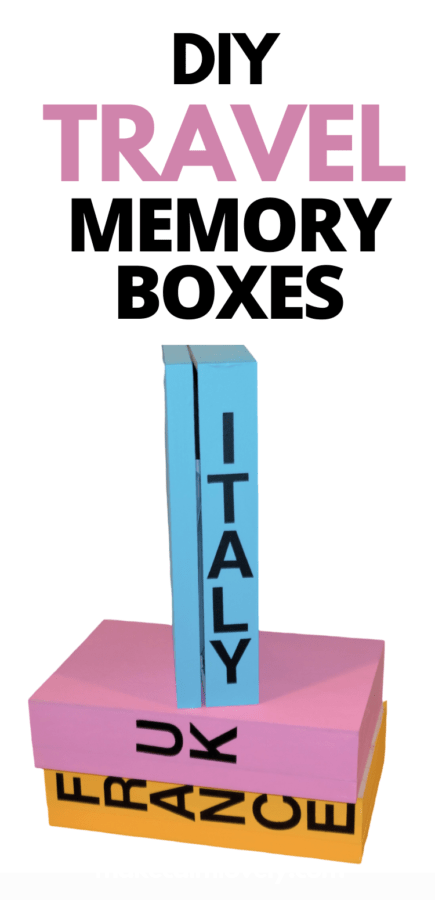
Create Beautiful Memory Boxes of your Travels
These travel memory boxes are a perfect, and attractive, way to keep all your travel memories together, so you will always have them.
When you travel do you love collecting all kinds of mementos of your time in a certain place? I collect even the bus and train tickets that I used during a certain trip!
I love to look over those things and remember that certain day that I used them, and remember the place that I traveled to.
There are many ways that you can keep all your travel mementos together. Some people like to keep them in photo albums, or even crammed into a certain drawer in their home.
But if you create a special place for your mementos you will always know where they are, and they will always be to hand.
I really love these travel memory boxes, because they are such a tactical way of keeping all those travel memories. By keeping things loose in these boxes you can actually touch those things, and go through them.
There is something far better about looking at your travel mementos when you can actually touch and feel them, not just look at them.
This post contains affiliate links. You can view my disclosures here.
Supplies you Need to Make Memory Boxes
Hinged Wooden storage boxes. I used these ones that are so easy to paint and decorate.
Self Adhesive Vinyl Letters. I used these ones.
Various Colors of Paint. Acrylic craft paint is the best to use for the wood. I used these ones.
Paintbrush
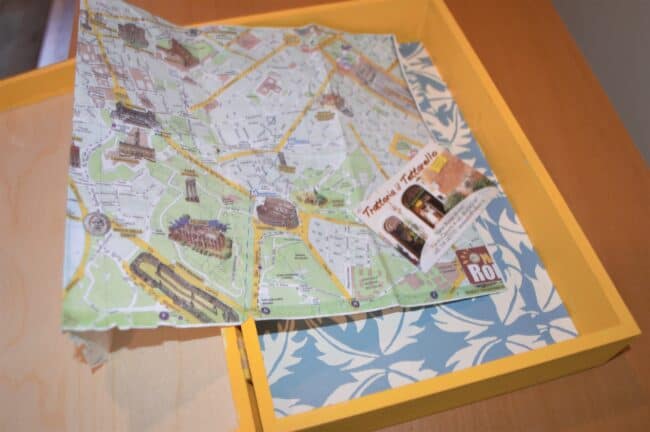
Optional: Decorative paper if you want to line the box inside.
Related: DIY Projects for when you can start Traveling Again!
How to Make the Memory Boxes
Making these boxes is actually so incredibly easy!
Just take the wooden box that you will be using, and select the color of the paint you want to use. Then paint the box on all sides.
You will probably want to do a section at a time, and allow that section to dry first, before moving on to the next one.
I did two coats of paint on my boxes. You may be able to get away with one coat if it looks even and the coverage is good when it is dry.
You can choose whether or not you want to paint the inside of the box too. I did not, as I like the look of the bare wood inside.
But I did line a couple of my boxes with decorative paper that I had in my craft supply. If you choose to line the inside with paper, use a glue, or better still Mod Podge, to apply it to the wood. Make sure it is smoothed down well.
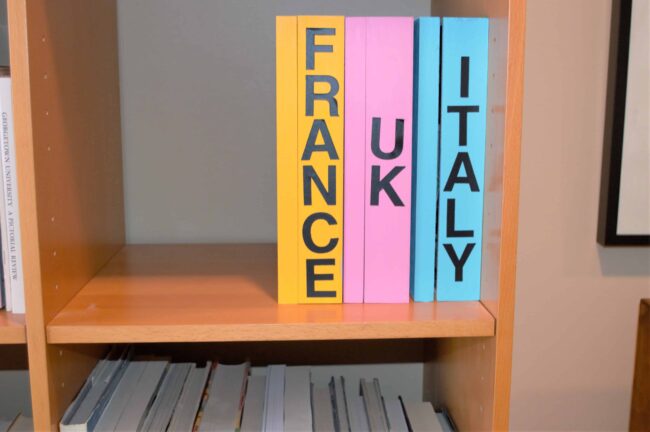
Once the paint is completely dry, you can then place the letters on the spine. Place the letters on the part without the hinges, therefore on the front spine of the box.
Try to get the letters lined up as well as possible. In order to do this, I measured the total height of the each letter, and then I measured it against the spine to see how spaced the letters would need to be to fit centrally on the spine. You can also just do this by sight.
You can of course use smaller letters, and also different colored letters too. I liked the look of the large black ones that I used, as I thought they created a modern look to the boxes.

Related: Leather & Faux Leather DIY Projects
Make Your Memory Box Personal and Beautiful
There are many ways to pretty up your box, and make it more personal to you. You could bundle certain contents with pretty ribbon or twine.
You could also attach photos to pretty papers, or attach loose mementos – such as tickets to pretty pieces of paper, to give them a background and make them stand out more.
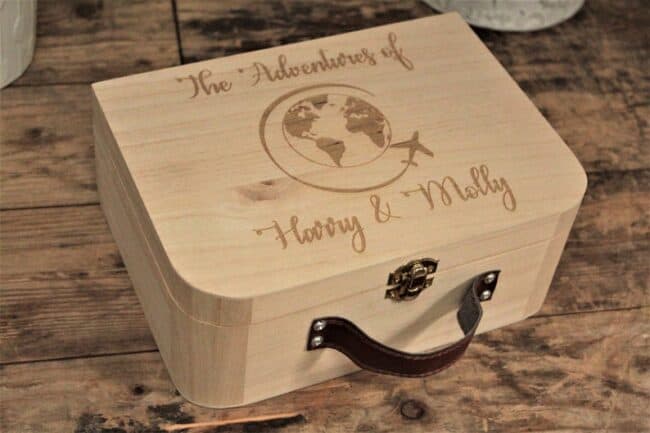
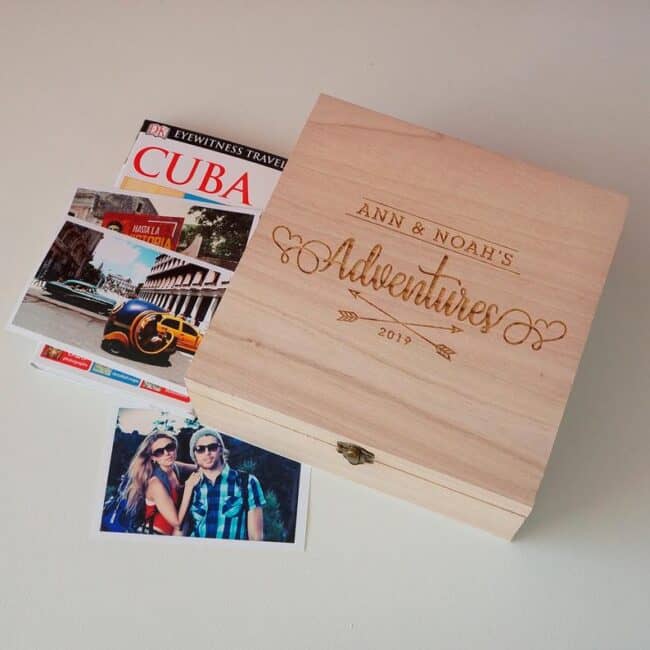
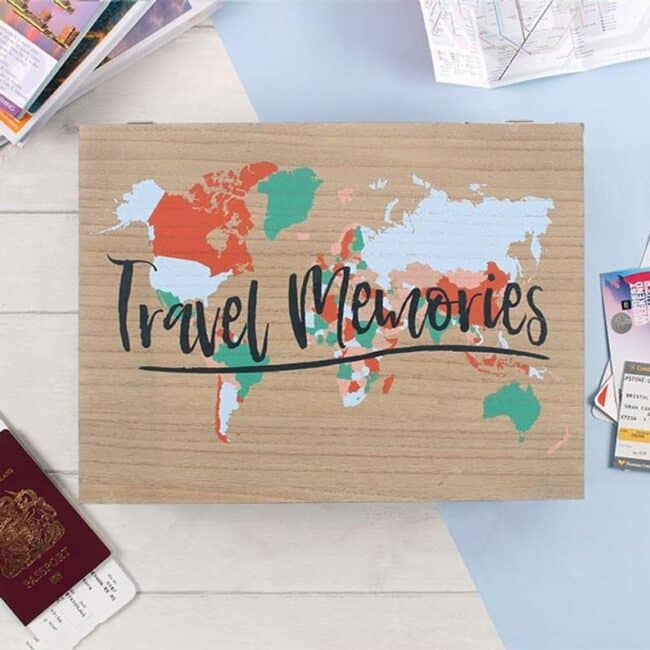
Prefer to buy a Keepsake Box?
Etsy has some fabulous keepsake boxes that I have curated her for you, if you much rather buy a special keepsake box rather than make your own.
Make these beautiful keepsake boxes to remember all those special times that you traveled.
Once your travels are over, it is fun to look back over your travel keepsakes to remember that time in your life, and that place you traveled to. These travel memory boxes are a perfect, and attractive, way to keep all those memories together, so you will always have them.