
60+ Tips & Tricks for Working with Polymer Clay
Check out our 60+ tips and tricks here for working with polymer clay! All these tips will help you create better projects!
Polymer clay is an incredibly versatile material for creating all kinds of great things for you and your home.
You can create great pieces such as bowls, vases, jewelry and so much more. What’s more polymer clay is affordable and easy to work with.
If you are looking for a great creative project, consider using polymer clay!
Here are 60+ tips and tricks to help you get the most out of your polymer clay projects:
Conditioning Polymer Clay:
1. Condition your clay by kneading it thoroughly until it’s soft, pliable, and free of cracks. See how to Condition & work with Polymer Clay.
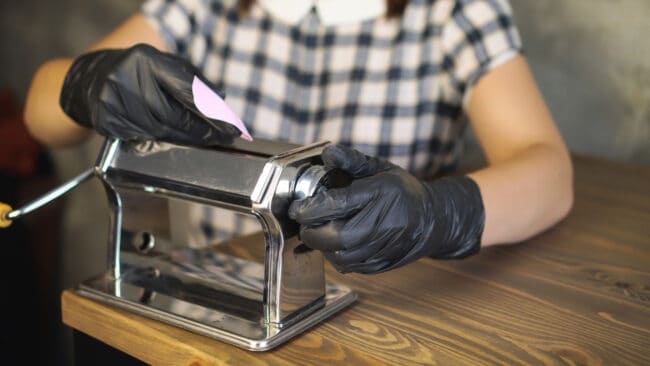
2. Use a pasta machine for efficient & faster clay conditioning. See the article here on how to do this!
Clean Hands and Work Area:
3. Wash your hands before working with clay to prevent dirt and oil from transferring to the clay.
4. Keep your workspace clean and dust-free.
Clay Storage:
5. Store clay in airtight containers to prevent drying out.
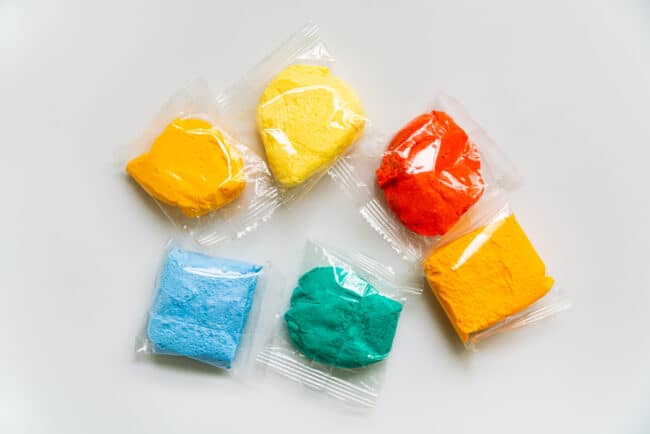
6. Keep different colors of clay separate to avoid color contamination.
7. Store opened clay in plastic ziplock bag.
8. Label bags with color name for easy identification.
What to do with Leftover Polymer Clay Scraps
Blending Colors:
9. Create custom colors by mixing different clay shades together. See How to Create & Mix Polymer Clay Colors.
10. Use a clean, dedicated workspace when blending to avoid color contamination
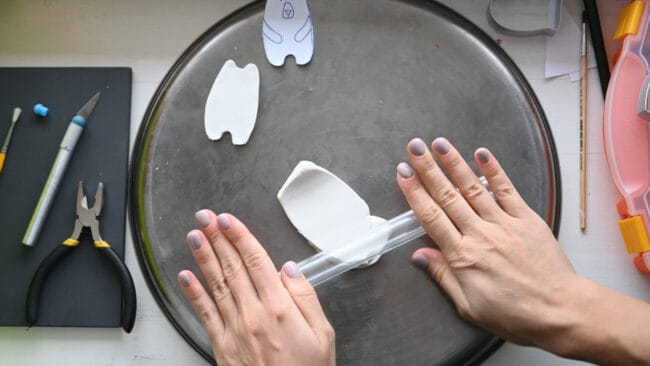
Rolling Techniques:
11. Use a roller or brayer for even thickness in your clay sheets.
12. Make a texture plate by rolling clay onto textured surfaces, like fabric or leaves.
Cutting Tools:
13. Use sharp blades or tissue blades for clean cuts.
14. Lubricate blades with a bit of water to reduce friction.
Texture Tools:
15. Experiment with various texture tools, such as stamps, stencils, or texture sheets.
16. Make your own textures using household items or sculpting tools.
Baking Polymer Clay:
17. Follow the manufacturer’s baking instructions for time and temperature.
18. Use an oven thermometer to ensure accurate temperature.
19. Cover your pieces with foil to prevent browning during baking.
20. You cannot bake clay in the microwave!
21. It is possible to use a toaster oven or an air-fryer to bake your clay.
22. If the clay gets too warm as you are working with it, just pop it into the fridge for about 15-30 minutes. This will harden the clay and will not distort the shape of the clay.
23. Follow the directions for baking. All manufacturers have their own rules for their own clay – follow what they say on the packaging. See all about Baking & Setting Polymer Clay!
25. Don’t open the oven door during baking. It can be hard not to of course! But it will disrupt the baking/curing process
25. Use aluminum foil, armatures, or wire to support clay structures while baking.
26. Bake large or complex pieces in stages to prevent distortion.
Sanding and Buffing Polymer Clay:
27. Sand your clay pieces with increasingly finer grits of sandpaper.
28. Buff your pieces to a glossy finish with a soft cloth or felt.
Varnish & Resin on Polymer Clay:
29. Apply a clear varnish or resin for added shine and protection.
30. Be sure to use a compatible varnish or glaze.
Polymer Clay Safety:
31. Work in a well-ventilated area when baking polymer clay.
32. Avoid overheating the clay, as it can release toxic fumes.
Working with Mica Powders:
33. Add mica powders to clay for a metallic or shimmering effect.
34. Dust powders over the surface of baked clay and seal with varnish.
Working with Liquid Clay:
35. Use liquid polymer clay as an adhesive, glaze, or for creating translucent effects.
36. Bake the liquid clay to set it in place.
Working with white polymer clay:
37. Wear gloves
38. White polymer clay can be very difficult to work with, as it can easily get dirty and attract dust and lint. When working with white clay it is best to use gloves, have a very clean work surface, and wear clothing that doesn’t have materials and fibres that can get into the clay.
Creating Polymer Clay Jewelry:
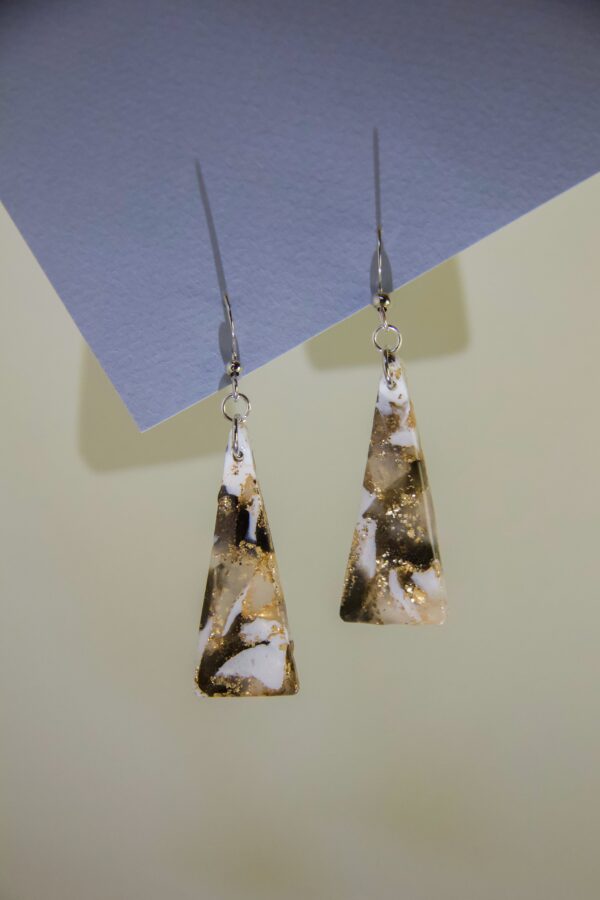
39. Create jewelry components like beads, pendants, and earrings.
40. Experiment with different techniques like faux gemstones and canes
41. Explore faux techniques such as stone, wood, metal or fabric. See how to Work with and Use Translucent Polymer Clay.
Mixing Polymer Clay with Other Media:
42. Combine polymer clay with other art mediums like resin, glass, or fabric.
43. Create mixed-media artworks for unique effects.
44. Do not combine polymer clay with water
Marbling Techniques:
45. Create marbled effects by blending different colored clay together.
46. Roll or shape the clay to reveal the marbled pattern.
Polymer Clay Tools:
47. Invest in a set of clay sculpting tools for shaping and detailing.
48. Toothpicks, knitting needles, and ball tools can also be handy.

Using Clay Softeners:
49. Use clay softeners or conditioners if your clay becomes too hard.
50. Knead the conditioner into the clay to restore its consistency.
Curing and Baking Surfaces:
51. Use a ceramic tile or glass baking surface for a smooth, non-porous finish.
52. Keep the surface clean to prevent clay sticking to it.
Pasta Machine Cleaning:
53. Clean your pasta machine thoroughly to prevent color contamination.
54. Run white or translucent clay through the machine to remove residues.
Polymer Clay Safety:
55. Be aware of any allergies or skin sensitivities when working with polymer clay.
56. Wear gloves if necessary to protect your hands.
57. Do not use containers & items used for eating when working with polymer clay.
Rescuing Mistakes in Polymer Clay:
58. If you make a mistake, don’t panic. Most polymer clay can be reworked, re-sculpted, or sanded.
59. Pieces that didn’t bake correctly can often be fixed with additional baking.
60. Bubbles can be inevitable when you work with polymer clay. If bubbles appear as you are working with the clay, use a sharp knife or xacto knife and just pop the bubble.
61. If lint or dirt gets into clay as you are working with it, use a cotton bud with a little bit of alcohol on it and remove the pieces.
62. To remove fingerprints from clay. Just use a little rubbing alcohol on a cotton tip or piece of paper towel.
Cutting polymer clay:
63. If the clay gets stuck on the clay cutter when you are cutting the clay, just blow on it to free the piece of clay from the cutter! You can also place a sheet of plastic wrap over the top of the rolled out clay. This is especially good for smaller cutters. It will stop the clay getting stuck to the cutters.
64. If you are having trouble cutting through the clay just twist the cutter a little.
Remember, polymer clay is a versatile medium, and the more you practice and explore, the better you’ll become at creating unique and beautiful polymer clay art. Enjoy your creative journey!
Check out our tips and tricks here for working with polymer clay! All these tips will help you create better projects!