
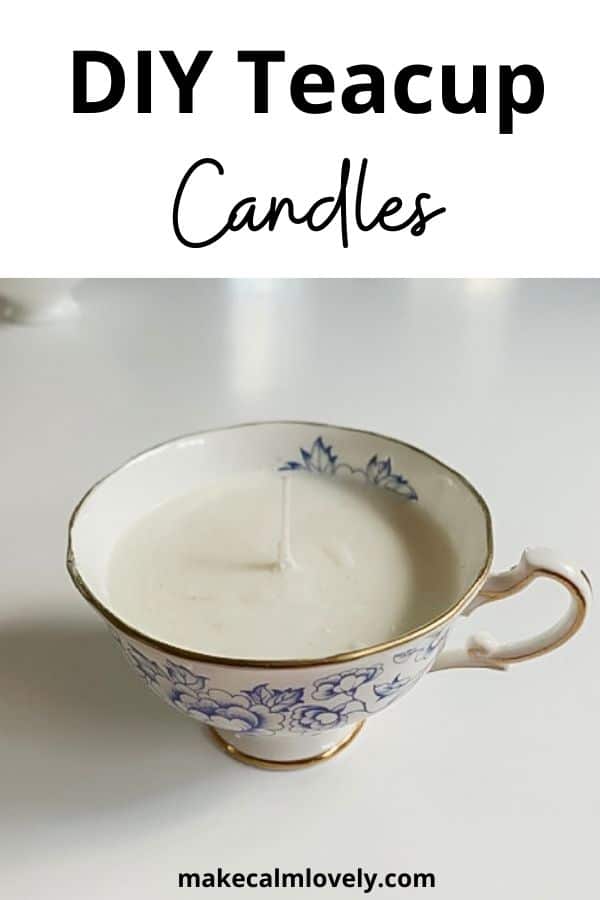
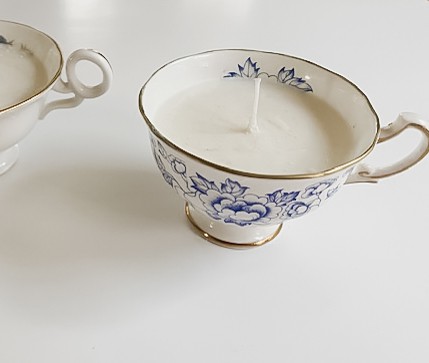
Tea Cup Candle DIY
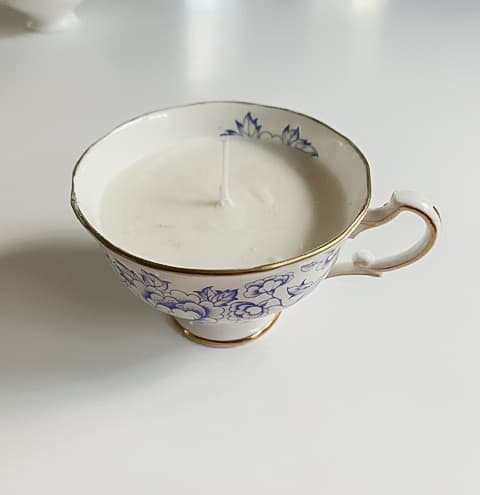
This pretty tea cup candle makes use of vintage and mismatched china cups! This easy to make candle makes the perfect gift!
It is incredibly easy to make your own candles at home! This DIY project shows you how to make a pretty teacup candle. It is unique and different, and would also make the perfect gift for others!
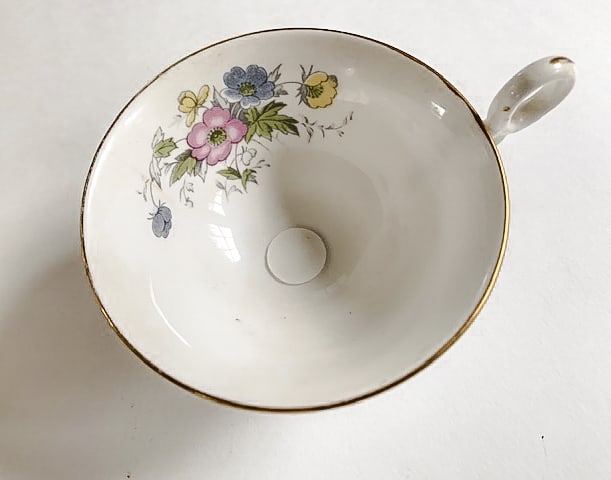
If you have old china cups that are mismatched, or you like frequenting thrift stores, pick up a few odd china cups!
China cups are really easy to find at thrift stores, and they are usually very inexpensive – a couple of dollars or so each. Many of them come with saucers, or in complete tea sets.
This DIY project won’t take long at all! It is very fast to melt the wax and prepare the candles. The longest time is actually waiting for the wax to set and harden inside the teacup. The wax should be completely set within just a few hours.
This post contains affiliate links. This means that if you purchase something via a link in this post I may receive a small commission, at absolutely no additional cost to you. You can view my disclosures here.
What you need to make Tea Cup Candles
China cups (saucers optional)
Scent (optional)
*You can buy these separately, or buy a candle making kit like this one.
Crayons (if you want to add color)
How to make Tea Cup Candles
Step One
Wash and dry the tea cups and saucers that you will be using for this DIY.
Step Two
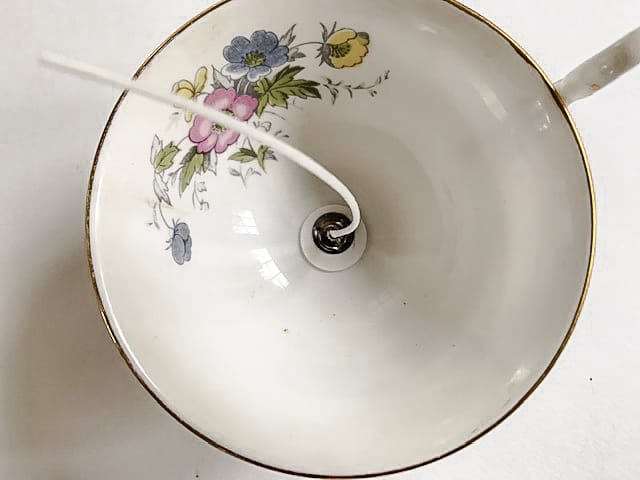
Attach the wick to the inside of the tea cup. Either use a sticker that comes with the wicks, or use some glue to attach the metal disk at the bottom of the tea cup.
Step Three
To hold the wick in place centrally inside the teacup, either use a metal holding device that comes with some candle making sets, or you can use a pencil or a chopstick to do this. If using a pencil or chopstick, just wrap the wick around the pencil, and place the pencil on top of the cup.

Step Four
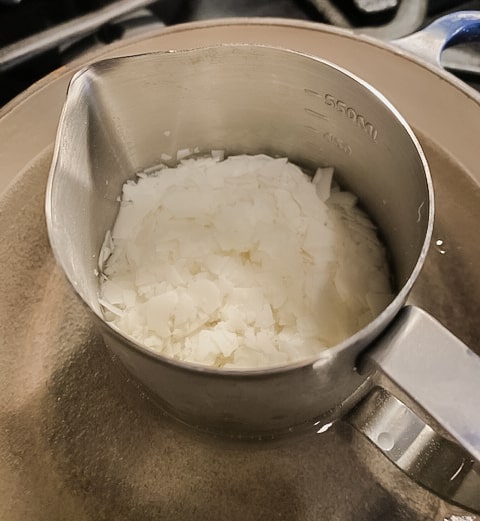
Place the soy wax flakes into a pyrex glass jug or metal jug. Place this jug inside the water inside a pan of water. Melt the soy wax flakes over medium to high heat. Melt the wax according to the instructions that come with the wax flakes.
Step Five
Remove the pan with the melted wax from the heat. Be very careful here as the wax will be really hot and can easily burn you. If you are using scent, now is the time to stir it into the wax.
If you want color in your wax, melt down colored crayons in the color that you want. You can use the same glass or metal jug to melt the crayons down. Stir the melted crayons into the melted wax.
Step Five
Pour the melted wax into the tea cup. Pour until it reaches the top of the teacup, but you want to leave an inch or two at the top of the cup.
Step Six
Once the wax is completely cooled, trim down the wick so that it fits the size of the teacup. Note: Don’t do this until the wax is completely cooled, otherwise you risk moving the wick and creating holes and dips inside the wax.
That is all you need to do! This is a very simple and fast DIY project! Now you have beautiful tea cup candles that you can use yourself in your own home, or give to others as gifts.
Tips for Wax Clean Up
Wax can stick to things and can be quite messy to clean up. To remove the wax from a pyrex glass jug, or metal jug, my best tip is to fill the jug with boiling water and set aside to cool. Once cooled, you should be able to just lift the wax out in one piece. It may also be possible to chisel the wax off once it is completely dry.
This is an incredibly easy DIY project. These teacup candles make the perfect gifts too. Make a whole batch of them and give them out as Christmas presents to your friends. They also make great mother’s day gifts and birthday gifts for others.

This pretty tea cup candle makes use of vintage and mismatched china cups! This easy to make candle makes the perfect gift!