
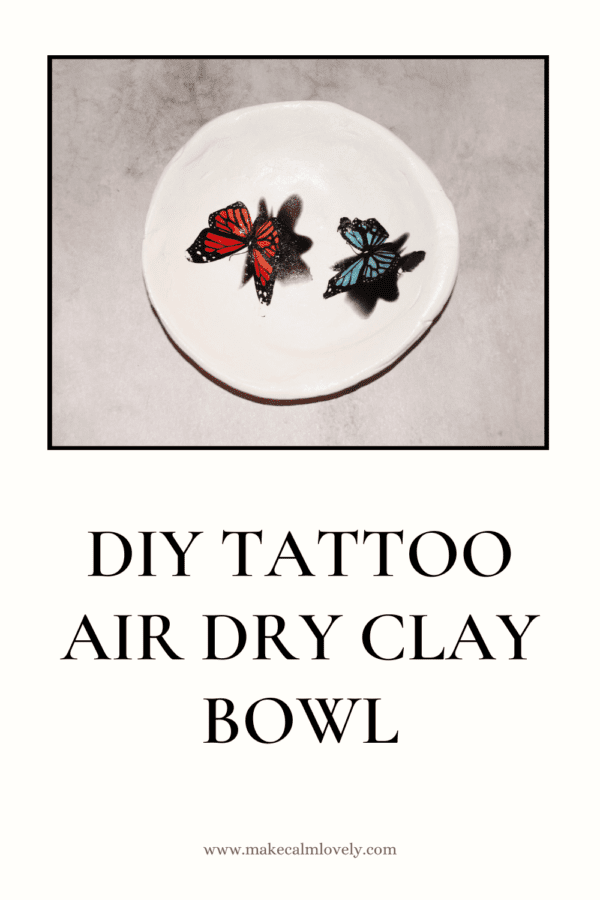
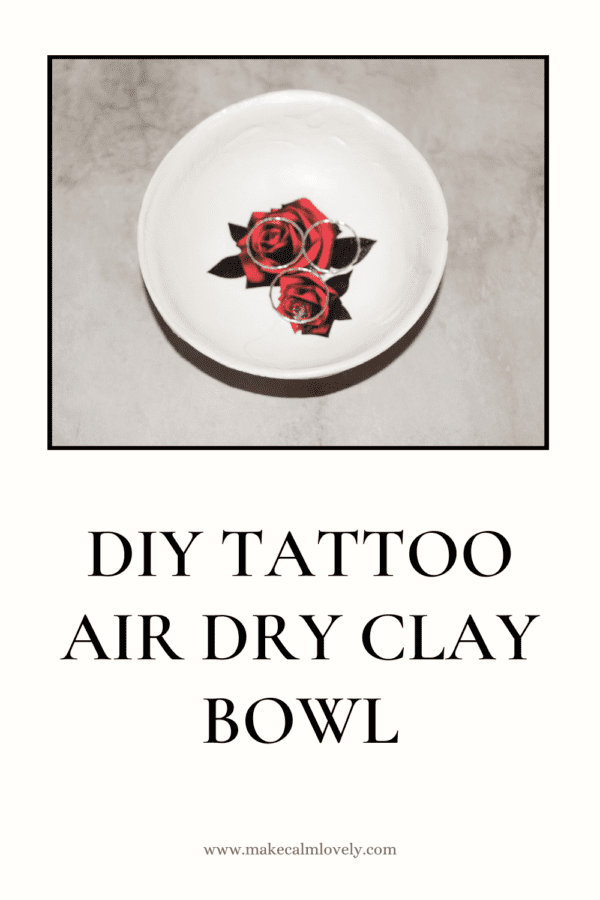
Tattoo Polymer Clay Bowls DIY
This is an easy and fun DIY project to create pretty little clay bowls adorned with temporary tattoo designs!
If you know my DIY projects on Make Calm Lovely by now you will especially know how much I love making items with polymer clay!
Polymer clay is just so easy to obtain and use. It makes absolutely perfect things! It can be left to air dry, and it is also fast to bake and set in the oven (depending on the type of clay you choose to use).
Here are some of the clay projects I have made on Make Calm Lovely:
Speckled Ceramic Look Clay Bowl
Polymer clay comes in all kinds of different colors. Actually you would be amazed at some of the colors that it comes in! There is a color for whatever DIY project you are doing.
You can also create your own polymer clay colors if there is a certain color that you want that isn’t available.
Today I have another great DIY project for you that is so fun to make and creates absolutely beautiful little clay bowls!
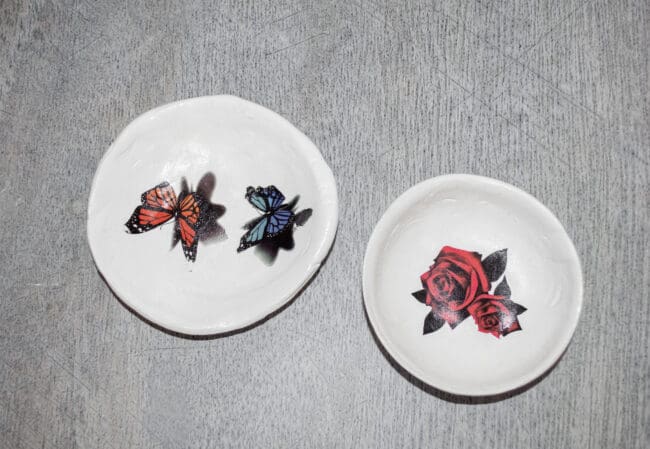
These clay bowls would be perfect as little jewelry bowls, such as ring holder bowls, or to keep your keys, or any little trinkets.
These bowls would also make a great gift for somebody too!
How to make Tattoo Air Dry Clay Bowls
These tattoo air dry clay bowls are so simple to make. You just make a simple clay bowl and stick a temporary tattoo onto them.
Temporary tattoos come in all colors and designs, so there will be one that you love. You can choose all kinds of designs – insects, such as butterflies, animals, such as a Lion, and flowers, such as a rose.
Supplies Needed to make Tattoo Clay Bowls
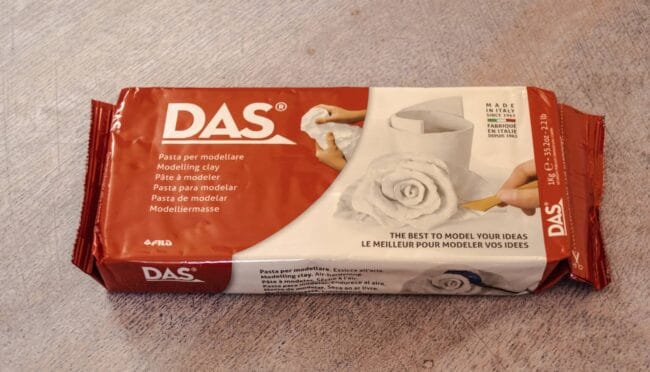
Das white modelling clay. This is the best clay I have found to use. It is so easy to work with, and air dries in a day or so. You can also paint this clay and glaze it too.
Rolling pin. You can use any rolling pin to roll out the air dry clay, or a special one for clay.
Bowls as molds. The best way to make clay bowls is to roll out the clay, cut out a round circle, and then place the clay gently inside another bowl, molding it into the curve shape of the bowl.
Sandpaper or sanding block. Once the clay bowls are dry you will be making them smoother with some sanding paper. You don’t need anything too fine for this – clay bowls are incredibly easy and fast to sand and smooth down.
Sculpey Gloss Glaze. This creates a beautiful glossy finish to your bowl that will hold your tattoo design in place.
Small brush. Any small brush will do. The better the quality it is the better however as you don’t want brush hairs in your project!
Temporary Tattoos. Any temporary tattoos in a color or style of your choice. These are the ones I used.
Steps to Making Tattoo Clay Bowls
Step One – Roll out the Clay
Start out by pulling or cutting off a lump of clay from the packet of clay. About a third of the packet should be enough to roll out for most bowls that you will make.
Roll out the clay onto a surface that is fairly non-sticky. You can use a countertop, table, or even a cutting board for this.
Roll out the clay to be about a quarter of an inch in thickness. You are going to be making round bowls, but at this point you don’t need to have a completely round shape to your clay.
Step Two – Cut out the Bowl Shape
Take a small bowl and place it upside down on top of the rolled out clay. Now using a craft knife or other knife, carefully draw around the outside rim (which will be face down) onto the clay.
Remove the bowl, and you should now be able to life up that clay circle that you just created. Place that clay circle into a bowl that you are using as your mold.
Step Three: Place the Clay into the Mold
Place the clay at the bottom of the bowl, and up along the sides a little to get that rounded look. You can manipulate the clay gently to shape it.
Step Four – Let the Clay Bowl Dry
The clay bowl should now left to dry inside the bowl mold that you used. I usually leave mine overnight to ensure they are dried through.
Once dry, remove the clay bowl from inside the bowl mold. This should be fairly easy to do once the clay is dry. Be very gentle however, so you do not break or crack the bowl.

Step Five – Sand Down the Bowl
Using the sandpaper, sand down the bowl rim, edges and insides in order to make it smoother.
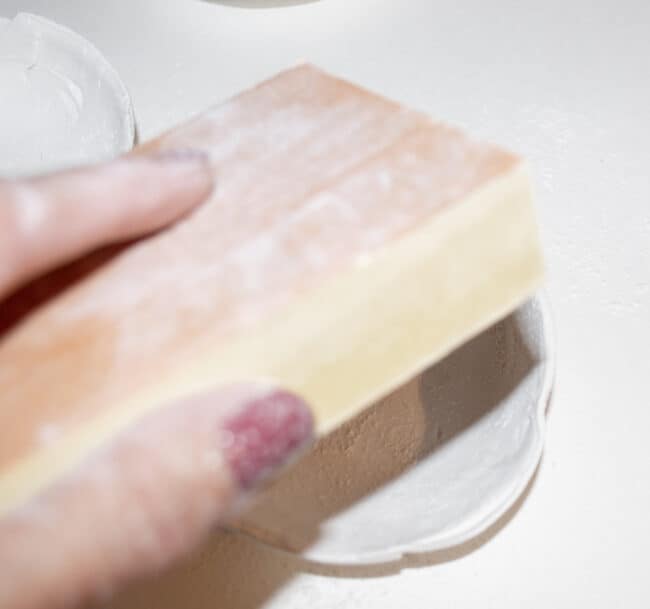
Make sure you wipe down the bowl after sanding as it will be very dusty. Just wipe out lightly with a damp cloth.
Step Six – Place the Tattoo inside the Bowl
Now take your temporary tattoo of choice, (cut around the tattoo as close to the design as possible if you are using a sheet of temporary tattoos).
Place the tattoo face down inside the bowl, positioning it exactly where you want it. Then using a damp cloth, wipe over the back of the tattoo, whilst also holding it in place so it does not move.
Wipe over the tattoo enough times so that it sticks to the clay beneath. You can pull up a tiny bit in the corner to see if it is sticking.
Once you feel that the tattoo has stuck well onto the bowl, carefully remove the tattoo backing.
You should now have a beautiful design on your bowl!! Let the tattoo dry out a little. This shouldn’t take too long.
Step Seven: Glaze the Clay Bowl
You are now going to place a glaze all over the outside of the clay bowl. This makes the bowl look better, and will also hold that tattoo design in place well so that use will not cause the tattoo to break or scratch.
Using the Sculpey Gloss Glaze and a small brush, paint on the gloss all over the bowl. Be careful to smooth out the gloss and prevent any bubbles.
Smooth the gloss coat over the bowl until it is uniform in coverage and has no bubbles or spaces in the gloss.
Let the first coat dry, then apply another coat of the gloss glaze to the bowl. Allow this coat to dry also.
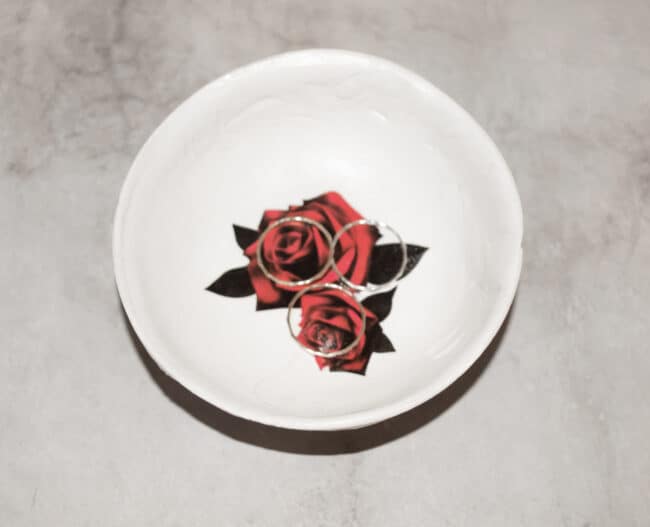

I hope you love your tattoo clay bowls! You can use them for anything at all around your home, or better still, give them as a special gift to someone!

This is an easy and fun DIY project to create pretty little clay bowls adorned with temporary tattoo designs!