
How to Create a Printable in Canva
This is a guide to how to create Printables in the Canva graphic design software. You can then sell those Printables in places such as Etsy, for a great side hustle business.
Canva is a free graphic design program that you can use to design and create many things – including awesome Printables.
Canva actually has a free version and a paid version. The paid version is Canva Pro. See here for the difference between the free version & the paid version of Canva.
The free version of Canva is enough for you to use to design Printables, and this post will show you how to use the free version of Canva to design Printables. But I would encourage you to sign up for the Pro version of Canva if you want to use their additional and amazing features (it is a very low monthly cost).
This post contains affiliate links. This means that if you click on a link in this post and make a purchase via that link I may receive a small commission, at absolutely no additional cost to you.
Create a Canva Account
Before you do anything in Canva you will need to create an account. Just go here to set up a free Canva account.
It is extremely easy and fast to set up a Canva account, and it will be all set up and ready for you to start using in just minutes.

Use Pre-Made Canva Templates
The easiest way to design and create Printables in Canva is to use the pre-made templates inside Canva.
The free version of Canva has thousands of these templates. The pro version has thousands more.
How to Edit a Canva Pre-Made Template
Click on Create Design inside the Canva dashboard. This is found at the top right.
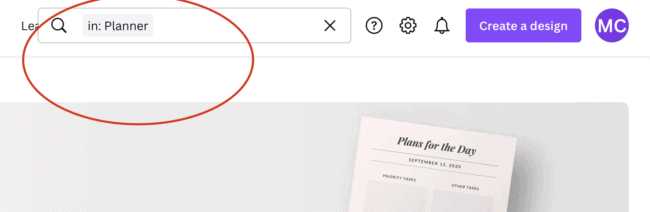
At the top of the page there is a search box for templates. Just type in the type of template that you need.
I will show you how to create a one page printable here. Typing in “Planner” will bring up numerous planner templates.

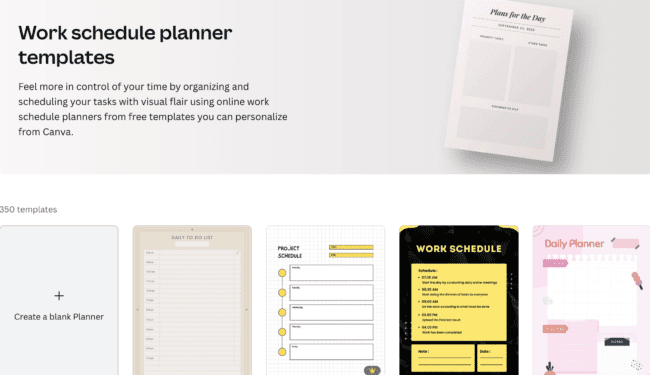
At the top of the planner templates that come up are several search features for different types of planners – including weekly schedule, daily, work schedule etc. So you can choose the type that you want to create.
I have selected Work Schedule templates here:
From this list I selected a Daily To Do List template:
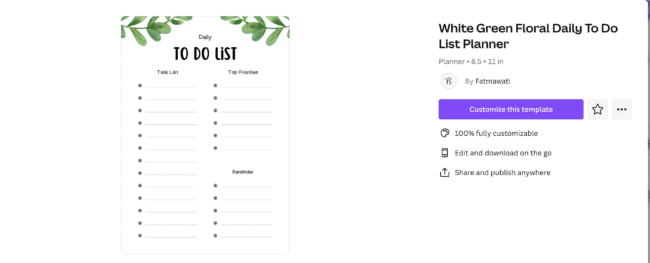
Click on the purple button to the right of this template “Customize this template”
The design will appear on your dashboard, all ready to be edited by you:
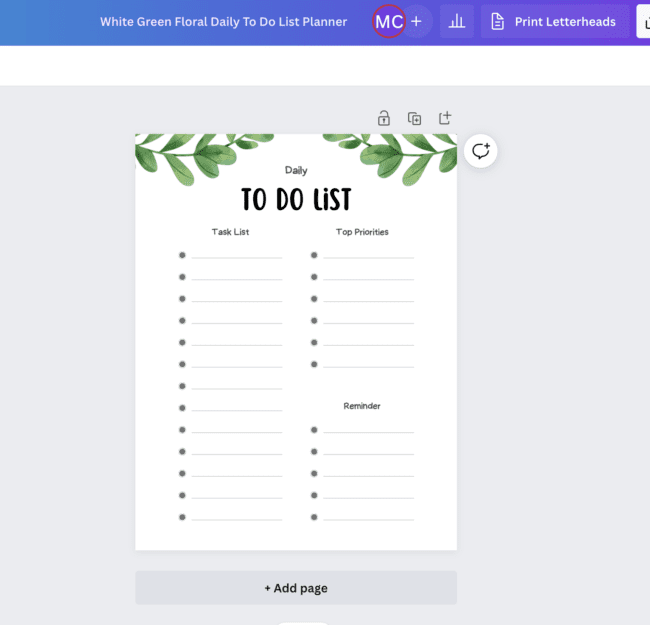
You can change many elements on this page, including fonts, colors and more.
If you are going to create a Printable to sell, you will need to change the template so that it is not the same as the original. Using the original template as is and selling it as is also goes against Canva’s terms and conditions.
I would recommend changing the font, colors and layout of the design.
To change the font, click on each font you want to change inside the design, and then click on the font list at the top left.
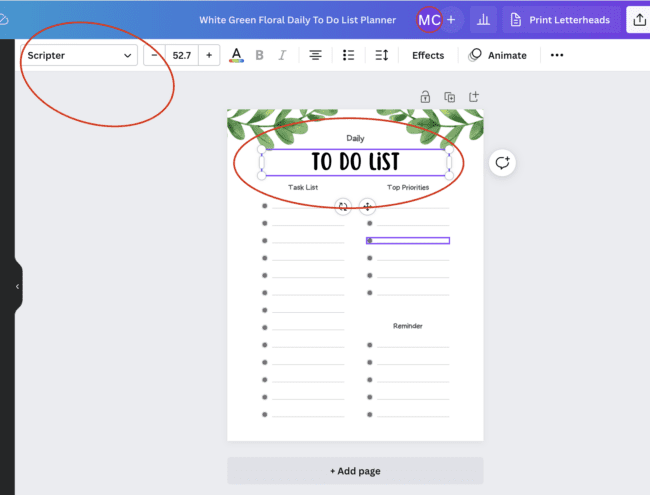
You can change the font to whatever you want to use that is available inside Canva.
You can also import a font that you have purchased separately to use.
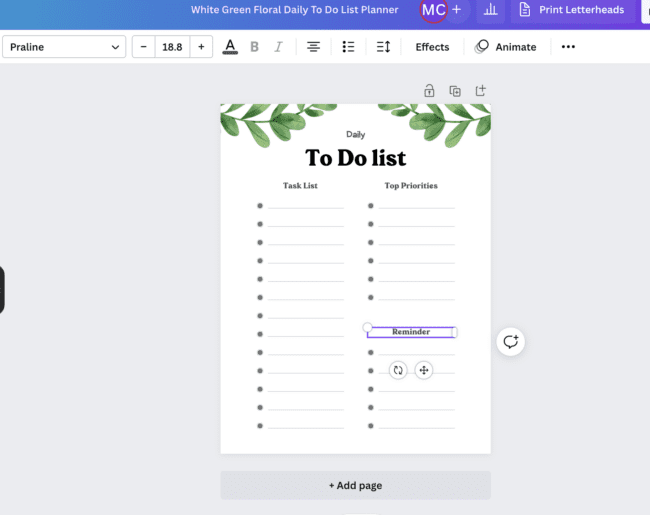
Here I have changed all the fonts to different ones from what came with the template:
I also want to change the colors in the design, and also play with the clip art on the design a little bit to make it different.
To remove an element/clip art, click on it and then hit the delete button on your keyboard.
I have decided I want to make a very feminine To Do list featuring flowers. So I need to find elements for flowers that I can use in my design.
To do this go to Elements on the left side of the dashboard and type in “Flowers” (or whatever it is you want to search for).
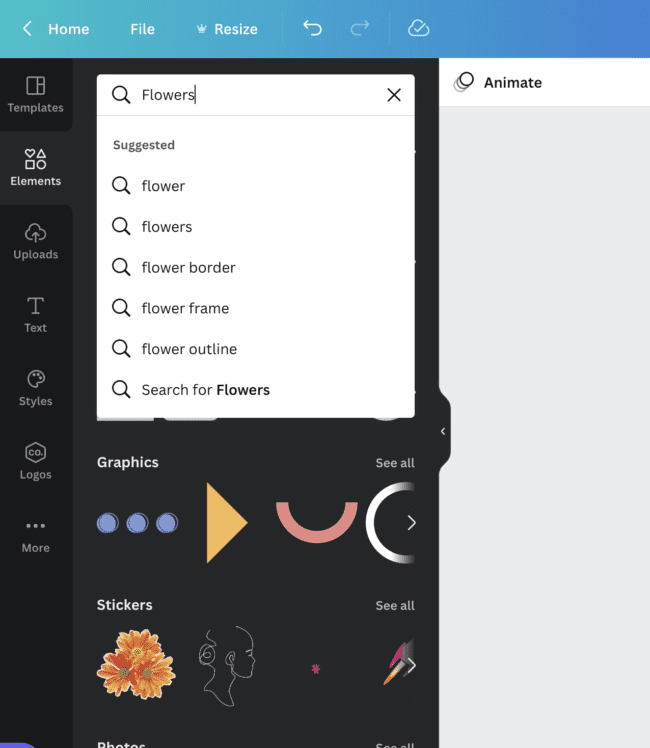
Lots of flowers have come up from my search. You can scroll through to see everything available.

Note: If you are using the free version of Canva, you can only use free elements in your design. Pro users can use premium elements too, and have far more choice.
However, I do recommend that you only use free elements in your designs if you are using Canva’s elements. Check the Canva terms and conditions on what you can actually use for commercial use.
To be on the safe side you may want to purchase elements from places such as Creative Market, Etsy etc that come with a commercial license.
For the purposes of this tutorial I am going to show you how to use the elements that come within Canva for your design (so you can really see how Canva works).
But later on I will also show you how to import outside elements that you may have purchased into your design.
I have decided to use this yellow flower on my design. By clicking on the flower you can see it places it inside your design.
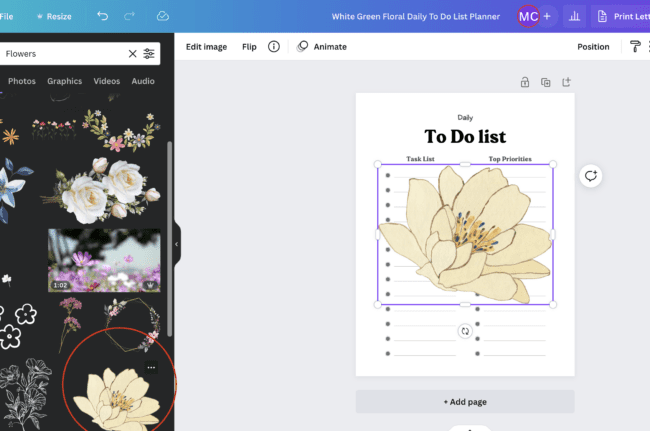
You obviously don’t want the flower right there in the center of your design, so you can drag and drop it easily to where you want it to go.
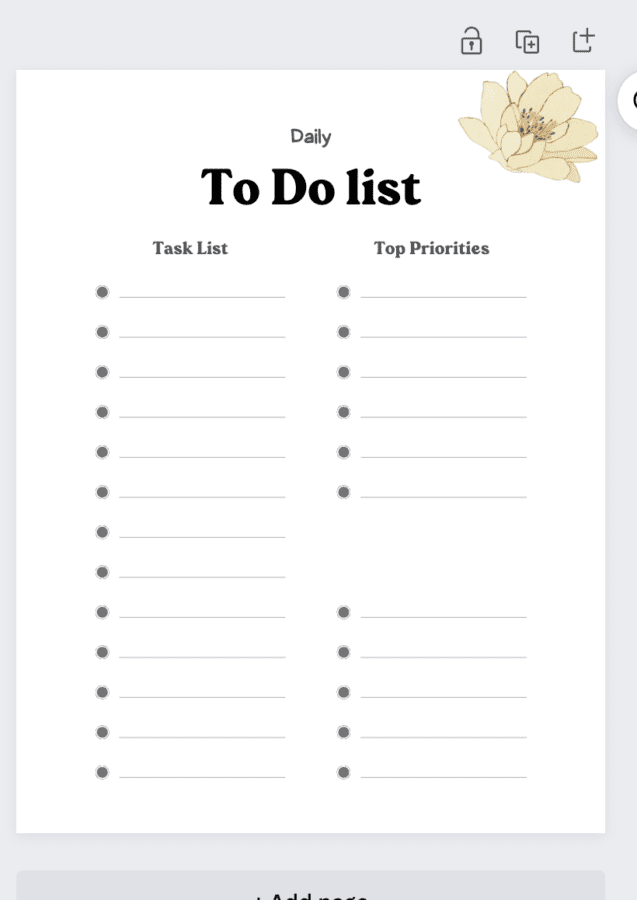
Grab the flower at one of the corners to resize it to the size that you need.
Then drag the flower to where you want it to go.
You can copy the flower to create another one. Just click on it and select Copy.
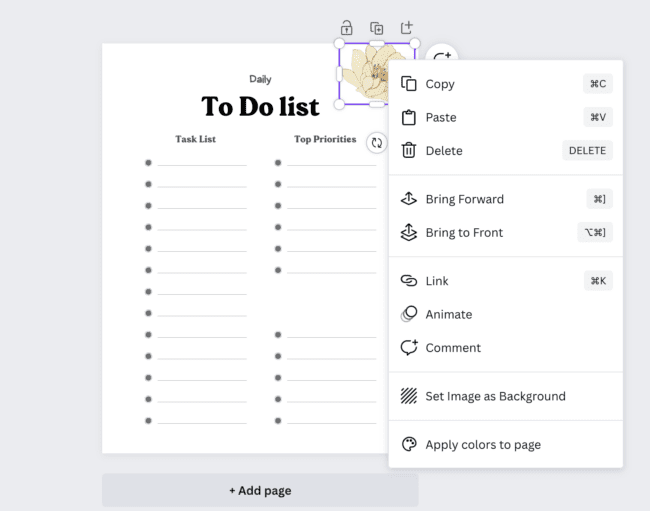
Once you have copied it, click on paste. It will usually paste the flower slightly on top of the original flower. Just grab the new flower and move it to where you want it to go.
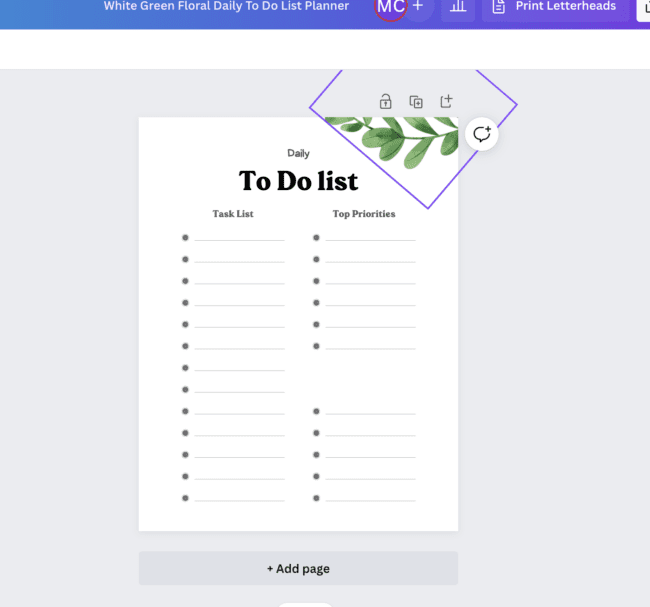
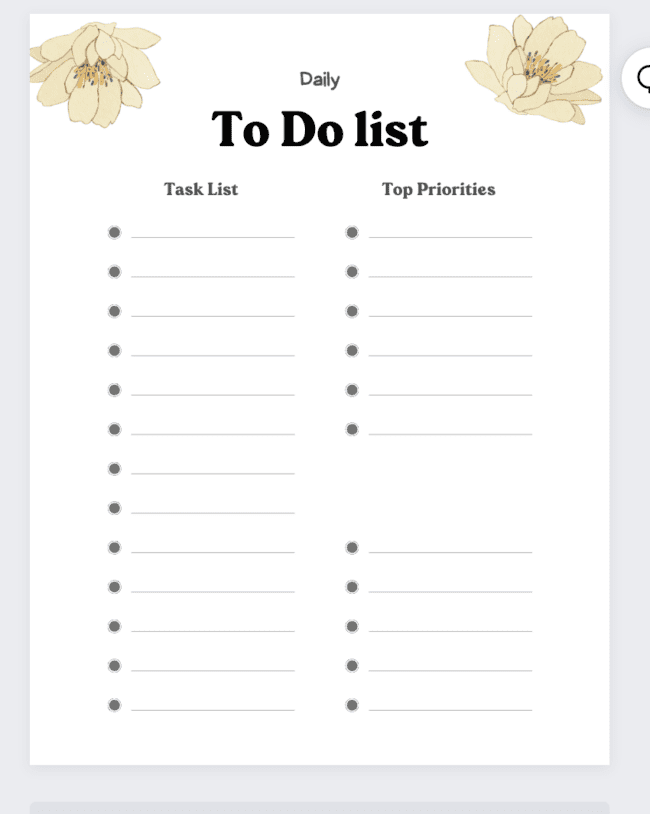
You may want the flower to face in a different direction to make your design more attractive. There is a little circular icon that appears just under an element when you click on it.

Click on that icon and you can turn the flower left or right, just hold your cursor on the icon and let it turn until it moves into the position you would like.
If you want to make the design larger to work on it more easily, just click on the percentage sign in the bottom of the page. You can then make your design larger or smaller.
You can also move the button to the right of that to make it larger or smaller also.
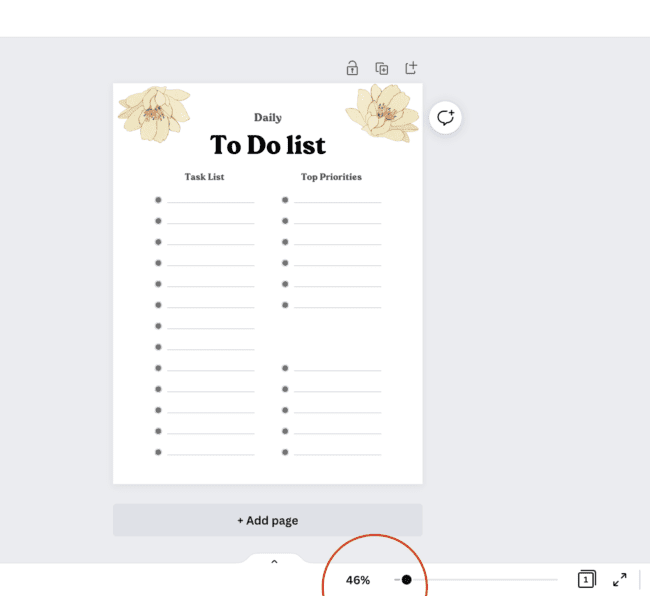
Here I have made it larger to work on.

I now want to change the colors of the circles in the To Do list.

By clicking on those colored squares (in this design they are in shades of gray) you can select a different color.
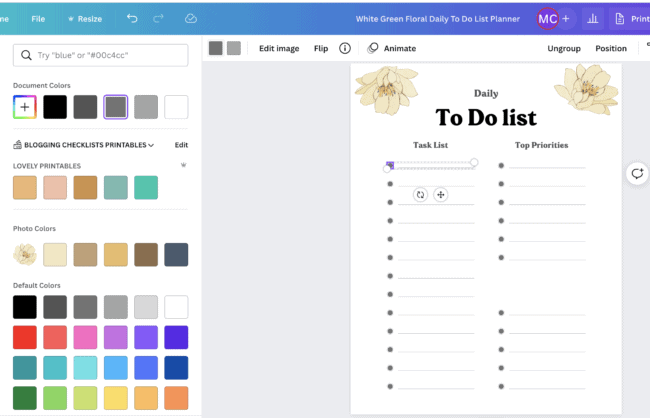
Just click on the color that you would like to use in your design. There will be set colors that are default that come up.
If you have Canva Pro and use the Branding Tool your brands colors that you selected here will automatically come up every time you use Canva.
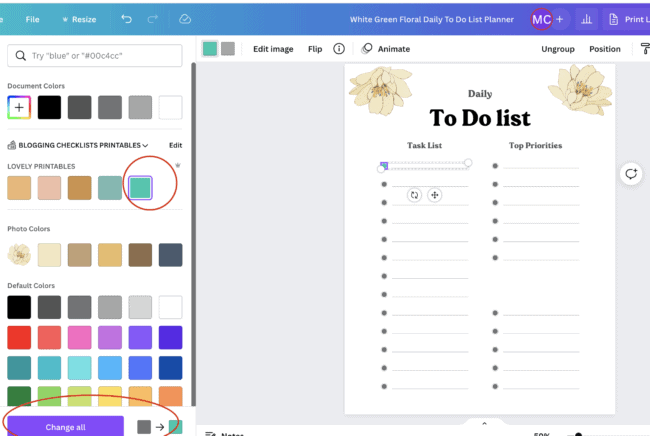
You can also type in a hex color # in the search box to bring up a certain color that you want to use.
I have selected the green color that I want to use. Once I click on it a box comes up that allow you to change everything that color to the new color that you have chosen (if you don’t want to make everything the same color just click on each one individually to change the color).
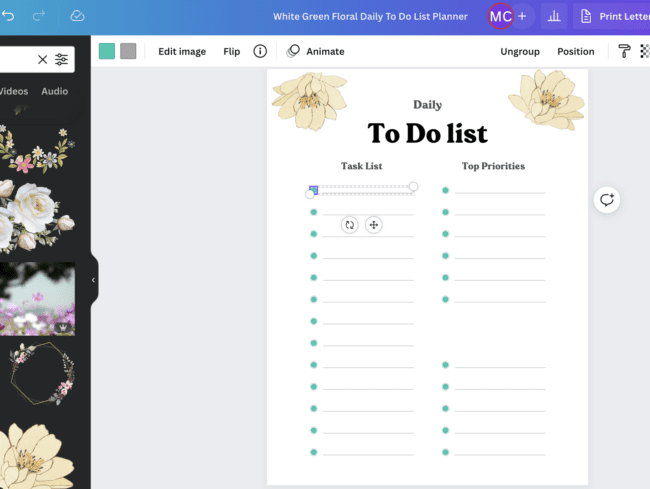
This changed all those colors to green:
Once you are happy with your design, including fonts, colors etc it is ready to be finalized.
Whatever you create in Canva automatically saves to the last element you created. Therefore you do not need to save it continually as you work.
To turn your design into a PDF, click on the Share button on the top right.
Then click on Download.

Under File Type select PDF Print.
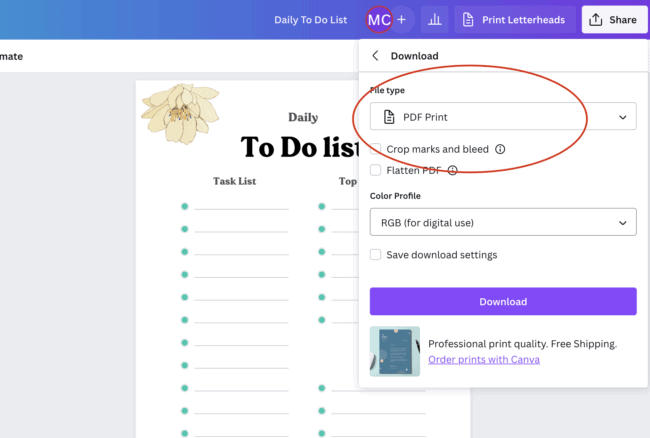
Then click on Download. Your file will now be downloaded to your computer as a PDF file.
How to Upload an outside Element into Canva
You may have purchased clip art, photos etc that you want to use within Canva for your designs.
This is very easy to do. Just click on Uploads on the left hand side.
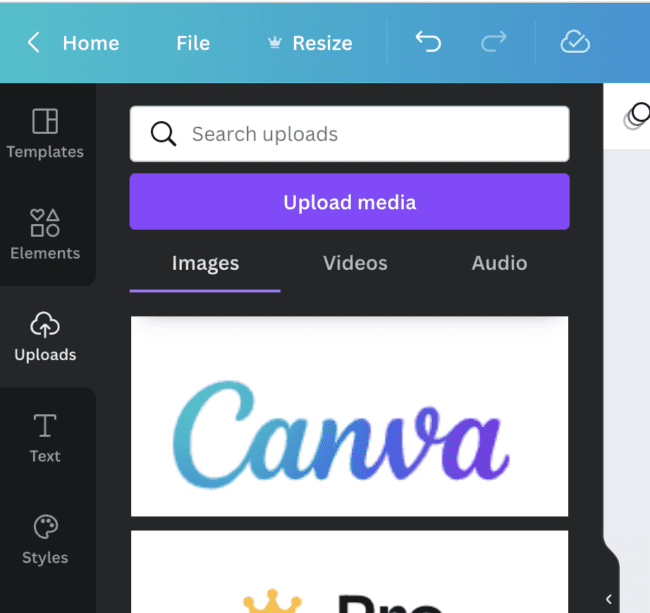
Then click on the purple ‘Upload Media’ button.
You can then select the file you want to use from your computer.
That element that you just uploaded will now appear on the left hand side box there. Just click on it to insert it into your design. It is so easy!
Create a Printable from Scratch in Canva
The easiest method for creating a template in Canva is to use the pre-made templates and edit them as detailed above.
But sometimes you will want to create a design completely from scratch.
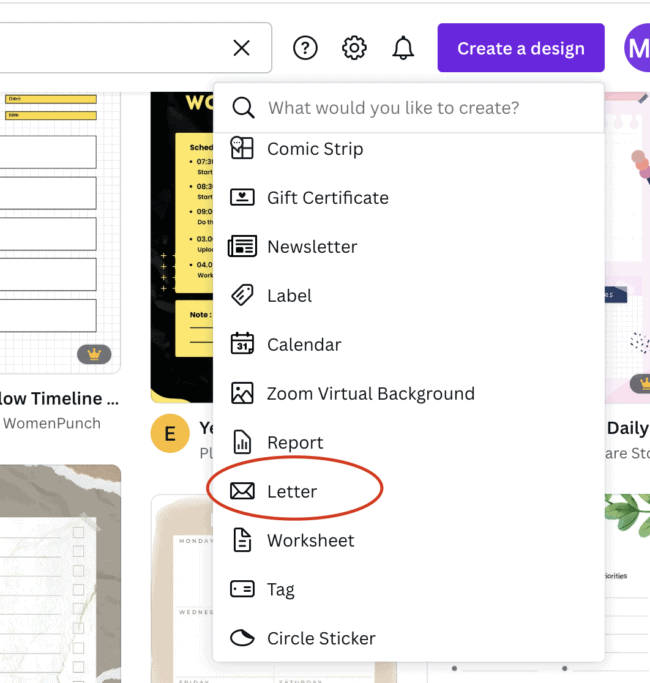
This is very easy to do. Just click on Create a Design.

Then select a file size/type for what you want to create. For Printables I always select the Letter option, to design a letter size Printable.
But you can also select A4 for Printables, or select any kind of file size/type relating to what you are designing here.
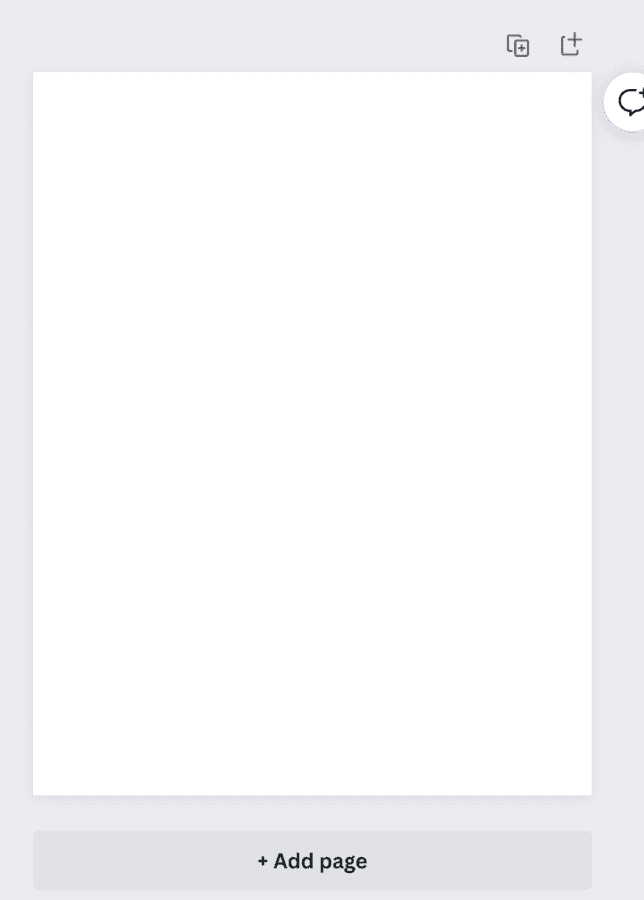
This will bring up a lovely blank page for you to start to work on!
You can start putting text and fonts on the page by clicking on the text box on the far left of the dashboard.

This will bring up some set fonts in the system that you can choose from (you have more choice in here if you have Canva Pro).
You can also just click on Add a Heading, or Add a Subheading, or Add a little bit of body text.
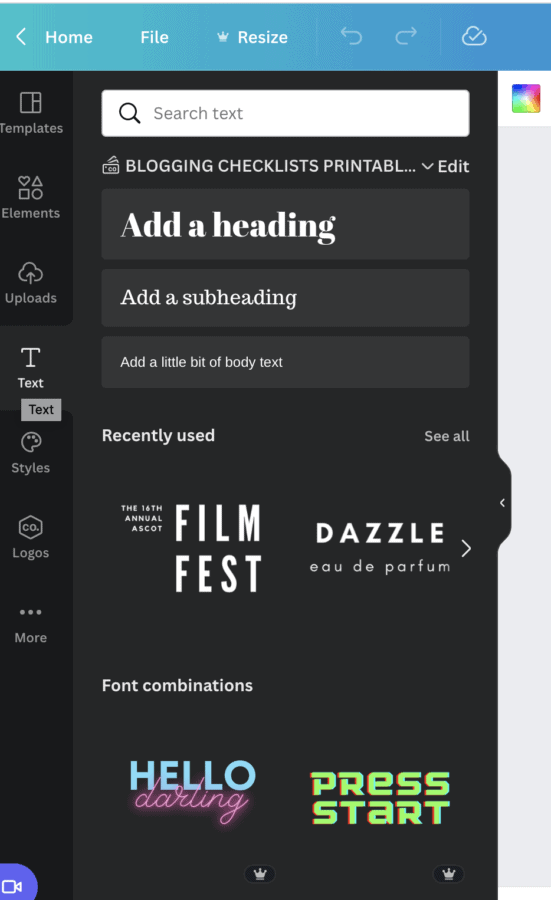
Here I am going to select Add a Heading.
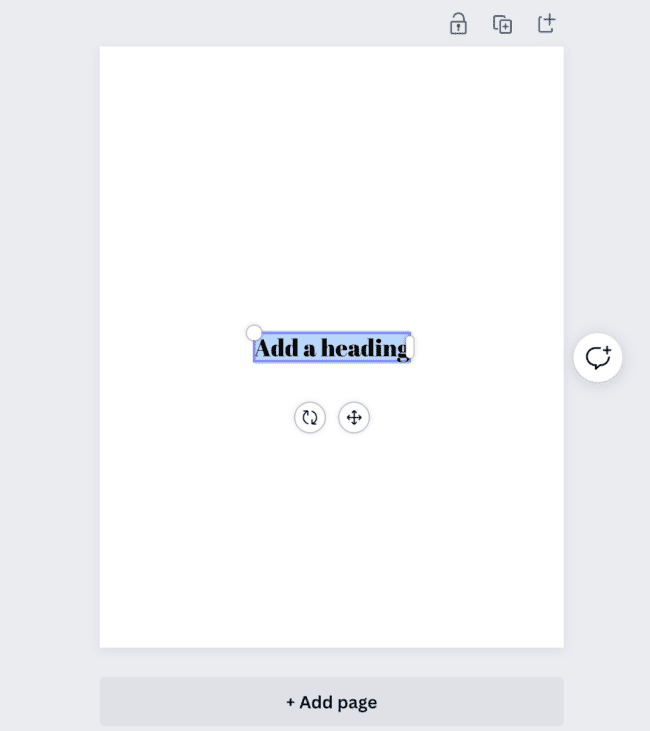
This will place a piece of text inside your document, which is a default font.
To select a different font, click on the Add a Heading inside your document and click on the font selection box at the top:

A list of all different fonts will come up on the left. These are Canva fonts that already come with Canva, but if you purchase and upload a font it will appear here.
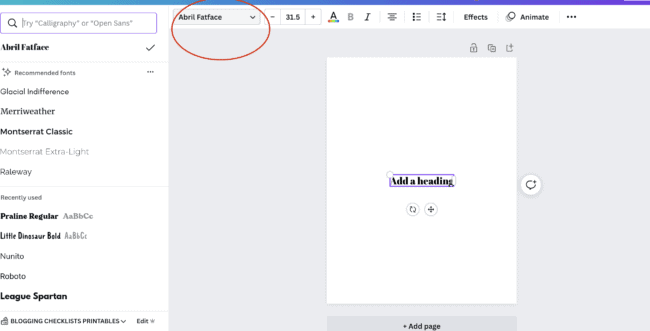
Here I have selected the Merriweather font. To make the font larger or smaller just click on the box next to the font selection box:
By clicking on the arrows to make the font larger or smaller, I have changed the font size. I also clicked inside the text box and changed it to say what I wanted instead.

I have already gone in and added some subheadings and changed the sizes and placement.
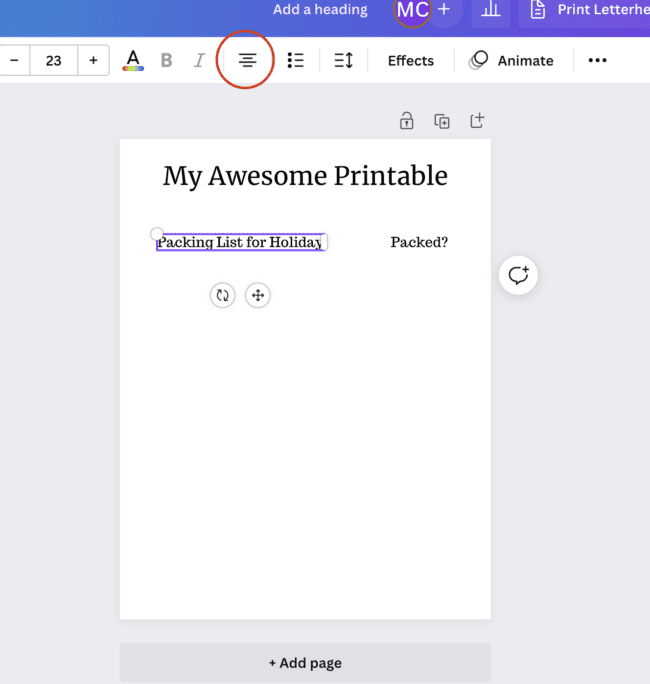
To center text or an element, or to move something to the left or right use the button indicated here on the dashboard:
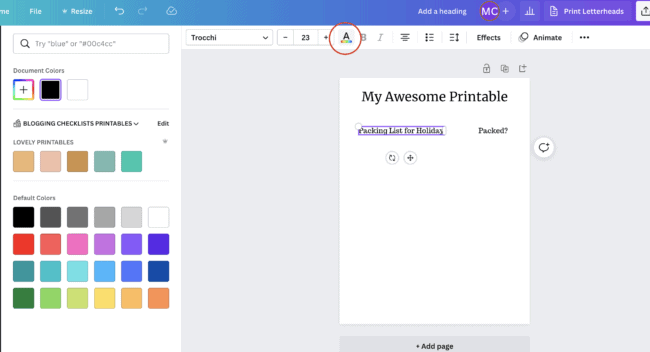
To change the font color click on this button below, and color choices will come up on the left:
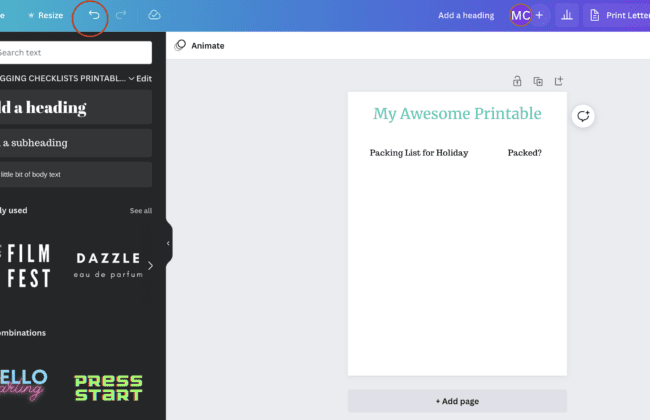
If you make a mistake just click on this arrow to go back to the version before you did something:
Now to add an element, such as a shape etc just click on Elements on the left hand side menu bar.
Here you can search for an element you are looking for. Any that you previously used will also appear here.
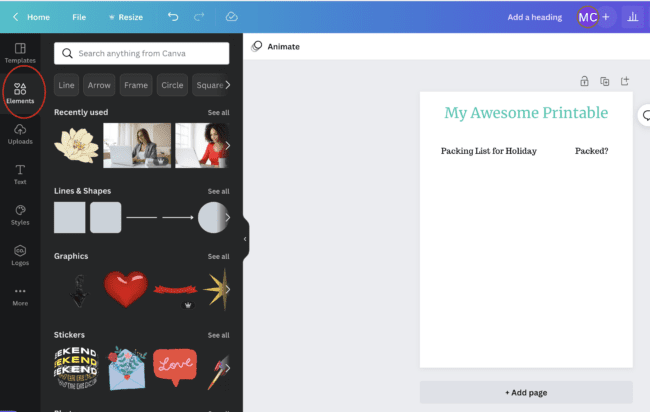
I want to insert boxes into my Printable, so I will type in Square.
This brings up lots of different squares for me to choose from:
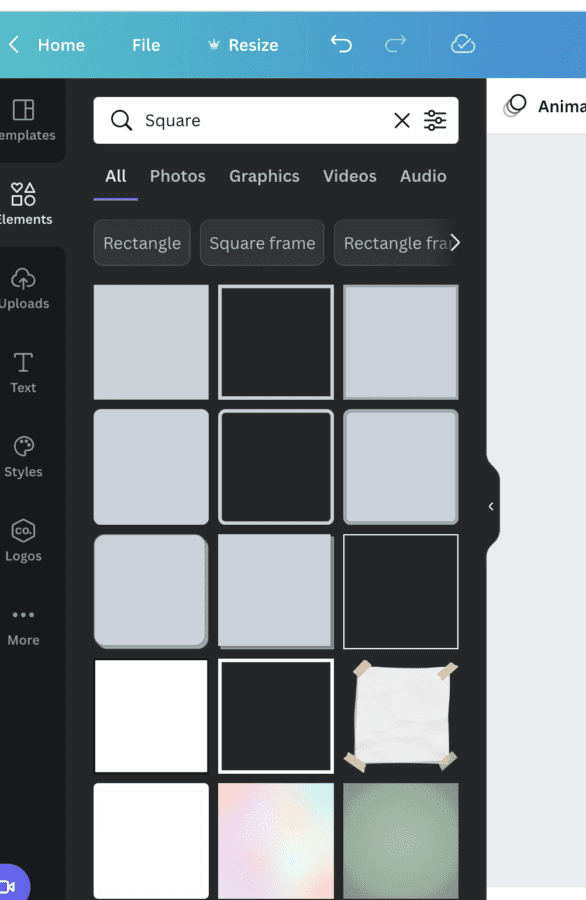
I am selecting one and it will appear on my Printable.

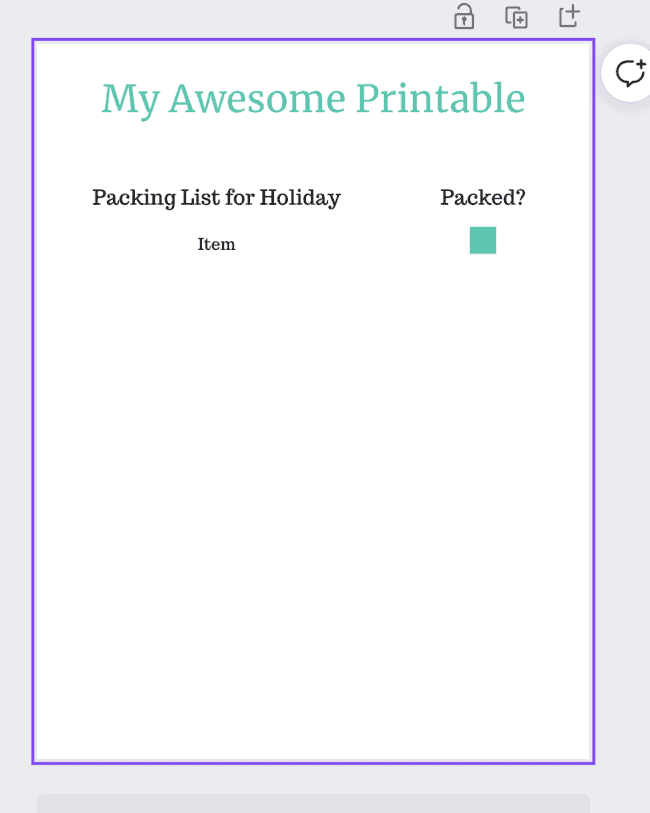
I want to make that square smaller and also move it into place. So just click on one of the circles at the edge of the square to move it to make it smaller.
Then you can drag and drop to move it into place:
Here I have resized the box, moved it into place, and changed its color:
It is obviously difficult to show you every single thing that Canva can do in such a short tutorial.
But these are the basics that you need to know to design a Printable in Canva.
I would encourage you to sign up for a Canva account, and then play around with the features and learn what Canva can do.
Canva is so incredibly easy to learn. The learning curve is just so so short. You may have tried some graphic design softwares before and been so disappointed at how long it took to learn, and all the courses you needed to take to understand them and use them.
This is not the case with Canva. That is why it is used by so many small businesses and solopreneurs, because it is easy to use and inexpensive or free (depending on whether you upgrade or not).
This is a guide on how you can create Printables in the Canva graphic design software. You can then sell those Printables in places such as Etsy, for a great side hustle business.