
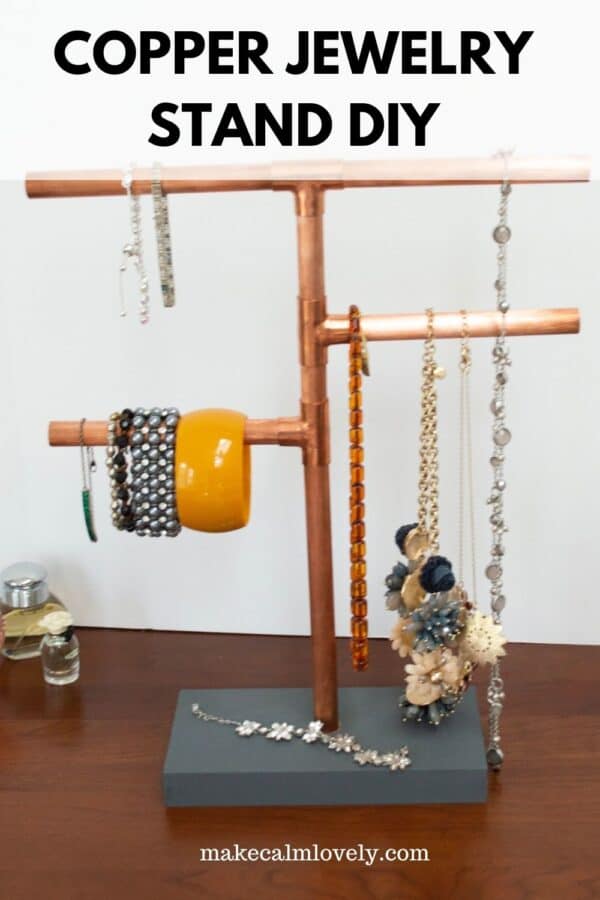
Copper Jewelry Stand DIY
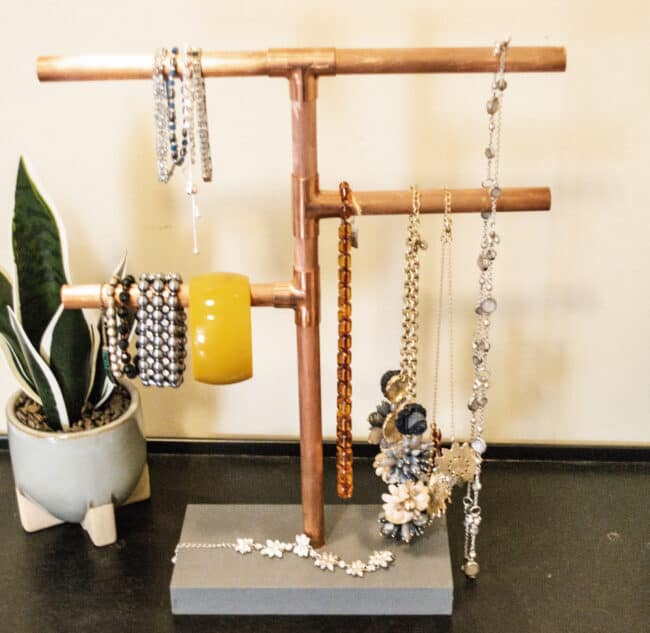
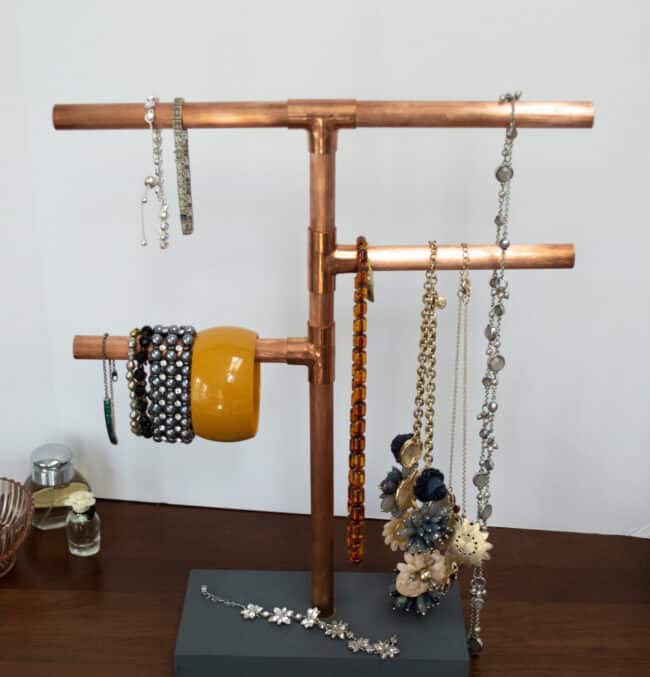
This modern, stylish and pretty copper pipe jewelry stand will store all your jewelry easily and beautifully.
Places to store and display your jewelry are always needed, and the prettier they are the better. You need jewelry storage that makes it easy for you to find what you are looking for, but also to display your pieces in an attractive way.
This copper jewelry stand is unique and different – made from pieces of copper pipe, so it has a modern and stylish look to it. It will really stand out on your dresser, table, or wherever you choose to place and display it.
I have several different jewelry holders. But nothing has really worked well in not just holding my jewelry, but also making it so easily accessible. So I created this DIY to rectify that!
A jewelry holder stand is perfect for your jewelry because not only does it keep your jewelry to hand, it makes it really easy to see what you are looking for. The T-shape of the stand with arms means that you can hang all types of jewelry – necklaces, bracelets, bangles and so much more.
This copper pipe jewelry stand is very easy to make. You will need to use a drill to create a hole in the wood, and you will need to cut the pieces of copper piping that you need. But I promise you this is easy and not heavy duty at all! Anyone can do this!
This post contains affiliate links. This means that if you click on a link in this post and make a purchase via that link I may receive a small commission, at absolutely no additional cost to you. You can view my disclosures here.
Supplies Needed for the Copper Jewelry Stand
1/2 inch diameter copper pipe – about a 5 foot piece should cover all you need
Tubing Cutter
Drill
1/2 inch drill bit
Wood block
Paint, varnish or stain for the wood
Super glue
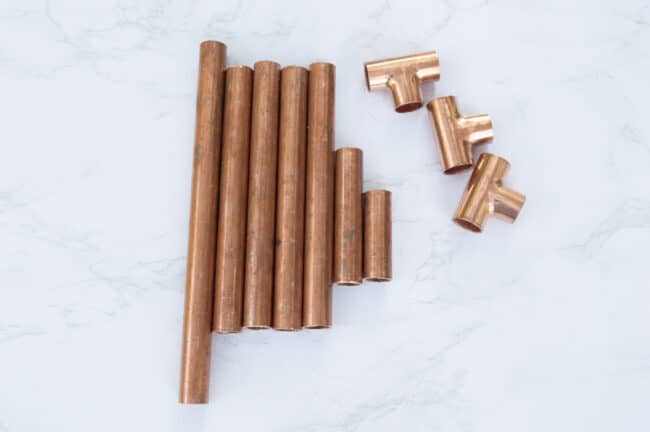
3 1/2 inch T (3 way) pipe fittings
Tape Measure or Ruler
Sandpaper
Chalk marker
Optional: Copper Caps (see Optional Steps below)

Directions on how to make the Copper Jewelry Stand
Before starting this DIY project, you will need to decide on how many pieces of copper pipe you will need, and what measurements they should all be.
For the copper pipe jewelry stand in this DIY I used one long piece of copper piping, about 5 feet long.
The jewelry stand is a T shape. Therefore I used the following measurements of copper pipe pieces for the entire DIY:
Four 6″ pieces
One 3″ piece
One 2″ piece
One 8″ piece
Step One
Measure out the required piece of copper pipe that you will need, and cut each piece individually with the tubing cutter. I found using a chalk marker helpful with this (it also wipes away really easily).
Copper pipe is very easy to cut with a tubing cutter. Just place the copper pipe inside the cutter and turn it until it cuts.
If you do not have a tubing cutter, you can cut by hand with a saw, but you will need to make sure the copper pipe is kept secure and stable as you cut.
Step Two
Once you have cut out all your pieces of copper pipe, take some sandpaper and sand the ends of the cut pipe so that they are not rough.
If the copper pipe you are using has labels stuck on it, or has changed color a little bit, you can just use sandpaper to get off labels and any glue residue, and also to smooth out and even out the copper pipe if there is any tarnishing to the color.
Step Three
Assemble the T shape out of the copper pipe as follows:
Connect two 6 inch pieces of copper pipe together with a T 3-way piece in the middle.
Connect the 3 inch piece of copper pipe to the bottom of this.
Insert a T 3-way piece at the end of the 3 inch piece.
Insert a 6″ piece to the left of the tubing, so that you are creating an arm coming out on the left of the holder.
Insert a 2 inch piece to the bottom of the 3 inch piece.
Insert a 6 inch piece to the right – to create an arm coming out on the right hand side.
Insert an 8 inch piece of copper pipe to the very bottom
Step Four
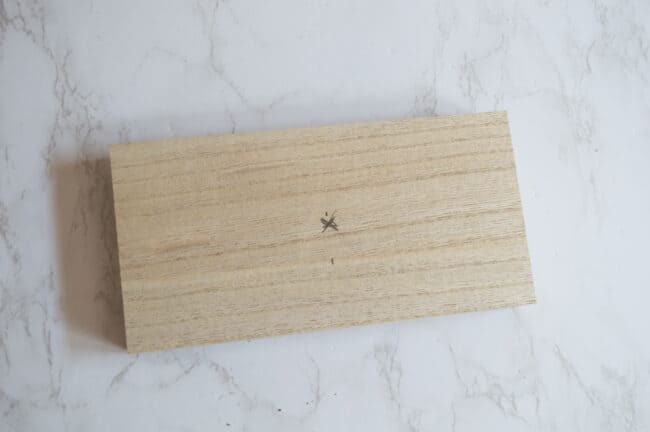
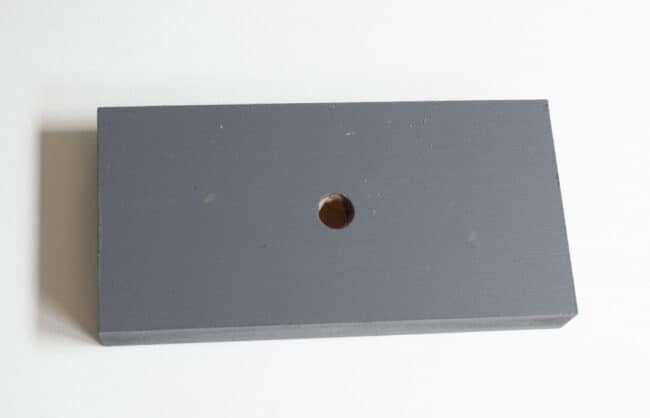
Mark out the center point on the wood block, ready to drill it.
Drill a 1/2 inch hole into the center of the wood block.
Insert the very bottom part of the copper pipe “tree” into the wooden block. Twist as needed.
Step Five
You should now decide what you want to do with the wooden block. You can paint it, stain it, or place a coat of laquer on it.
Whatever you decide to do, make sure it is dry thoroughly before finalizing the jewelry holder.
Step Six
If you are happy with the way the jewelry holder looks, you can now finalize and secure it.
Using super glue remove each piece of copper pipe, glue slightly, and place the piping back together again. If you use a little too much glue, just use something like a toothpick to remove it.
Step Seven
If the wood block has dried, if you stained it or painted it, you can now finalize the jewelry stand.
Place a little super glue inside the hole that you drilled into the wooden block, and insert the copper pipe tree into the hole.
Related: Beautiful DIY Copper Pipe Creations for your Home
Related: Make this Copper Cap Candle
Related:DIY Jewelry Holder from IKEA Cork Trivet
Optional Steps
You could also put copper caps on the end of each arm if you wish. Copper caps are very easy to find, and you just need the 1/2 inch size. Copper caps will tidy up the look of each arm of the jewelry stand if you want that look. I personally don’t think the stand needs them, but it is a personal choice.
So now you should have a lovely modern and stylish copper pipe jewelry holder that is just so useful and helpful in your home!
This copper stand can also be used to store things such as sunglasses and glasses, so they are at conveniently at hand.

This modern, stylish and pretty copper pipe jewelry stand will store all your jewelry easily and beautifully.